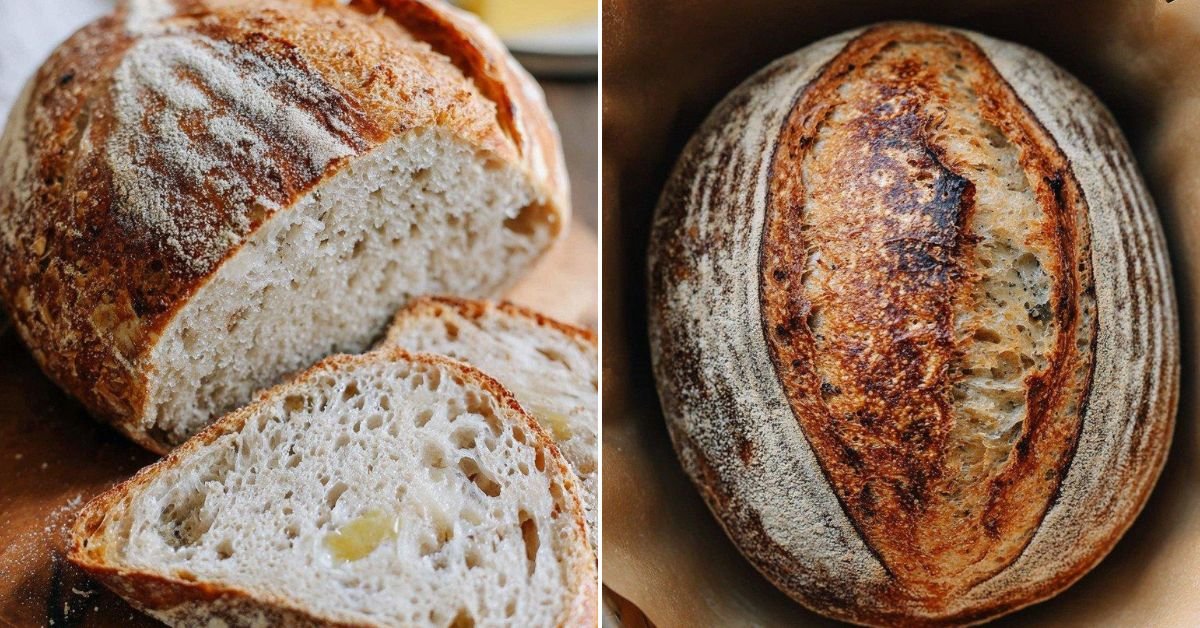
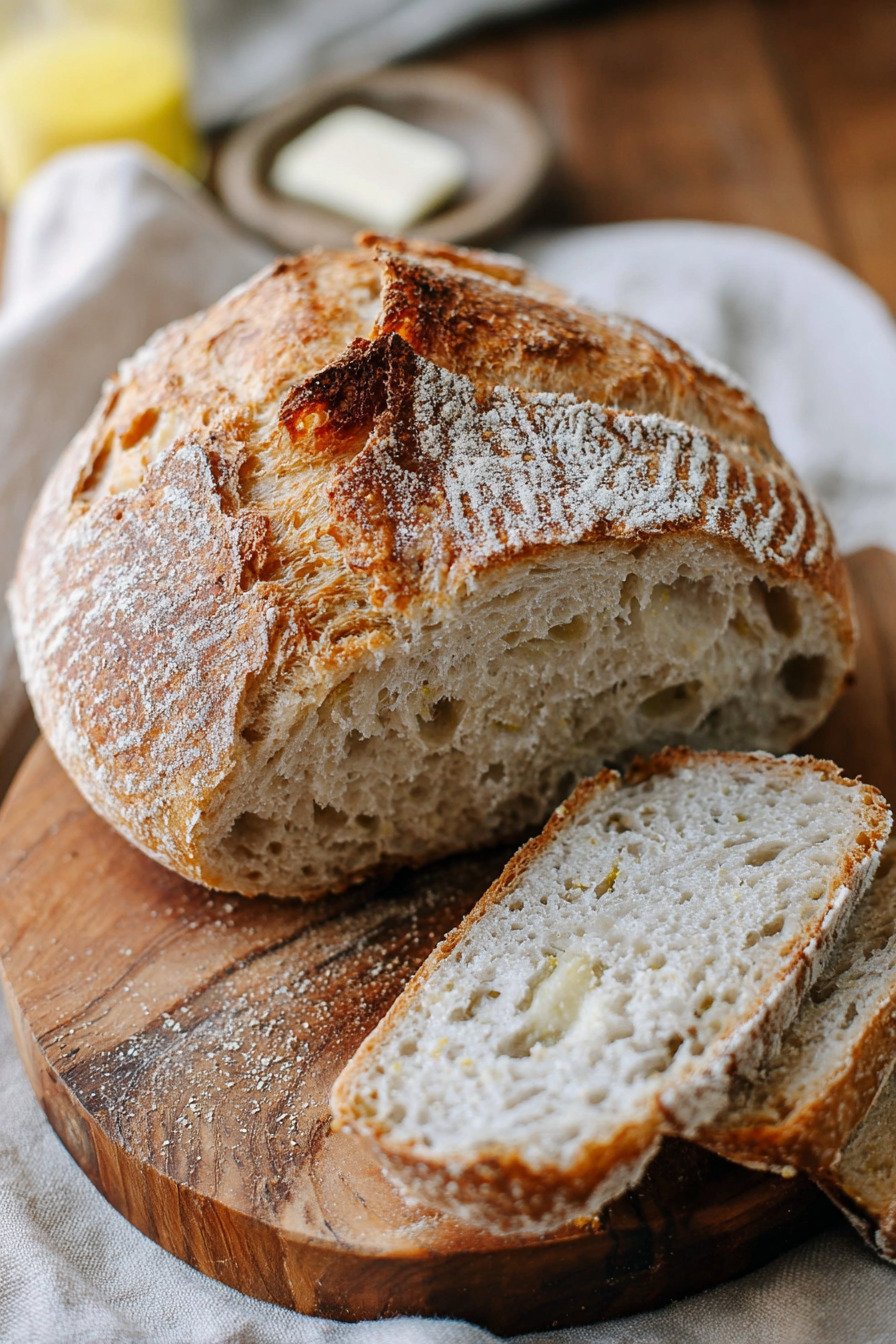
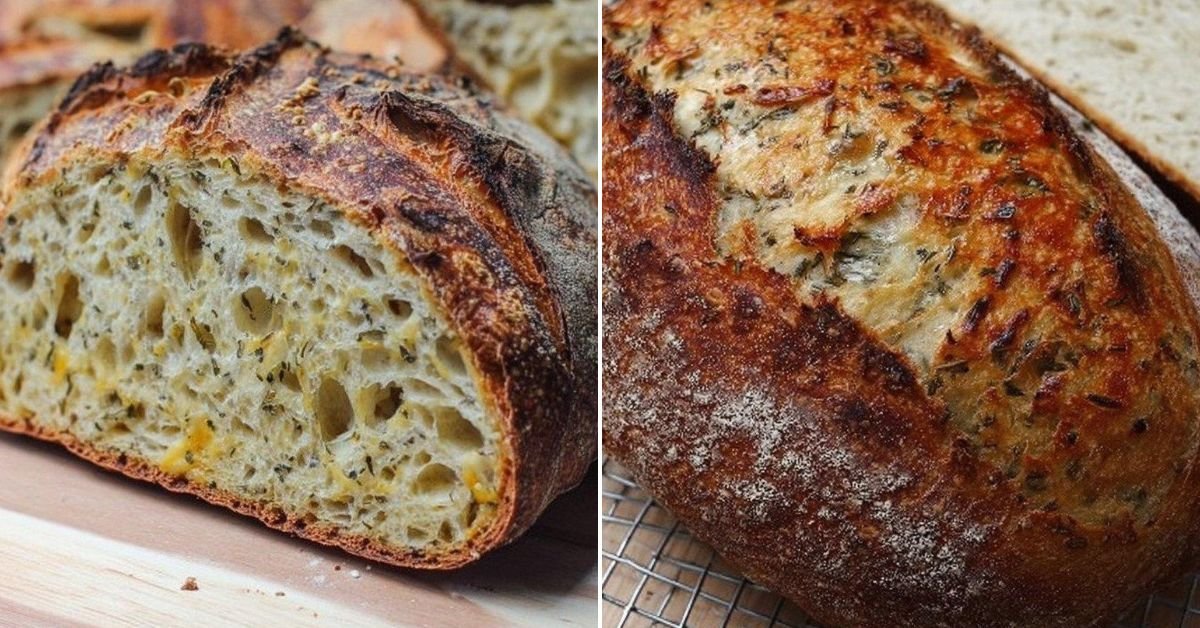
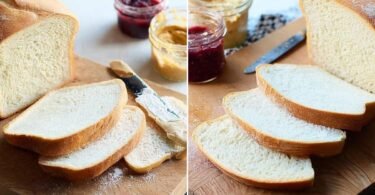
I’ve been making this sourdough bread recipe for years now, and let me tell you, nothing beats pulling a golden, crackling loaf from your oven. Sure, you can grab an easy sourdough bread recipe online that promises miracles in minutes, but real sourdough? It takes time, and that’s what makes it magic. Some folks search for a quick sourdough bread recipe or even a chocolate sourdough bread recipe (which sounds wild, right?), but I’m here to share my tried and true method. If you’re after a one day sourdough bread recipe or a same day sourdough bread recipe, I’ll be honest, this isn’t quite that fast. But the payoff? A sandwich sourdough bread recipe that creates the most incredible texture, perfect for stacking high with your favorite fillings. What I love about making sourdough at home is watching that dough come alive. The bubbles forming, the way it smells when it’s proofing, that satisfying *crack* when you slice into the finished loaf. My kitchen always smells like a European bakery when I’m baking this, and my family comes running. We’re talking crispy crust that shatters when you bite it, with a soft, airy interior that has just the right amount of tang. Trust me, once you nail this recipe, you’ll never want store-bought bread again.
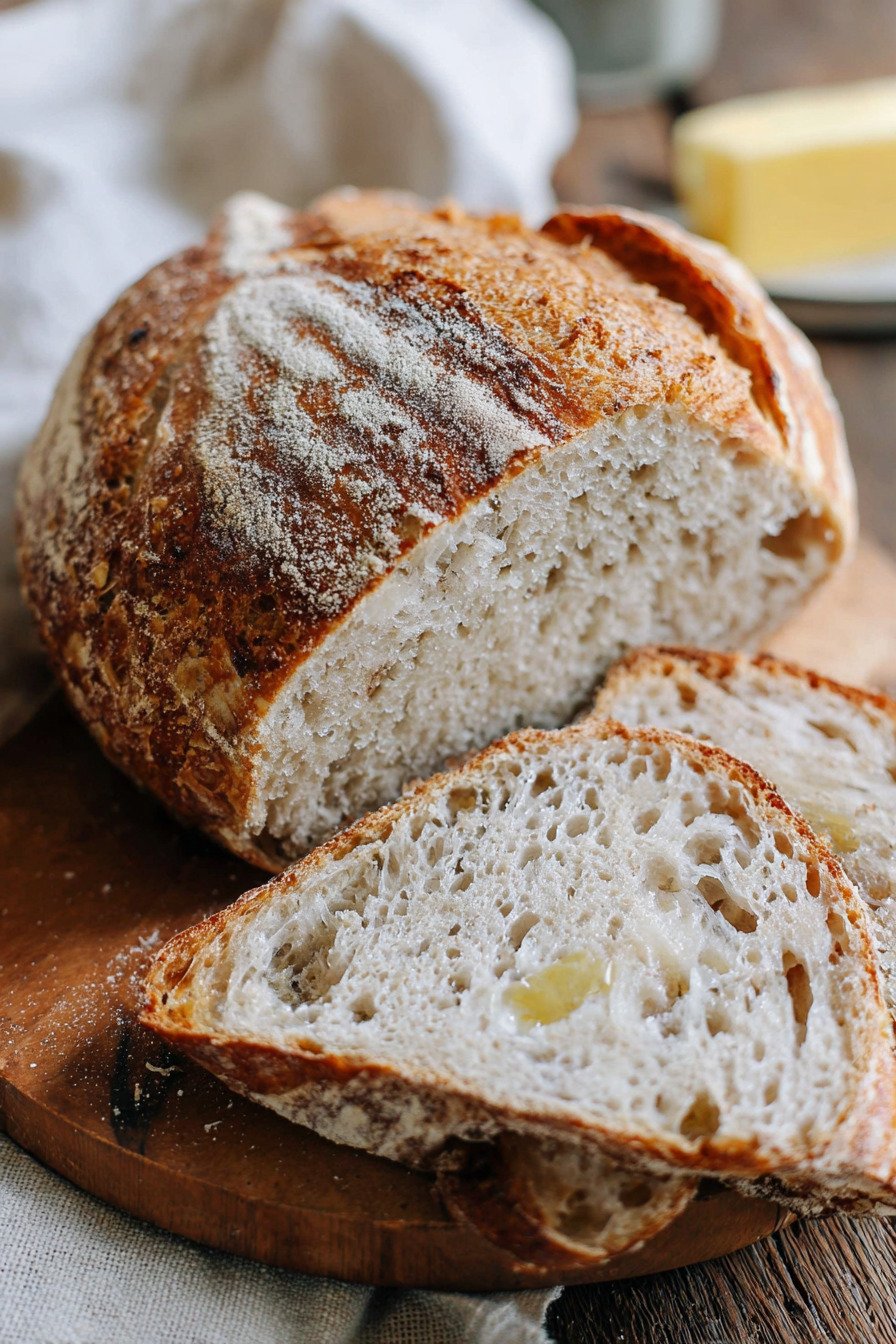
Table of Contents
- 1) Key Takeaways
- 2) Easy Sourdough Bread Recipe
- 3) Ingredients for Sourdough Bread
- 4) How to Make Sourdough Bread
- 5) Tips for Making Sourdough Bread
- 6) Making Sourdough Bread Ahead of Time
- 7) Storing Leftover Sourdough Bread
- 8) Try these Bread next!
- 9) Sourdough Bread
- 10) Nutrition
1) Key Takeaways
- What makes sourdough bread different from regular bread?
- How long does it take to make sourdough from scratch?
- Can I make sourdough without a Dutch oven?
- Why is my sourdough bread dense and not airy?
- What’s the best way to maintain a sourdough starter?
2) Easy Sourdough Bread Recipe
Listen, I know what you’re thinking. Sourdough bread recipe? Easy? Those two words don’t usually go together, right? But here at Simply Cooked Recipes, I’m all about breaking down intimidating recipes into manageable steps. Sure, this sourdough bread recipe takes time, but the actual hands-on work? It’s surprisingly simple. You’re not standing over the dough for hours. Most of the magic happens while you’re doing other things, like binge-watching your favorite show or catching up on sleep.
What I love most about making sourdough at home is how forgiving it can be once you understand the basics. My first few loaves were dense hockey pucks, not gonna lie. But I learned from each attempt. Now? I can whip up a gorgeous loaf that rivals anything from fancy bakeries. The smell alone is worth the effort. When that bread is baking, my whole house smells like a European village, and my neighbors actually knock on my door asking what’s cooking.
This easy sourdough bread recipe doesn’t require fancy equipment or a science degree. You need a bowl, your hands, some patience, and a working oven. That’s pretty much it. If you’ve got a Dutch oven, great. If not, we can work around that too. The key is understanding that sourdough is a living thing. It breathes, it grows, it has moods. Once you respect that, you’ll be pulling out crusty, golden loaves like a pro.
I’ve tried every shortcut out there. Quick sourdough bread recipe methods, same day sourdough bread recipe tricks, even a chocolate sourdough bread recipe that was wild but oddly delicious. Some work better than others. But this version I’m sharing with you? It’s my go-to. It’s reliable, it’s delicious, and it makes the kind of bread that people remember. The kind that makes them ask for your recipe at dinner parties.
3) Ingredients for Sourdough Bread
Active Sourdough Starter is the heart of this whole operation. You can’t make authentic sourdough without it. Think of your starter as a pet that needs feeding. Mine lives in a jar on my counter, and I feed it flour and water regularly. When it’s bubbly and has doubled in size, it’s ready to bake with. If you don’t have a starter yet, you can make one from scratch in about a week, or ask around because bakers love sharing starter like it’s sourdough gold.
Bread Flour is what gives your loaf that perfect chewy texture and helps develop strong gluten. I always use bread flour for sourdough, never all-purpose. The higher protein content makes a huge difference in the final crumb structure. You want those beautiful open holes inside your bread, right? Bread flour is your ticket there. I buy mine in bulk because I bake so often, and it’s way more economical that way.
Water might seem basic, but temperature matters here. Room temperature water is best. Too hot and you’ll kill your starter. Too cold and fermentation slows down. I usually fill a pitcher and let it sit on the counter for an hour before I start mixing. Some bakers swear by filtered water, saying chlorine can mess with fermentation. I’ve used tap water for years with great results, but if you’re having issues, try filtered and see if it helps.
Salt does more than just season the bread. It strengthens the gluten structure and controls fermentation. Without salt, your dough would be a sticky, unmanageable mess. I use fine sea salt or kosher salt. Don’t skip this ingredient or try to reduce it too much. The 10 grams called for in this one day sourdough bread recipe is perfectly balanced. Your bread will taste flat and weird without enough salt, trust me on this one.

4) How to Make Sourdough Bread
Step 1. Feed your sourdough starter about 12 hours before you want to mix your dough. I do this at night before bed so it’s ready in the morning. Mix your starter with equal parts flour and water, cover it loosely, and let it do its thing. You’ll know it’s ready when it’s doubled in size, super bubbly, and smells pleasantly sour and yeasty. If you drop a spoonful in water and it floats, that’s another sign it’s good to go.
Step 2. Mix the dough by combining water and your active starter in a big bowl. Stir until the starter dissolves into the water. It’ll look cloudy and milky. Then add your bread flour and mix with your hands until no dry bits remain. The dough will be shaggy and sticky. Don’t panic, that’s totally normal. Cover it with a damp towel and let it rest for 30 minutes. This autolyse period helps the flour absorb water and starts gluten development without any work from you.
Step 3. Add salt to the dough and work it in. Sprinkle the salt over the surface, wet your hands, and start pinching and folding the dough. It takes about 5 minutes to get the salt fully incorporated. Your dough will feel tighter and stronger. Over the next few hours, you’ll do a series of stretch and folds. Every 30 minutes, grab one edge of the dough, pull it up, and fold it over itself. Rotate and repeat four times. Do this 6 to 8 times total.
Step 4. Let the dough bulk ferment at room temperature for several hours after your stretch and folds are done. You want it to grow by about 50% and look puffy with bubbles on the surface. This can take anywhere from 2 to 6 hours depending on your kitchen temperature. Warmer kitchens speed things up. I live in a cooler climate, so mine takes longer. Just watch the dough, not the clock. It’ll tell you when it’s ready.
Step 5. Shape your dough into a round. Turn it out onto a lightly floured counter and gently shape it by folding the edges toward the center. This creates surface tension. Flip it over so the seam is down, cup your hands around it, and pull it toward you in circular motions. Let it rest for 20 minutes under a towel. Then do a final shape and place it seam side up in a floured banneton basket or bowl lined with a floured towel.
Step 6. Refrigerate your shaped dough overnight or for at least 8 hours. Cold proofing is where the magic happens. The slow fermentation develops complex flavors that you just can’t get with a quick rise. It makes scoring easier too. I usually shape my dough in the evening and bake it first thing in the morning. The anticipation of fresh bread is the best alarm clock.
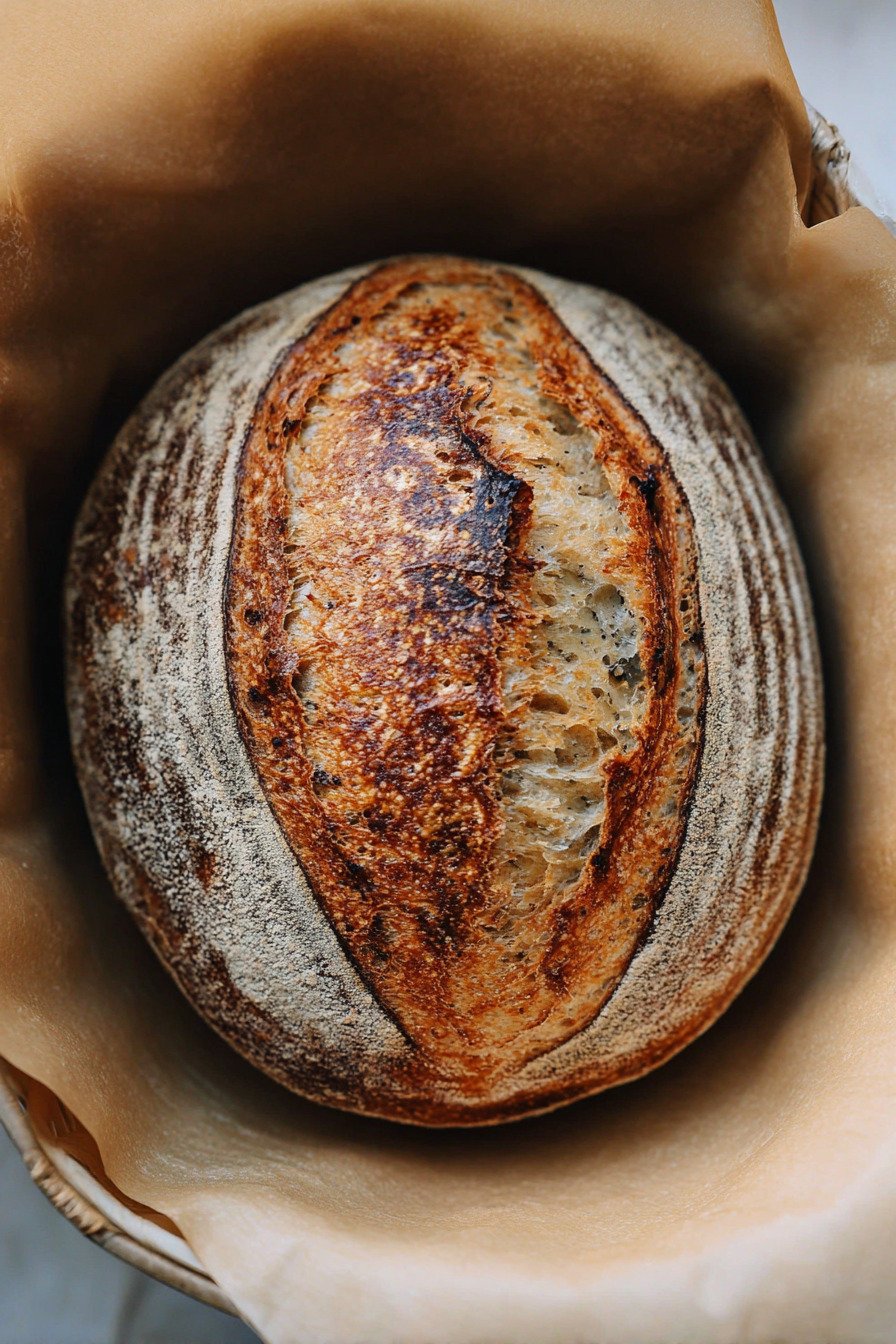
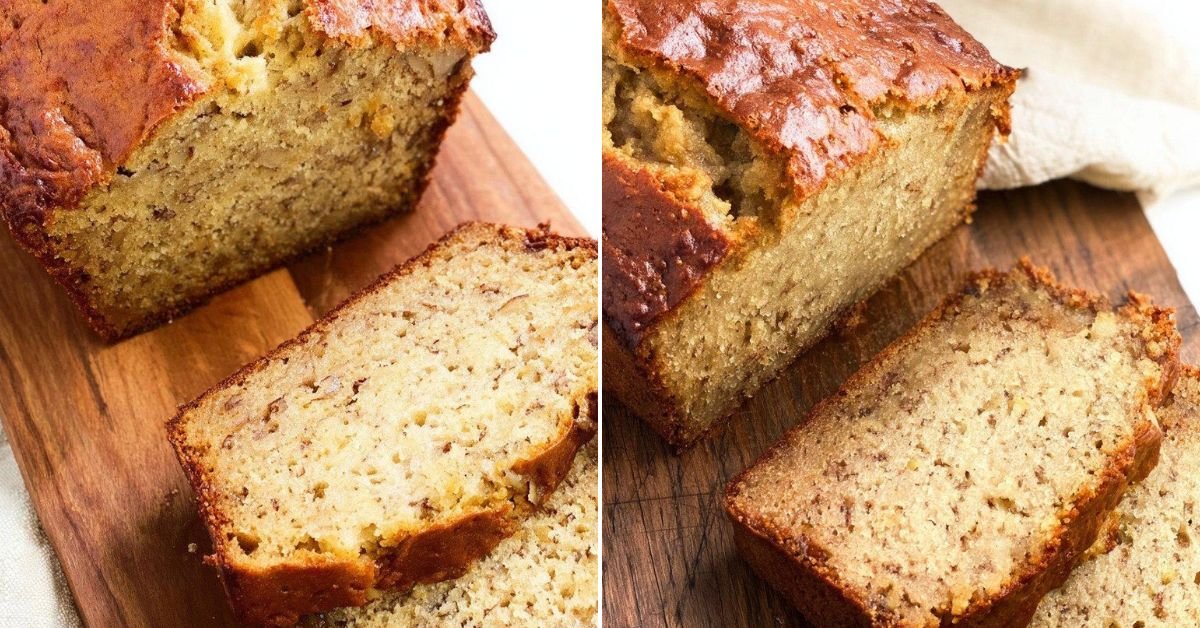
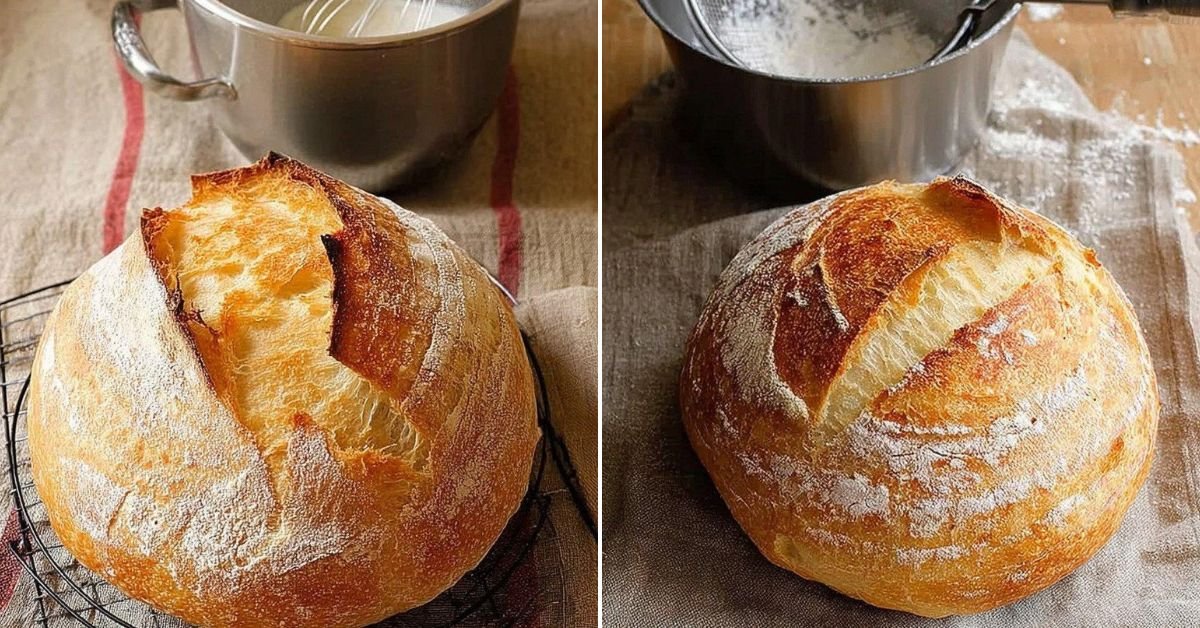
Step 7. Bake in a preheated Dutch oven at 500°F. Let that pot heat up for at least 45 minutes before you bake. Turn your dough out onto parchment paper, score the top with a sharp blade, and carefully drop it into the hot pot. Cover and bake for 20 minutes, then remove the lid and reduce temperature to 450°F for another 25 to 30 minutes. The bread should be deep golden brown and sound hollow when you tap the bottom. Let it cool completely before slicing, which is the hardest part of this whole sandwich sourdough bread recipe if you ask me.
5) Tips for Making Sourdough Bread
Temperature is everything when making sourdough. Your kitchen temperature affects fermentation speed more than anything else. In the summer, my dough rises crazy fast. In winter, it takes forever. I’ve learned to adjust by feeling the dough rather than watching the clock. If your kitchen is cold, turn your oven light on and let the dough rise inside with the door cracked. The gentle warmth speeds things up without cooking the dough.
Use a digital scale for measuring ingredients. I resisted this for years, thinking I could eyeball everything. Wrong. Baking is science, and sourdough is finicky science. Once I started weighing my flour and water, my bread became so much more consistent. You can find cheap kitchen scales online for under twenty bucks. It’s the best investment you’ll make for baking. Trust the grams, not the cups.
Don’t skip the stretch and folds. I know it seems tedious to set a timer every 30 minutes, but this step builds gluten structure without aggressive kneading. Each time you stretch and fold, the dough gets stronger and more cohesive. By the end, it transforms from a sticky blob into a smooth, elastic ball. You can actually see and feel the difference. It’s pretty satisfying, honestly.
Score your bread confidently. A sharp blade or bread lame makes clean cuts. I use a straight razor blade. Hold it at a 45-degree angle and make one swift, deliberate slash down the middle of the loaf. Hesitation leads to jagged, ugly scores. The cut allows the bread to expand in the oven in a controlled way. If you don’t score it, the bread will tear randomly, and you’ll lose that beautiful ear on top.
6) Making Sourdough Bread Ahead of Time
Sourdough is actually perfect for making ahead, which is why I love it so much. The cold proof in the fridge is your secret weapon. You can leave shaped dough in the refrigerator for up to 3 days before baking. The longer it sits, the more sour and complex the flavor becomes. I usually bake mine after 12 to 24 hours, but I’ve let it go longer when life gets busy. Just bring it to room temperature for about an hour before baking for the best oven spring.
You can also freeze shaped dough if you want to bake weeks later. Wrap it tightly in plastic wrap and foil, then freeze for up to a month. When you’re ready to bake, move it to the fridge the night before to thaw slowly. Then let it come to room temperature and bake as usual. I’ve done this before big gatherings when I knew I’d be swamped with other cooking. It’s nice to have bread ready to go without the time pressure.
Meal prep bakers love sourdough for good reason. You can mix several batches of dough on the weekend and stagger your baking throughout the week. Fresh bread every other day without daily effort? Sign me up. I keep multiple jars of shaped dough in my fridge and pull them out as needed. My family thinks I’m some kind of bread wizard, but really I’m just organized and lazy in the best possible way.
7) Storing Leftover Sourdough Bread
Never, and I mean never, store sourdough in the refrigerator. The cold temperature makes bread go stale faster. It’s counterintuitive, I know, but it’s true. The starch molecules crystallize in cold temperatures, giving you that cardboard texture nobody wants. Room temperature is your friend here. I store my bread cut side down on a cutting board with a clean kitchen towel draped over it. This keeps the crust crispy and the inside soft.
A good sourdough loaf stays fresh for about 4 to 5 days at room temperature. The thick crust protects the interior from drying out. If you notice the crust getting soft, pop the whole loaf in a 350°F oven for 10 minutes to re-crisp it. It’ll taste like you just baked it. I do this all the time when I have day-old bread. It’s like a mini refresh that brings the loaf back to life.
For longer storage, slice and freeze the bread. I wrap individual slices in parchment paper, stuff them in a freezer bag, and pull out what I need for toast or sandwiches. Frozen sourdough toasts beautifully straight from the freezer. No thawing needed. This trick has saved me so much bread waste over the years. I can have fresh toast any morning without baking a new loaf every few days.
Stale sourdough has a million uses, so don’t toss it. Make croutons, breadcrumbs, panzanella salad, or bread pudding. The tangy flavor of sourdough makes incredible French toast too. I actually save my heels and stale ends in a bag in the freezer specifically for making breadcrumbs. A few pulses in the food processor and you’ve got better breadcrumbs than anything you can buy at the store.
8) Try these Bread next!

9) Sourdough Bread

Sourdough Bread Recipe: Crusty, Tangy & Worth the Wait
Ingredients
For the Starter (Feed 12 hours before)
- 50g active sourdough starter
- 100g bread flour
- 100g water (room temperature)
For the Dough
- 375g water (room temperature)
- 200g active sourdough starter (fed and bubbly)
- 500g bread flour
- 10g salt
Instructions
Prepare Your Starter
- About 12 hours before you want to mix your dough, feed your starter. I usually do this the night before. Mix 50g of your starter with 100g bread flour and 100g water. Cover it loosely and let it sit at room temperature. You’ll know it’s ready when it’s doubled in size and super bubbly.
Mix the Dough
- In a large bowl, combine 375g water with 200g of your fed starter. Stir it around until the starter dissolves into the water. It’ll look cloudy and that’s perfect.
- Add 500g bread flour and mix with your hands or a wooden spoon until there’s no dry flour left. The dough will be shaggy and sticky. Don’t worry about making it smooth yet.
- Cover the bowl with a damp towel and let it rest for 30 minutes. This is called autolyse, and it helps develop the gluten without any work from you.
Add Salt and Develop Gluten
- Sprinkle 10g salt over the dough. Wet your hands and pinch the salt into the dough, then start folding it over itself. Do this for about 5 minutes until the salt is fully incorporated.
- Over the next 3 to 4 hours, perform a series of stretch and folds. Every 30 minutes, wet your hands, grab one side of the dough, stretch it up, and fold it over itself. Rotate the bowl and repeat 4 times. You’ll do this 6 to 8 times total. The dough will transform from sticky and loose to smooth and strong.
Bulk Fermentation
- After your stretch and folds are done, cover the dough and let it sit at room temperature for another 2 to 4 hours. You want it to increase in size by about 50% and look puffy with some bubbles on the surface. The timing depends on how warm your kitchen is.
Shape the Dough
- Turn the dough out onto a lightly floured surface. Gently shape it into a round by folding the edges toward the center, creating tension on the surface.
- Flip it over so the seam side is down. Cup your hands around the dough and gently pull it toward you in a circular motion to create more tension. You want a tight, smooth ball.
- Let it rest for 20 minutes, covered with a towel.
Final Shape
- Flour your banneton basket or line a bowl with a floured kitchen towel. Flip your dough over so the seam side is up.
- Do a final shaping by pulling the edges to the center again, creating a tight package. Flip it seam side up into your prepared basket.
- Cover it with plastic wrap or a shower cap and refrigerate overnight, or at least 8 hours. Cold proofing develops amazing flavor and makes scoring easier.
Bake
- When you’re ready to bake, preheat your oven to 500°F (260°C) with a Dutch oven inside for at least 45 minutes.
- Turn your dough out onto a piece of parchment paper. Score the top with a sharp knife or bread lame. I like doing one long slash down the middle, but get creative if you want.
- Carefully transfer the dough (on the parchment) into the hot Dutch oven. Cover with the lid and bake for 20 minutes.
- Remove the lid, reduce temperature to 450°F (232°C), and bake for another 25 to 30 minutes until deep golden brown.
- Take it out and let it cool on a wire rack for at least 1 hour before slicing. I know waiting is torture, but cutting too early will give you a gummy interior.
10) Nutrition
Serving Size: 1 slice (1/12 of loaf), Calories: 127, Sugar: 0.2 g, Sodium: 195 mg, Fat: 0.5 g, Saturated Fat: 0.1 g, Carbohydrates: 26.4 g, Fiber: 1.1 g, Protein: 4.2 g, Cholesterol: 0 mg


Leave a Comment