You know those afternoons when the kids come home from school and they’re absolutely ravenous? I’ve been there a million times. That’s when I reach for these incredible Chunky Monkey Banana Bites. We stumbled upon this recipe last summer when my youngest was begging for store-bought frozen treats, and honestly, I couldn’t believe how simple they were to whip up at home. These bites are what I call sneaky healthy. The kids think they’re getting dessert, but really they’re munching on bananas packed with potassium, peanut butter full of protein, and just enough chocolate to make life worth living. I love how they come together with just three ingredients. No fancy equipment needed, no complicated steps. Just slice, spread, freeze, dip, and boom. You’re done. What makes these perfect for busy families like ours? They’re totally make ahead. I prep a big batch on Sunday nights and stash them in the freezer. Then when someone needs a quick pick me up before soccer practice or dance class, we’re covered. Plus, they double as an after school snack and a camping treat. My kids love taking these on our weekend trips. They stay frozen in the cooler and taste amazing around the campfire. Trust me, once you try these no bake treats, you’ll wonder why you ever bought the pricey versions at the grocery store.
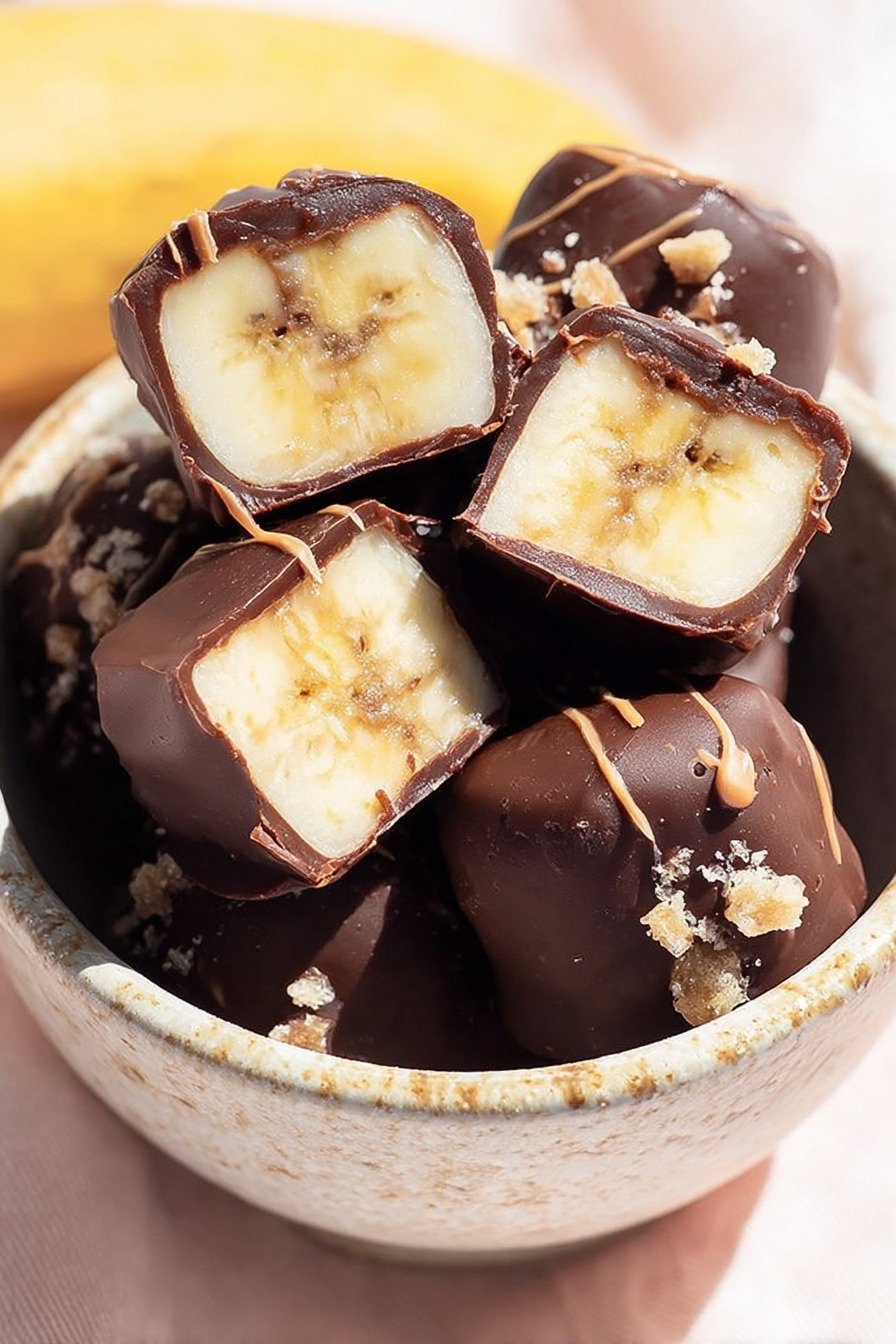
Table of Contents
- 1) Key Takeaways
- 2) Easy Chunky Monkey Banana Bites Recipe
- 3) Ingredients for Chunky Monkey Banana Bites
- 4) How to Make Chunky Monkey Banana Bites
- 5) Tips for Making Chunky Monkey Banana Bites
- 6) Making Chunky Monkey Banana Bites Ahead of Time
- 7) Storing Leftover Chunky Monkey Banana Bites
- 8) Try these Snacks next!
- 9) Chunky Monkey Banana Bites
- 10) Nutrition
1) Key Takeaways
- What makes Chunky Monkey Banana Bites such a great quick snack recipe?
- Can I use different nut butters instead of peanut butter?
- How long do these frozen banana bites last in the freezer?
- Are Chunky Monkey Banana Bites healthy enough for after school snacks?
2) Easy Chunky Monkey Banana Bites Recipe
Let me tell you about my all time favorite quick snack recipes. These Chunky Monkey Banana Bites changed everything in our house. I used to spend way too much money buying frozen treats at the store, then one day I thought, why am I doing this when I can make them myself? Turns out, these quick snack recipes are ridiculously simple and taste way better than anything you can buy.
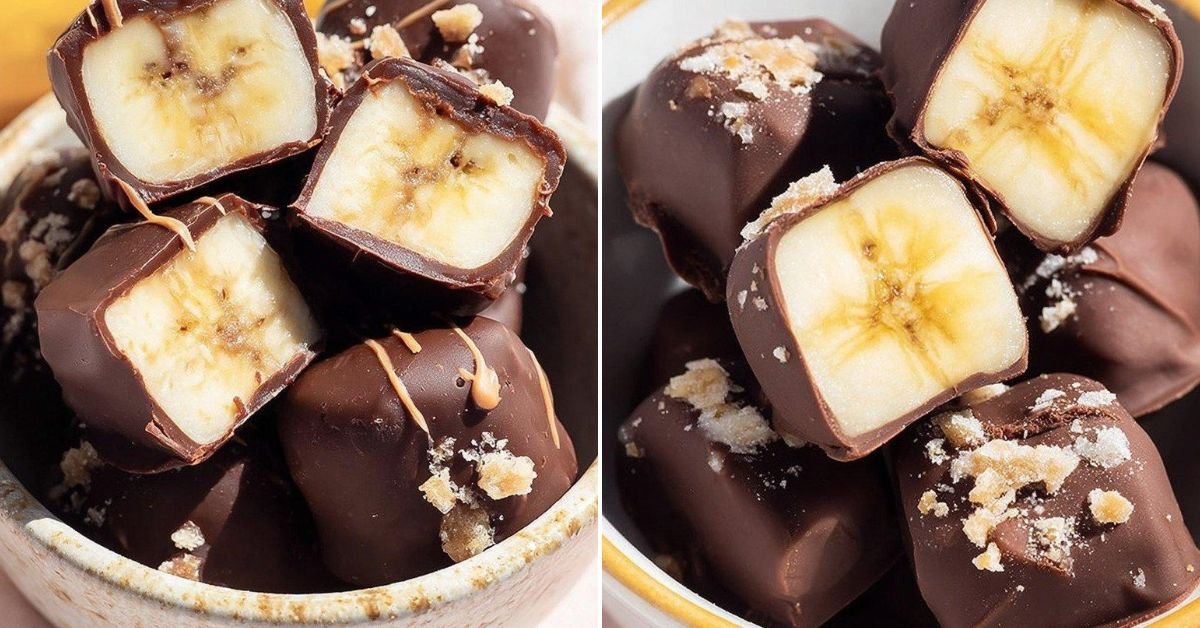
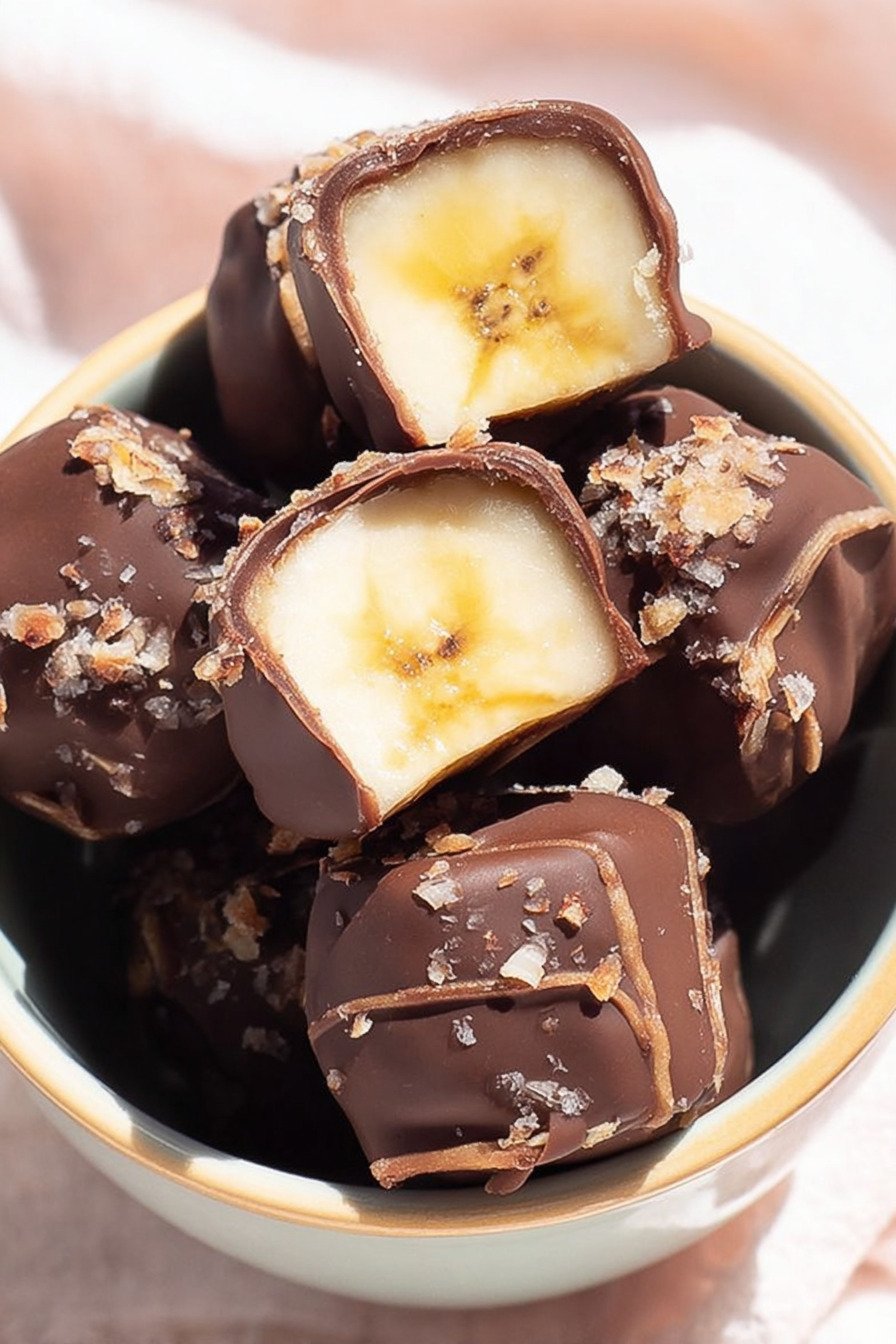
We’re talking three ingredients here. Just bananas, peanut butter, and chocolate chips. That’s it. No complicated steps, no fancy kitchen gadgets, no standing over the stove for hours. You slice some bananas, smear on some peanut butter, freeze them, dip them in melted chocolate, and you’re done. My seven year old can practically make these by herself, which tells you how easy they really are.
What makes these so perfect? They’re one of those 2 ingredient desserts that feels like you’re cheating but you’re really not. The banana gives you natural sweetness and a creamy texture when frozen. The peanut butter adds that protein punch kids need. The chocolate? That’s just pure happiness. When you bite into one of these, you get this perfect combo of creamy, crunchy, sweet, and slightly salty that makes your taste buds do a little happy dance.
I make these every single Sunday night now. It’s become our meal prep ritual. My kids help me line up the banana slices and spread the peanut butter. We chat about the week ahead and laugh when someone gets chocolate on their nose. These simple moments matter, you know? And when Monday morning rolls around and someone needs a quick energy boost before baseball practice, we’ve got a stash of these frozen beauties ready to go.
The best part? These work for everything. Need an after school snack? Grab a couple of these. Packing for a camping trip? Throw them in the cooler. Want a guilt free dessert after dinner? You got it. They’re basically the Swiss Army knife of no bake treats. My husband even sneaks them for his midday snack at work. He says they’re better than the vending machine junk and keep him full until dinner.
3) Ingredients for Chunky Monkey Banana Bites
Bananas: Pick bananas that are ripe but still firm. You want them yellow with maybe just a few brown spots. If they’re too ripe, they’ll get mushy and fall apart when you try to dip them in chocolate. I learned this the hard way when I tried using those super brown bananas sitting on my counter. Total disaster. The texture matters here. You need bananas that can hold their shape through freezing and dipping.
Peanut Butter: Any peanut butter works, but I prefer the creamy kind for these. Natural peanut butter is great if that’s your thing, just give it a good stir first. My kids are obsessed with regular old Jif, so that’s what we use. Some families deal with peanut allergies, and that’s totally fine. Almond butter tastes amazing in these. Sunflower seed butter works too if you need a nut free option. Cashew butter is another winner. Just pick whatever your family loves and run with it.
Chocolate Chips: This is where you can get creative. My kids are milk chocolate fans through and through. They think dark chocolate is too bitter, but I secretly love making a batch with dark chocolate for myself. It feels a little less indulgent, you know? White chocolate is fun for special occasions. Semi sweet chocolate hits that sweet spot right in the middle. You can even mix different chocolates together if you’re feeling adventurous. One batch with milk chocolate, another with dark chocolate, and suddenly you’ve got variety.
Coconut Oil: This ingredient is totally optional but it makes your life easier. When you add a little coconut oil to the melting chocolate, it thins out the consistency just enough to make dipping smooth and effortless. The chocolate coating ends up looking more professional too. If you don’t have coconut oil, skip it. The chocolate will still melt fine, it’ll just be a bit thicker. Not a big deal at all.
Parchment Paper: You need this to keep the banana bites from sticking to your baking sheet. Trust me on this one. I tried using wax paper once and it was a nightmare. The chocolate stuck to everything and I ended up with a mess. Parchment paper is your friend here. It peels off clean every single time.
Small Baking Sheet: Make sure whatever baking sheet you use actually fits in your freezer. I know this sounds obvious, but I’ve watched friends try to cram huge baking sheets into tiny freezer spaces. Check first. A quarter sheet pan works perfectly for most freezers and holds enough banana bites for a good size batch.
4) How to Make Chunky Monkey Banana Bites
Step 1: Grab your bananas and slice them into rounds about 1/4 inch thick. Not too thin or they’ll break when you handle them. Not too thick or they’ll be awkward to eat. Just nice even slices. I usually get about 12 to 15 slices per banana depending on the size. Lay half of your banana slices on a baking sheet lined with parchment paper. Keep the other half nearby because you’ll need them in a minute.
Step 2: Pop your peanut butter in the microwave for about 30 to 45 seconds. This step is a game changer. Cold peanut butter is thick and hard to spread, but warm peanut butter? It’s like silk. You can spread it so easily without tearing up the banana slices. Spoon about half a teaspoon of peanut butter onto each banana slice. Don’t stress about being perfect here. A little more or less doesn’t matter. Just get some peanut butter on each slice.
Step 3: Take your remaining banana slices and place them on top of the peanut butter covered slices. You’re making little banana sandwiches here. Press down gently so the peanut butter squishes out to the edges just a bit. This helps them stick together when frozen. My kids think this step is hilarious and always make jokes about banana burgers. Whatever keeps them entertained, right?
Step 4: Slide that baking sheet into your freezer and let everything freeze for at least an hour. I usually leave mine for about 90 minutes just to be safe. You want these frozen solid before you start dipping them in chocolate. If they’re even slightly soft, the chocolate won’t set properly and you’ll end up with a goopy mess. Been there, done that, learned my lesson.
Step 5: When your banana bites are completely frozen, it’s chocolate time. Dump your chocolate chips into a microwave safe bowl. If you’re using coconut oil, add it now. Microwave the chocolate in 30 second bursts, stirring between each one. This prevents the chocolate from burning. Keep going until it’s completely smooth and melted. Should take about 90 seconds total.
Step 6: Now comes the fun part. Take each frozen banana bite and use a fork to dip it into the melted chocolate. Make sure it’s completely coated. Let any excess chocolate drip back into the bowl, then place the dipped bite back onto your parchment lined baking sheet. Work quickly here because the frozen banana bites will start to make the chocolate harden fast. If your chocolate gets too thick while you’re working, just pop it back in the microwave for 15 seconds.
Step 7: Once all your bites are dipped and back on the baking sheet, return them to the freezer for another hour. This sets the chocolate coating nice and firm. After that, you can transfer them to a freezer bag or an airtight container. They’ll keep in the freezer for weeks, though ours never last that long. My family goes through them way too fast.
5) Tips for Making Chunky Monkey Banana Bites
Use firm bananas for the best results. I can’t stress this enough. Overripe bananas might be perfect for banana bread, but they’re terrible for these bites. The texture gets all mushy and weird when frozen. You want bananas that are yellow with minimal brown spots. They should feel firm when you hold them, not soft or squishy. This makes all the difference in how your final product turns out.
Warm up that peanut butter before spreading. I mentioned this already but it’s so important I’m saying it again. Cold peanut butter will tear your banana slices apart and make you want to throw things across the kitchen. Warm peanut butter spreads like a dream and makes this whole process way more enjoyable. Just 30 seconds in the microwave transforms everything.
Don’t skip the first freeze. Some people try to dip the banana bites right after making the sandwiches. Bad idea. They need to be completely frozen before chocolate dipping or everything falls apart. I learned this during my first attempt when I got impatient. Half my banana bites disintegrated into the chocolate bowl. What a waste. Take the time to freeze them properly and save yourself the frustration.
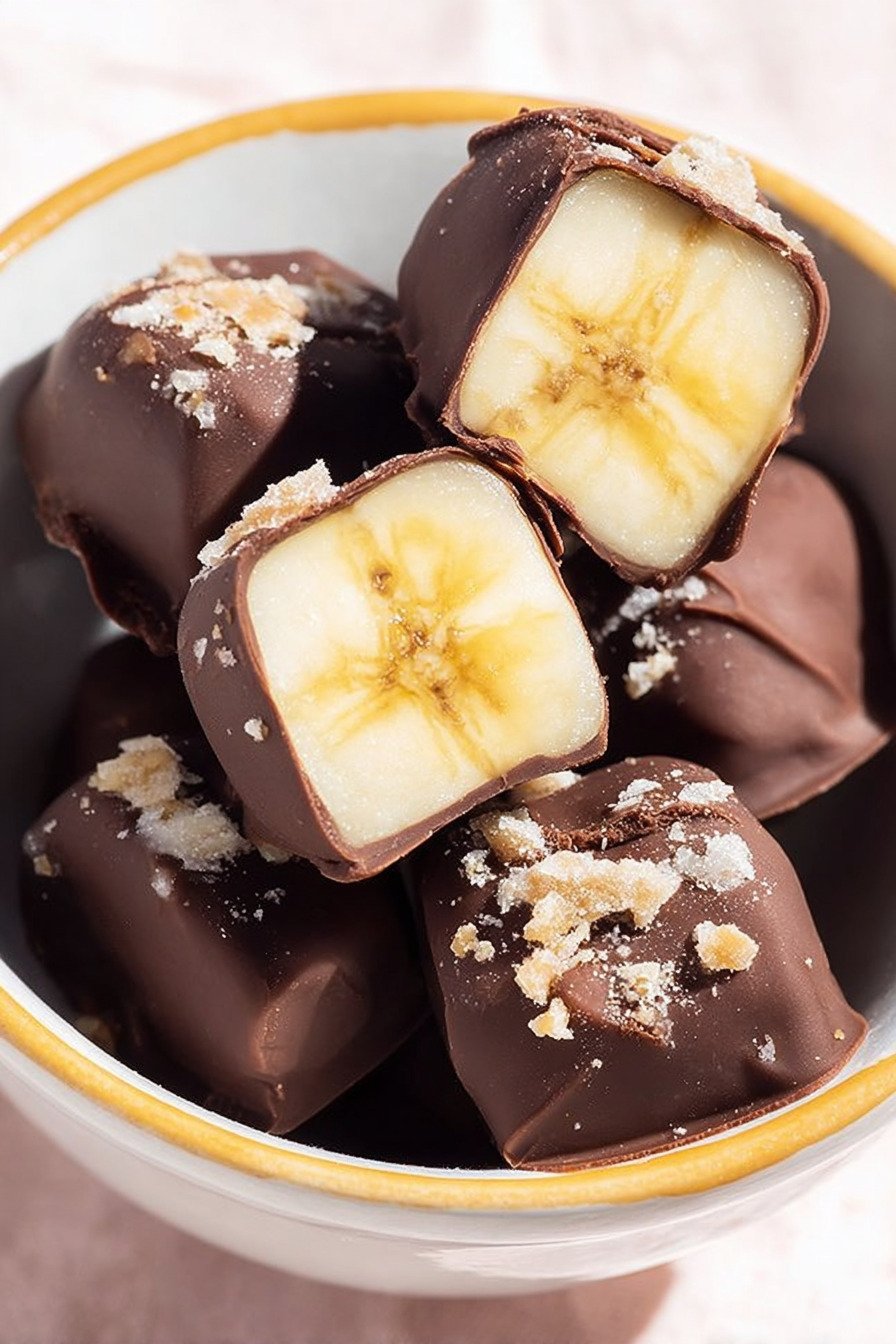
Add toppings while the chocolate is still wet. If you want to get fancy and sprinkle some crushed peanuts or colorful sprinkles on top, do it immediately after dipping. The chocolate starts to set within seconds because the banana bites are so cold. You only have a small window to add toppings before the chocolate hardens. My daughter loves adding rainbow sprinkles to hers, which makes them look like little party treats.
Work in batches if your freezer is small. Not everyone has tons of freezer space. If you can only fit one baking sheet at a time, make your banana sandwiches in batches. Freeze the first batch, dip them, then move them to a container before starting the next batch. Takes a bit longer but works perfectly fine. No need to stress about cramming everything in at once.
Keep these in an airtight container once they’re frozen. This prevents freezer burn and keeps them tasting fresh. I use a gallon sized freezer bag and they stay perfect for at least three weeks. Not that they ever last that long in my house. We usually go through a batch in less than a week. But it’s nice to know they keep well if you want to make a huge batch for banana boats camping trips or parties.
6) Making Chunky Monkey Banana Bites Ahead of Time
These bites are basically designed for making ahead. That’s their whole thing. You make a bunch on the weekend and you’re set for the entire week. I do this every Sunday evening after dinner. Takes me maybe 20 minutes of actual hands on time, then the freezer does all the work. By Monday morning, we’ve got a full supply of after school snacks ready to grab and go.
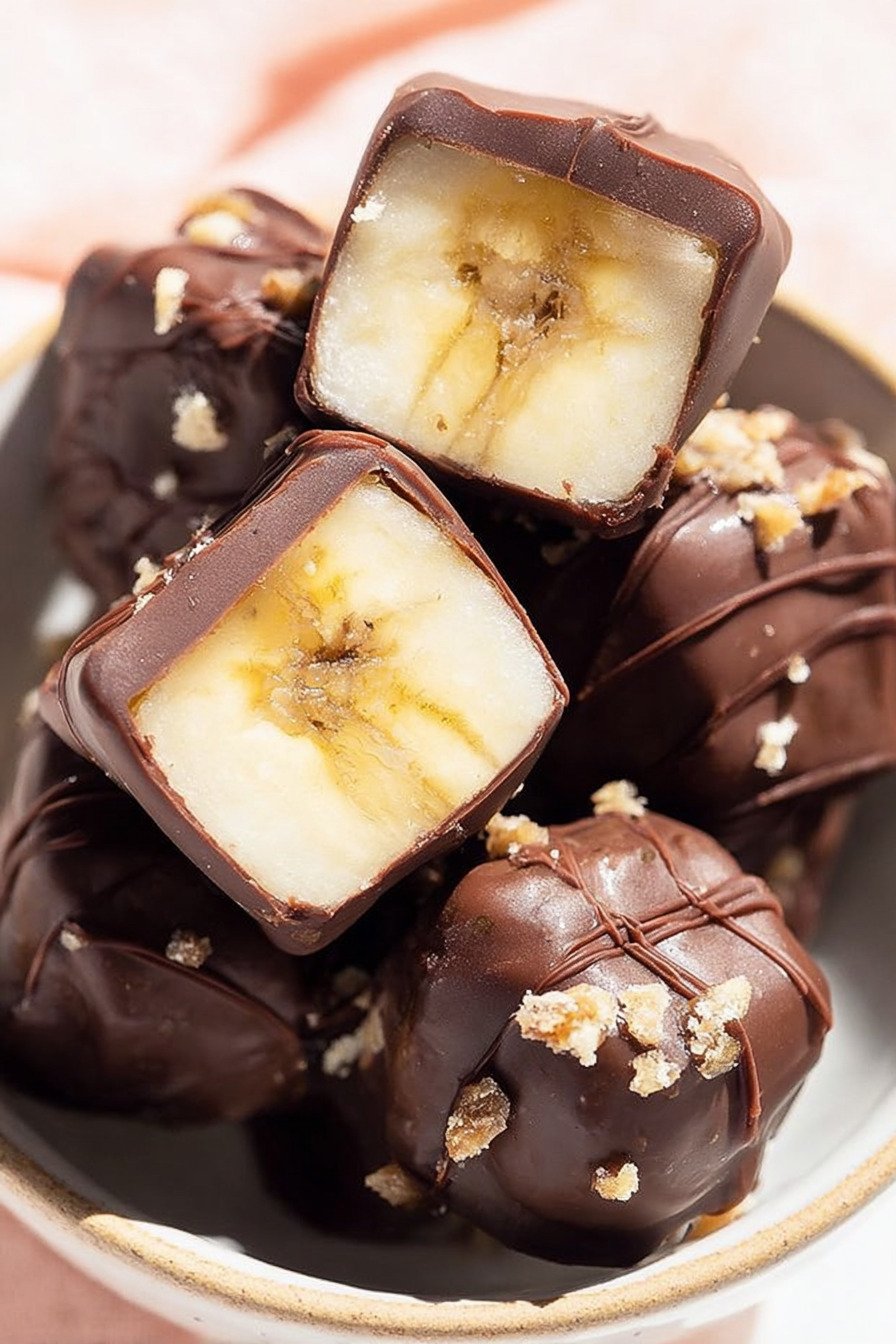
The beauty of making these ahead is they actually taste better after sitting in the freezer for a day or two. Something about that extra freezing time makes the flavors blend together perfectly. The banana gets creamier, almost ice cream like. The peanut butter firms up just right. The chocolate coating stays nice and crispy. It’s like they improve with age, which is rare for homemade treats.
I usually make double batches when I’m already doing the work. If you’re going to dirty dishes and pull out ingredients, might as well go big. Six bananas instead of three doesn’t take much more time. You end up with twice as many treats for barely any extra effort. My family loves having options, so sometimes I’ll make one batch with milk chocolate and another batch with dark chocolate. Keeps things interesting.
Storage is simple when you prep ahead. Once the chocolate coated bites are completely frozen, transfer them to a freezer safe container or bag. Layer them if you need to, just put a piece of parchment paper between layers so they don’t stick together. Label the container with the date if you’re organized like that. Though honestly, they disappear so fast in my house that dating them feels unnecessary.
Want to get really prepared? Make these a week before a big event. Birthday party coming up? Make banana bites ahead of time and you’ve got dessert covered. Planning a camping trip? Prep them before you leave and pack them in your cooler. They stay frozen for hours and make the perfect treat after a long day of hiking. My kids request these for every single camping trip now. They’re basically a family tradition at this point.
7) Storing Leftover Chunky Monkey Banana Bites
Storing these treats couldn’t be easier. Once they’re completely frozen with the chocolate coating set, just toss them into an airtight container or freezer bag. They’ll keep in the freezer for up to three weeks without any loss of quality. I’ve never had them last longer than that because we eat them too fast, but I bet they’d be fine even longer if you needed them to be.
Make sure your container is actually airtight. This prevents freezer burn and keeps your banana bites tasting fresh. Nobody wants freezer burned treats. They get all weird and icy and lose that creamy texture. I use heavy duty freezer bags most of the time. They seal tight, take up less space than containers, and I can see exactly what’s inside without opening them.
Don’t worry about thawing these before eating. They’re meant to be eaten frozen straight from the freezer. That’s when they taste best. The texture is perfect when frozen solid. If you let them sit out and thaw, they get soft and messy. Not nearly as good. Just grab one from the freezer and pop it in your mouth. That first bite when it’s ice cold is the best.
If you need to transport these somewhere, pack them in a cooler with ice packs. They’ll stay frozen for several hours this way. Great for taking to the beach, bringing to potlucks, or packing for road trips. My kids love having these as car snacks on long drives. They’re not messy, they keep everyone happy, and they provide a decent energy boost without a sugar crash later.
One tip I’ve learned is to keep them toward the back of the freezer where it’s coldest. The door of the freezer gets opened constantly and the temperature fluctuates. Keep your banana bites in the back where it stays consistently cold. They’ll maintain that perfect frozen texture and won’t develop ice crystals on the chocolate coating.
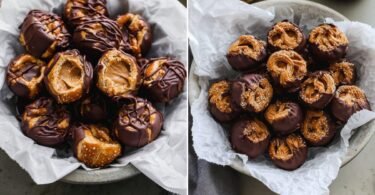
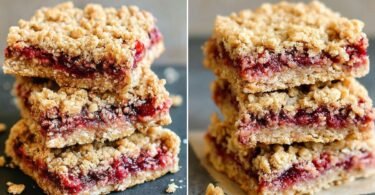
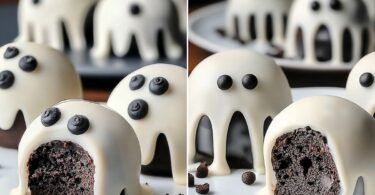
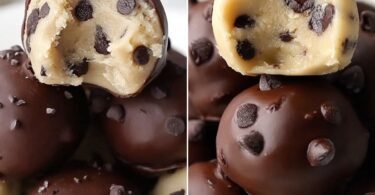
8) Try these Snacks next!


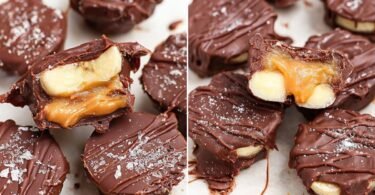
9) Chunky Monkey Banana Bites

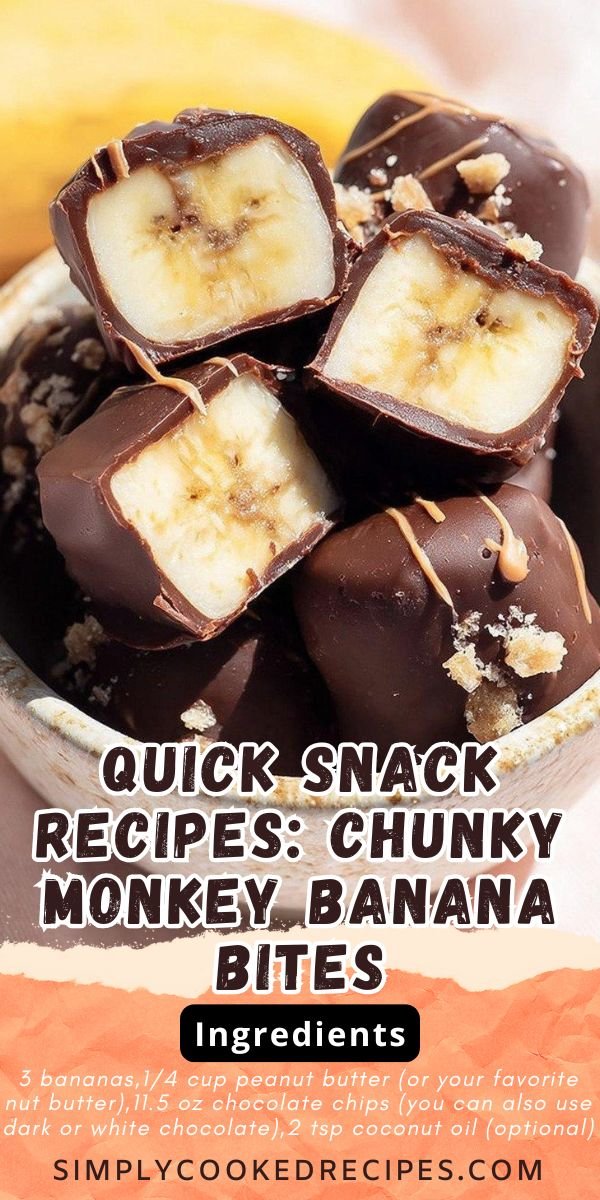
Quick Snack Recipes: Chunky Monkey Banana Bites
Ingredients
- 3 bananas
- 1/4 cup peanut butter (or your favorite nut butter)
- 11.5 oz chocolate chips (you can also use dark or white chocolate)
- 2 tsp coconut oil (optional)
Instructions
- Slice the bananas into 1/4 inch slices. Place half of the slices on a lined baking sheet and set aside the other half.
- Heat up the peanut butter in the microwave for about 30 to 45 seconds. This makes it way easier to spread. Spoon about 1/2 tsp of peanut butter on top of each banana slice. When you’re done adding all the peanut butter, top with the other banana halves to make little sandwiches.
- Pop the peanut butter stuffed bananas into the freezer for about an hour.
- Once the bananas are frozen solid, heat up the chocolate chips in a microwave safe bowl. You can add some coconut oil to help melt the chocolate if you want it extra smooth.
- One by one, use a fork to dip each bite into the melted chocolate, then place them back onto your lined baking sheet.
- Put them back in the freezer for at least one more hour. Once they’re solid, transfer them to a freezer bag or container and keep them frozen until snack time!
10) Nutrition
Serving Size: 1 bite, Calories: 145, Sugar: 12.8 g, Sodium: 28 mg, Fat: 7.2 g, Saturated Fat: 3.1 g, Carbohydrates: 19.4 g, Fiber: 2.1 g, Protein: 3.2 g, Cholesterol: 0 mg
Leave a Comment