
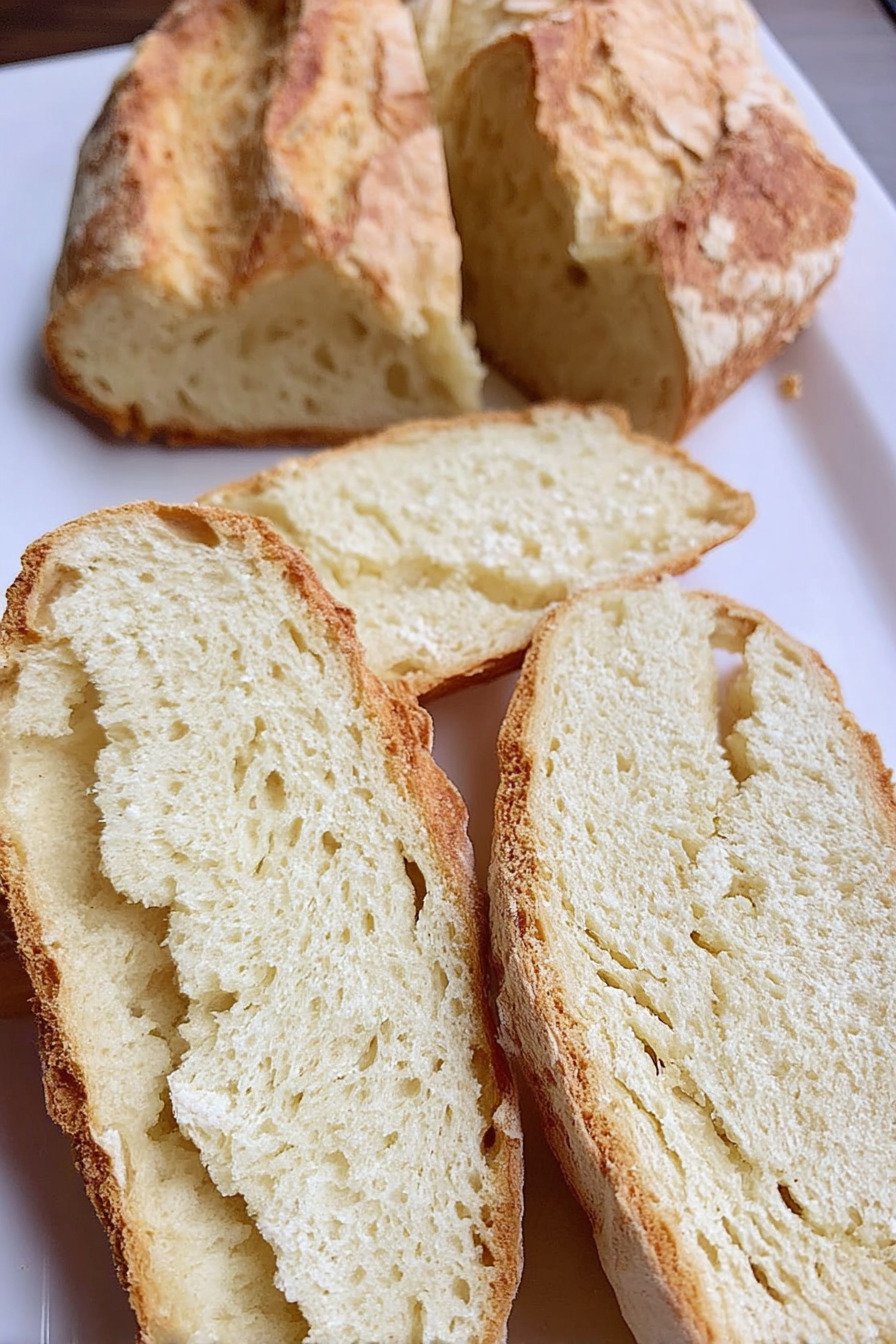
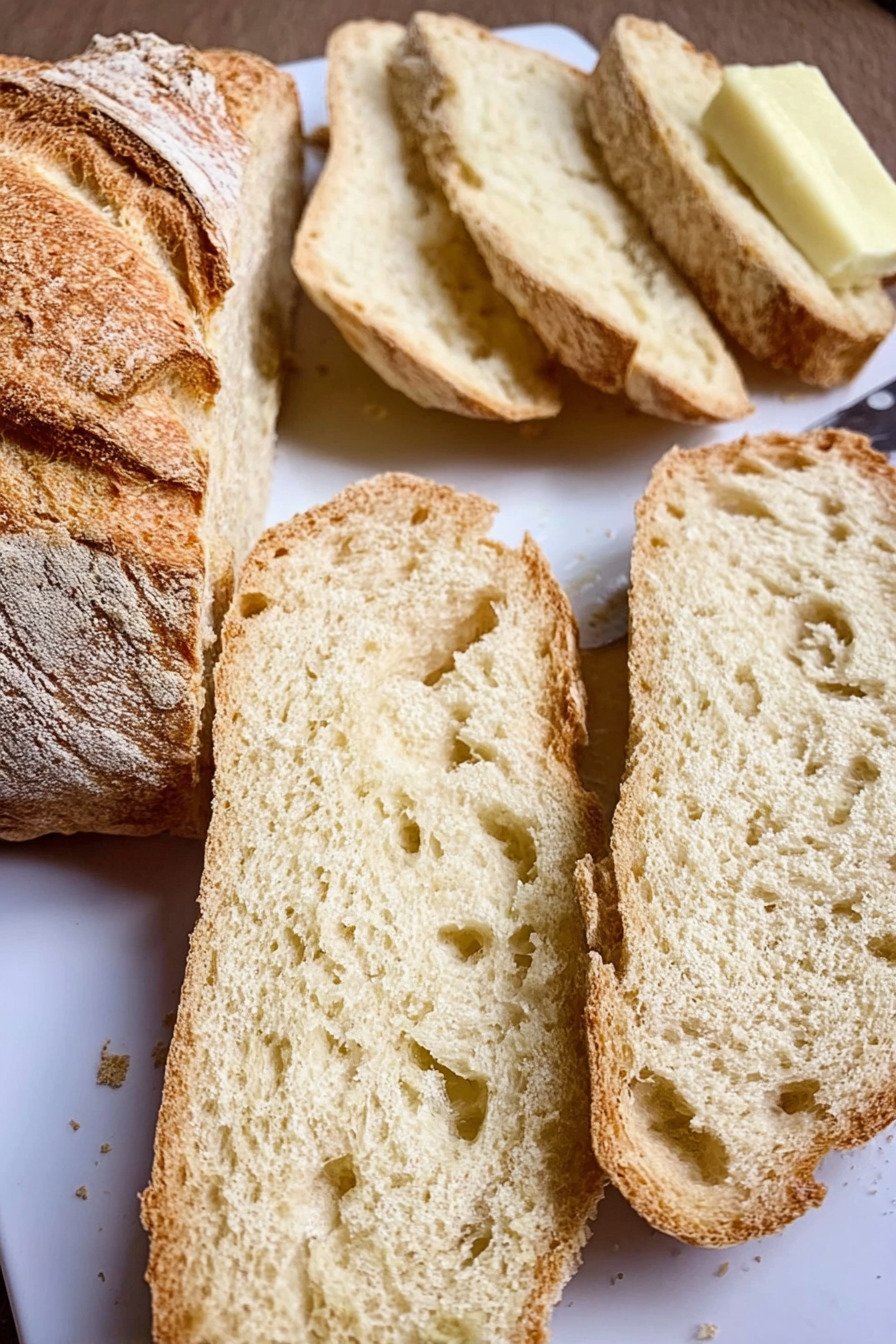
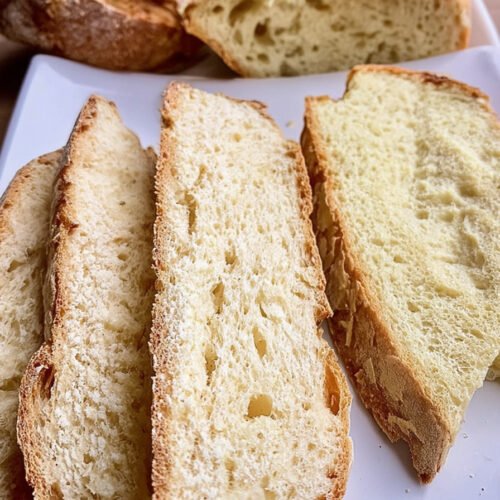
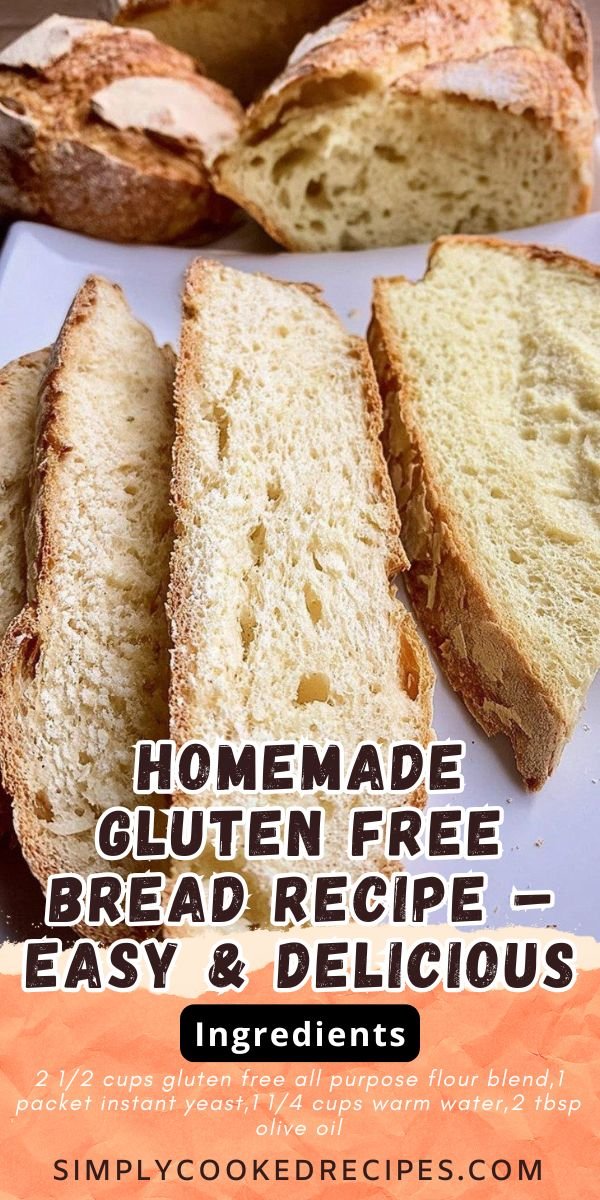
Making bread at home used to feel like something only grandmothers or professional bakers could do, but let me tell you, once I started experimenting with homemade bread recipes, I realized it’s actually something we can all pull off. This gluten free version is proof. It’s simple, forgiving, and makes your kitchen smell like the coziest bakery you’ve ever stepped into. I’ve had my fair share of loaves that came out more like bricks than bread, but once I found the right mix and rhythm, it started to click. What I love most about this easy gluten free bread recipe is that you don’t need fancy equipment or endless kneading. You just mix, wait, bake, and then try not to eat half the loaf while it’s still warm. If you’ve been hunting for bread recipes homemade, especially something that’s both healthy and satisfying, this might just be the best homemade bread recipe for your kitchen. It’s soft in the middle, has a crust with a little crunch, and tastes even better toasted with a spread of butter or jam. For me, it’s the kind of recipe that makes you pause mid-bite and think, ‘Yep, this is why I cook at home.’
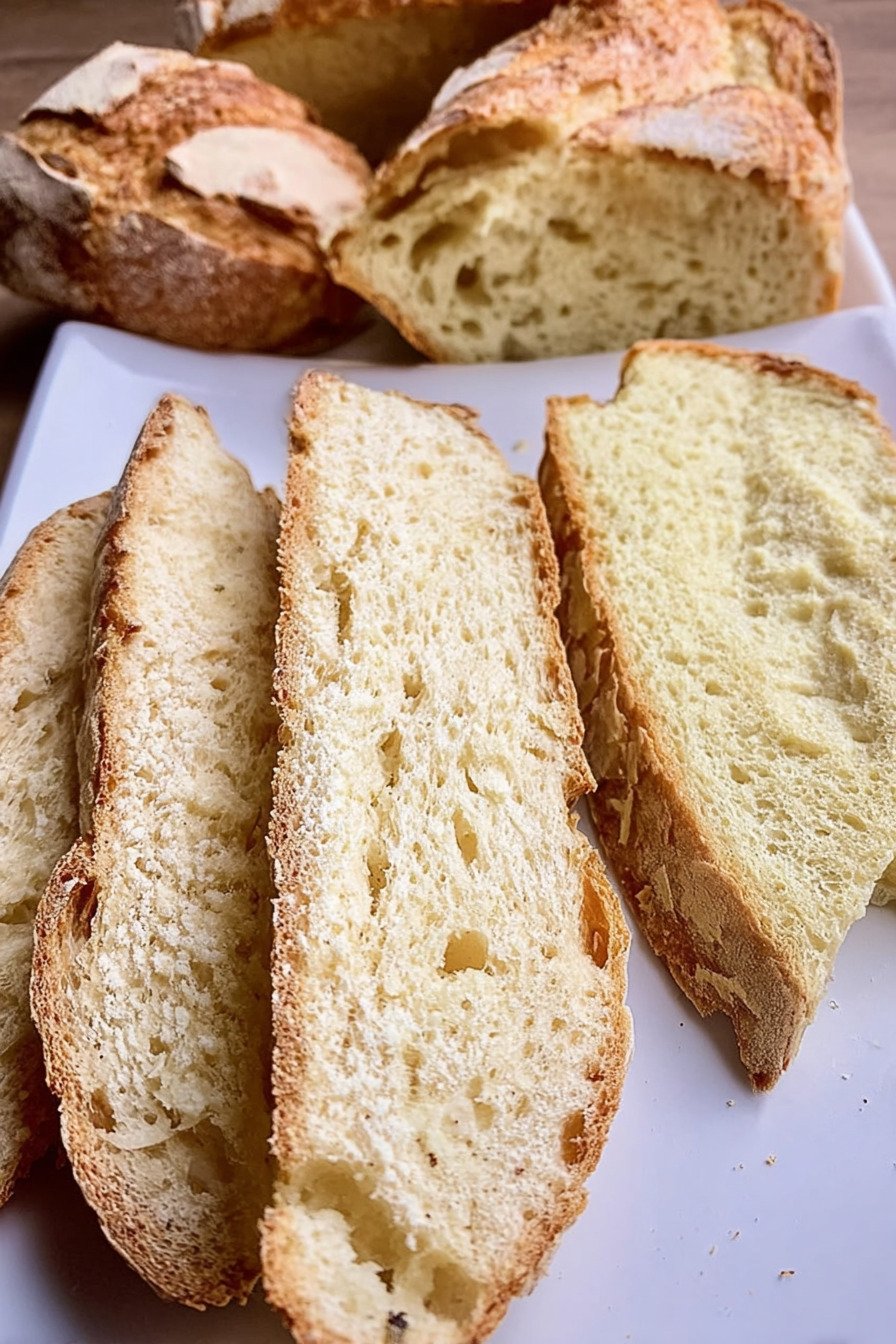
Table of Contents
- 1) Key Takeaways
- 2) Easy Homemade Gluten Free Bread Recipe
- 3) Ingredients for Homemade Gluten Free Bread
- 4) How to Make Homemade Gluten Free Bread
- 5) Tips for Making Homemade Gluten Free Bread
- 6) Making Homemade Gluten Free Bread Ahead of Time
- 7) Storing Leftover Homemade Gluten Free Bread
- 8) Try these Bread next!
- 9) Homemade Gluten Free Bread
- 10) Nutrition
1) Key Takeaways
- This recipe creates soft bread with a golden crust using simple pantry items.
- No special machines are needed, just one bowl and a loaf pan.
- Perfect for anyone seeking homemade bread recipes that are easy and gluten free.
- Best served warm with butter, jam, or toasted for sandwiches.
2) Easy Homemade Gluten Free Bread Recipe
I used to think bread baking belonged in the category of mysteries, like fixing a car engine or folding a fitted sheet. But once I started working on homemade bread recipes, I realized how straightforward it can be. This gluten free bread quickly became a favorite at Simply Cooked Recipes. It’s not just simple; it’s forgiving, which makes it great for people like me who sometimes rush steps or forget timers.
The dough mixes together with a whisk, rises while you prep dinner, and bakes into a loaf that fills the house with that comforting aroma we all secretly crave. The best part is you don’t need strong arms for kneading or hours of free time. It’s the type of easy gluten free bread recipe that lets you bake on a weeknight without stress.
Whether you’re brand new to bread or already love bread recipes homemade, this loaf is a keeper. Kathy here at Simply Cooked Recipes, and I promise you this is one of the best homemade bread recipe experiments I’ve ever shared.
3) Ingredients for Homemade Gluten Free Bread
Gluten Free All Purpose Flour Blend forms the base of the bread. Different blends give different textures, so find one you like. A blend with xanthan gum usually works best to mimic the chew of regular bread.
Instant Yeast is what makes the loaf rise and stay light instead of heavy. It only needs a few minutes to get bubbly, so no long wait here.
Warm Water wakes up the yeast. It should feel like bath water, not hot enough to burn your finger. Too hot and the yeast won’t work.
Olive Oil keeps the bread tender and adds a faint richness. It’s a quiet background note, but without it the bread can feel dry.
Sugar feeds the yeast just enough to get it moving. It’s not about making the bread sweet, more like giving the yeast breakfast so it will do its job.
Salt balances flavor and helps with structure. Without it, bread tastes flat and feels limp.
Eggs give lift and softness. They help bind everything together in a way that makes gluten free bread more like the wheat versions you miss.
4) How to Make Homemade Gluten Free Bread
Step 1. Mix warm water, sugar, and yeast in a large bowl. Let it sit for about five minutes until foamy. That foam is proof your yeast is alive and ready to work.
Step 2. Add eggs and olive oil. Whisk until smooth. This mixture is the foundation for the batter-style dough.
Step 3. Stir in the flour and salt until a thick batter forms. It won’t look like traditional dough, but don’t panic. It should be heavy and sticky, not kneadable.
Step 4. Scrape the dough into a greased loaf pan. Smooth the top with a spatula. Think of it as tucking the bread in before its nap.
Step 5. Cover with a towel and let it rise in a warm spot. It should puff up after thirty to forty minutes. A warm kitchen counter or inside the oven with the light on works well.
Step 6. Bake at 375°F for 35 to 40 minutes. The loaf should turn golden brown, and a toothpick should come out clean when poked in the middle.
Step 7. Cool for at least ten minutes before slicing. This step feels like torture, but cutting too soon can make the bread gummy. Wait just long enough to slice warm pieces without steam rushing out.

5) Tips for Making Homemade Gluten Free Bread
I learned the hard way that gluten free bread needs a different touch than wheat bread. Don’t expect the same stretchy dough or lofty rise. Instead, focus on the small victories like a soft middle and a crisp crust.
Keep your yeast fresh. If it doesn’t foam in the beginning, toss it and start again. Dead yeast won’t rise no matter how long you wait. I’ve had to learn patience through trial and error here.
Resist adding extra flour. Sticky dough feels wrong at first, but adding more flour only makes the bread dry and dense. Trust the recipe and let the batter be loose.
Bake on the middle rack. Too high and the crust browns before the center cooks. Too low and the bottom gets tough. The middle rack gives the best chance at an even bake.
6) Making Homemade Gluten Free Bread Ahead of Time
This bread works well when baked ahead. I often make a loaf on Sunday so we have slices for the week. The taste stays fresh for a few days, and toasting revives the texture even after it’s been sitting out.
If you want to prep ahead, you can mix the dry ingredients in a bag and keep them sealed. When you’re ready to bake, add the wet ingredients and you’ll cut your prep time in half.
I don’t recommend refrigerating the batter to rise later. Gluten free dough doesn’t always behave well when paused. Instead, bake the loaf fully and store the slices. You’ll thank yourself midweek when you have homemade bread ready for sandwiches.
7) Storing Leftover Homemade Gluten Free Bread
Store cooled bread in an airtight container at room temperature for up to three days. Any longer and it starts to lose its softness. I’ve had loaves go stale quickly if left uncovered, so don’t skip the container.
For longer storage, freeze slices between sheets of parchment. That way you can pull out a single piece and pop it in the toaster without thawing the whole loaf. It’s the closest thing to fresh bread on demand.
Avoid keeping this bread in the fridge. Cold air tends to dry it out and change the texture. If you’ve gone through the effort of baking, don’t let the fridge undo your work.
8) Try these Bread next!
9) Homemade Gluten Free Bread
Homemade Bread Recipes You’ll Love – Gluten Free & Easy
Ingredients
- 2 1/2 cups gluten free all purpose flour blend
- 1 packet instant yeast
- 1 1/4 cups warm water
- 2 tbsp olive oil
- 1 tbsp sugar
- 1 tsp salt
- 2 eggs, room temperature
Instructions
- Whisk the warm water, sugar, and yeast together in a large bowl. Let it sit until foamy, about 5 minutes.
- Add the eggs and olive oil, whisking until smooth.
- Mix in the gluten free flour and salt. Stir until you have a thick batter-like dough.
- Transfer the dough to a greased loaf pan, smoothing the top with a spatula.
- Cover loosely with a towel and let rise in a warm spot for 30–40 minutes until puffy.
- Preheat the oven to 375°F. Bake for 35–40 minutes, until golden brown and a toothpick comes out clean.
- Cool slightly before slicing, though good luck waiting that long.
10) Nutrition
Serving Size: 1 slice | Calories: 145 | Sugar: 2 g | Sodium: 210 mg | Fat: 5 g | Saturated Fat: 1 g | Carbohydrates: 22 g | Fiber: 2 g | Protein: 4 g | Cholesterol: 25 mg


Leave a Comment