I’m thrilled to share this healthy gluten free naan bread that’s become our go-to for weeknight dinners. We make this at least twice a week now because it comes together so fast and tastes incredible. You know what’s funny? I used to think making bread at home was this huge production, but this recipe changed everything for me. No yeast, no waiting around for dough to rise, just simple ingredients you probably have right now. This soft, pillowy bread pairs perfectly with everything from soups to curries. My kids actually request it by name, which never happens with healthy recipes. The texture reminds me of those 2 ingredient bread recipe versions floating around, except this one’s got more flavor and actually tastes like real naan. Speaking of simple baking, these Almond Flour Bagels are another family favorite, along with our 3 ingredients bread recipe that people can’t believe is so easy. What I love most is how forgiving this dough is to work with. You don’t need fancy equipment or bread making skills. Just mix, knead for a couple minutes, and you’re basically done. The cast iron pan gives it those beautiful charred spots that make it look like you ordered takeout. If you’re into Bread Dough Recipe ideas or Cast Iron Bread Recipes, this one’s a must try. Plus, it fits right into your Carb Friendly Recipes rotation without making you feel heavy or sluggish afterward.
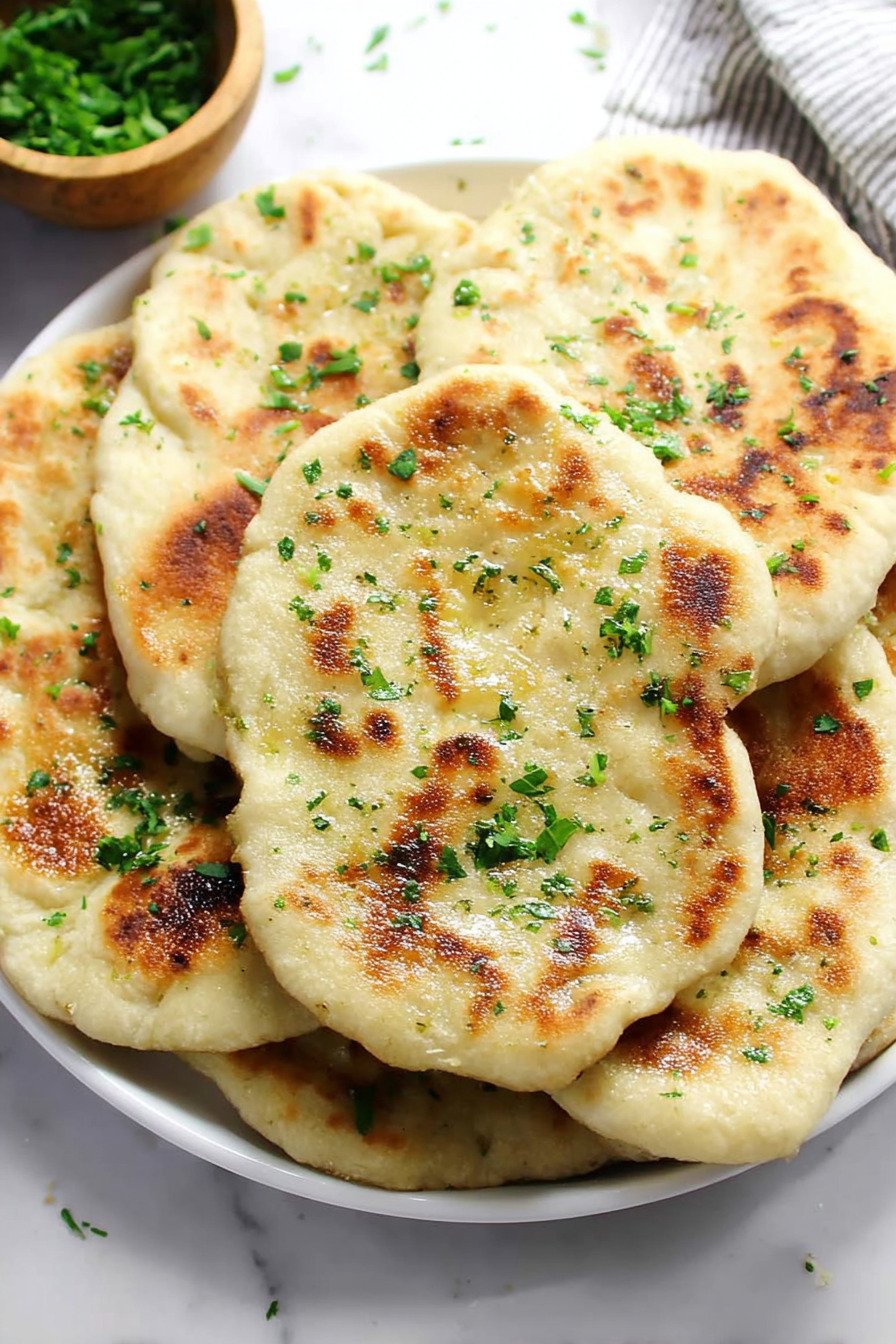
Table of Contents
- 1) Key Takeaways
- 2) Easy Healthy Gluten Free Naan Bread Recipe
- 3) Ingredients for Healthy Gluten Free Naan Bread
- 4) How to Make Healthy Gluten Free Naan Bread
- 5) Tips for Making Healthy Gluten Free Naan Bread
- 6) Making Healthy Gluten Free Naan Bread Ahead of Time
- 7) Storing Leftover Healthy Gluten Free Naan Bread
- 8) Try these Appetizer next!
- 9) Healthy Gluten Free Naan Bread
- 10) Nutrition
1) Key Takeaways
- What makes gluten free naan bread soft and fluffy?
- Can you make naan bread without yeast?
- What’s the secret to getting those beautiful charred spots on homemade naan?
- How do you store gluten free naan bread to keep it fresh?
2) Easy Healthy Gluten Free Naan Bread Recipe
I can’t tell you how excited I am to share this healthy gluten free dinner recipes staple with you. This naan bread has completely changed weeknight dinners at our house. We used to order takeout whenever we wanted naan, but now we just whip up a batch in about 25 minutes flat. The kids actually cheer when they see me pulling out the cast iron pan.
What makes this recipe so special is how incredibly quick it comes together. No waiting for dough to rise, no complicated techniques. You just mix your wet and dry ingredients, knead for a few minutes, and you’re ready to cook. I’ve tried so many 2 ingredient bread recipe versions over the years, and this one beats them all for flavor and texture. The Greek yogurt creates this pillowy softness that’s just unbelievable.
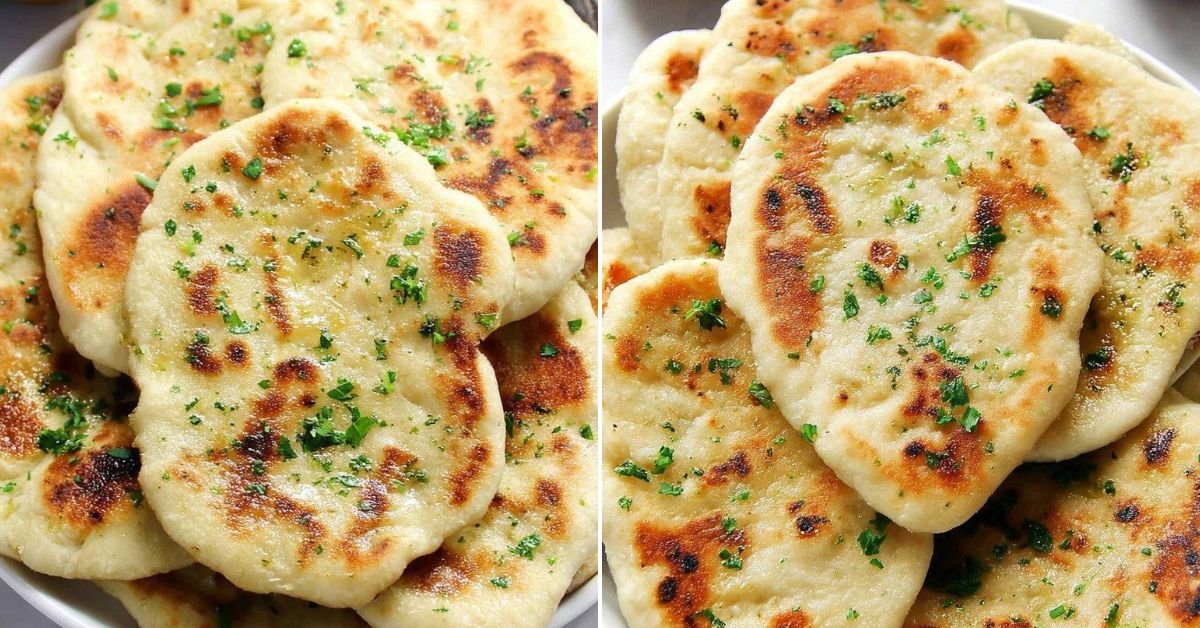
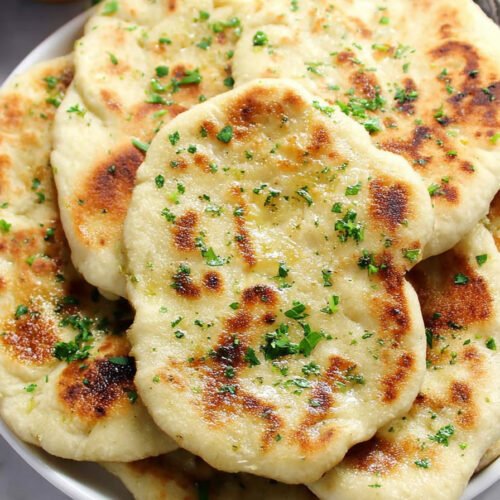
The texture is spot on with traditional naan. You get that slightly crispy exterior with the soft, chewy center that makes naan so addictive. When you brush it with melted butter and watch it sizzle in the pan, your kitchen fills with the most amazing aroma. My neighbor actually knocked on the door last week asking what I was cooking because it smelled so good.
I love that this recipe fits perfectly into healthy gluten free dinner recipes without tasting like diet food. The gluten free flour blend works beautifully here, and nobody can tell the difference from regular naan. We serve it with everything from curry to soup to hummus. My husband even uses it to make breakfast sandwiches now.

3) Ingredients for Healthy Gluten Free Naan Bread
Plain Greek Yogurt is the magic ingredient that makes this naan so soft and tender. I use the regular full fat kind, but low fat works great too. The yogurt adds protein and creates this amazing texture that’s hard to achieve with other ingredients. If you’ve ever made Almond Flour Bagels, you know how well yogurt works in bread recipes. Make sure you’re using a thick Greek yogurt, not the runny regular kind.
Gluten Free All Purpose Flour is your base here. You want a one to one baking blend that contains xanthan gum already mixed in. I’ve tested this with different brands and they all work well. The xanthan gum helps bind everything together since we don’t have gluten doing that job. This is way easier than trying to make your own flour blend from scratch.
Baking Powder gives the naan its lift and helps create those beautiful air pockets inside. Check the expiration date on your baking powder before you start. I learned this the hard way when my first batch came out dense and flat. Fresh baking powder makes all the difference. You need that chemical reaction to get the right texture.
Unsweetened Coconut Milk or Almond Milk helps bring the dough together and adds moisture. I usually keep coconut milk on hand, but almond milk works just as well. Make sure you’re using the carton kind, not the canned coconut milk which is way too thick. Regular milk works fine too if you’re not avoiding dairy.
Garlic Powder and Dried Parsley add so much flavor to the dough itself. You could skip them if you want plain naan, but I love having that subtle garlic taste baked right in. The parsley gives little green flecks throughout the bread that make it look really pretty. You could swap in other dried herbs you like too.
Melted Butter gets brushed on before and after cooking. This is where so much of that rich, delicious flavor comes from. The butter creates a golden crust and adds that restaurant quality taste. You could use ghee instead if you prefer, which is traditional for naan. Don’t skip this step even if you’re watching calories.
Olive Oil is what you cook the naan in. A good quality olive oil adds great flavor and helps create those gorgeous brown spots. You don’t need a ton, just enough to coat the bottom of your pan. I keep a small bottle right next to my stove for easy access. Any neutral cooking oil works if you don’t have olive oil.
Salt brings out all the other flavors. I use kosher salt for cooking, but any salt works. Don’t skip the salt or your naan will taste flat and boring. You also want some sea salt flakes to sprinkle on top at the end. That final sprinkle of salt takes it over the top.
4) How to Make Healthy Gluten Free Naan Bread
Step 1. Mix your wet ingredients together in a medium sized bowl. Whisk the Greek yogurt, coconut milk, and olive oil until everything is smooth and well combined. The yogurt might be a little lumpy at first, but keep whisking and it’ll smooth out. This is similar to making a 3 ingredients bread recipe, keeping things super simple.
Step 2. Combine all your dry ingredients in a larger bowl. Whisk together the gluten free flour, baking powder, garlic powder, dried parsley, and salt. Make sure there are no clumps of baking powder hiding in there. I like using a larger bowl for this step because you’ll be mixing everything together soon.
Step 3. Pour the wet ingredients into the dry ingredients and stir everything together with a wooden spoon. The dough will look rough and shaggy at first. That’s totally normal. Keep mixing until most of the flour is incorporated. Don’t worry if it looks messy right now.
Step 4. Turn the dough out onto a well floured surface and start kneading. Use your hands to fold and press the dough for about two to three minutes. The dough will go from sticky and rough to smooth and elastic. This is one of my favorite Bread Dough Recipe techniques. Add a tiny bit more flour if the dough is sticking too much to your hands.
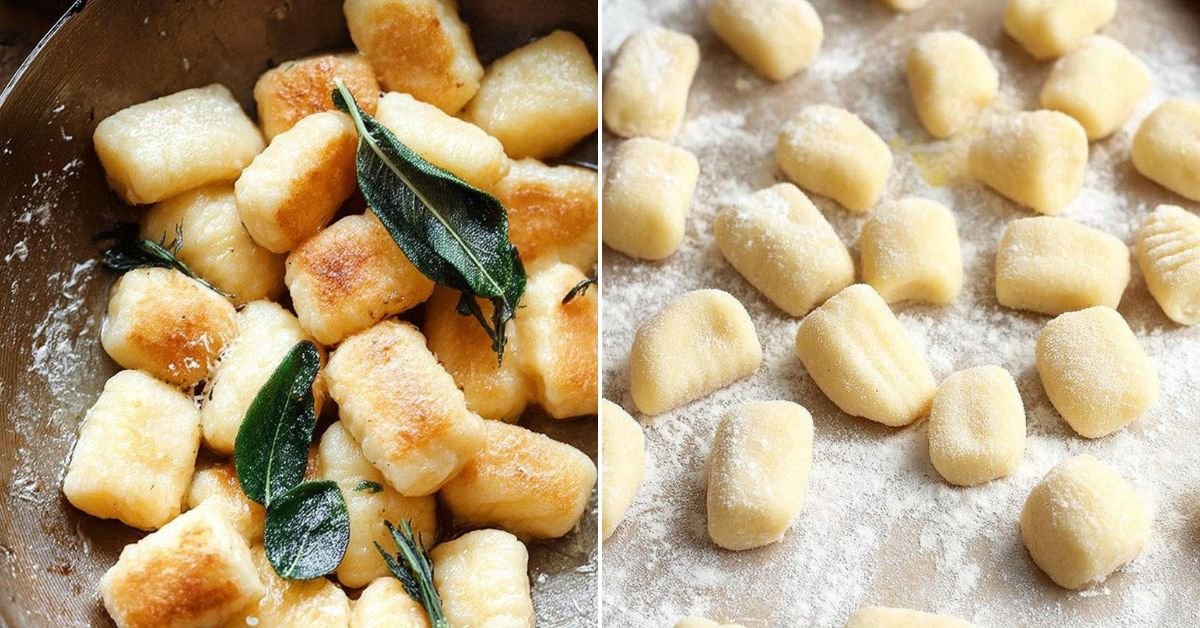
Step 5. Shape the dough into a smooth ball and divide it into eight equal pieces. I just eyeball this, but you could weigh them if you want them perfectly even. Roll each piece into a ball between your palms. Let them rest on the counter for a minute while you heat up your pan.
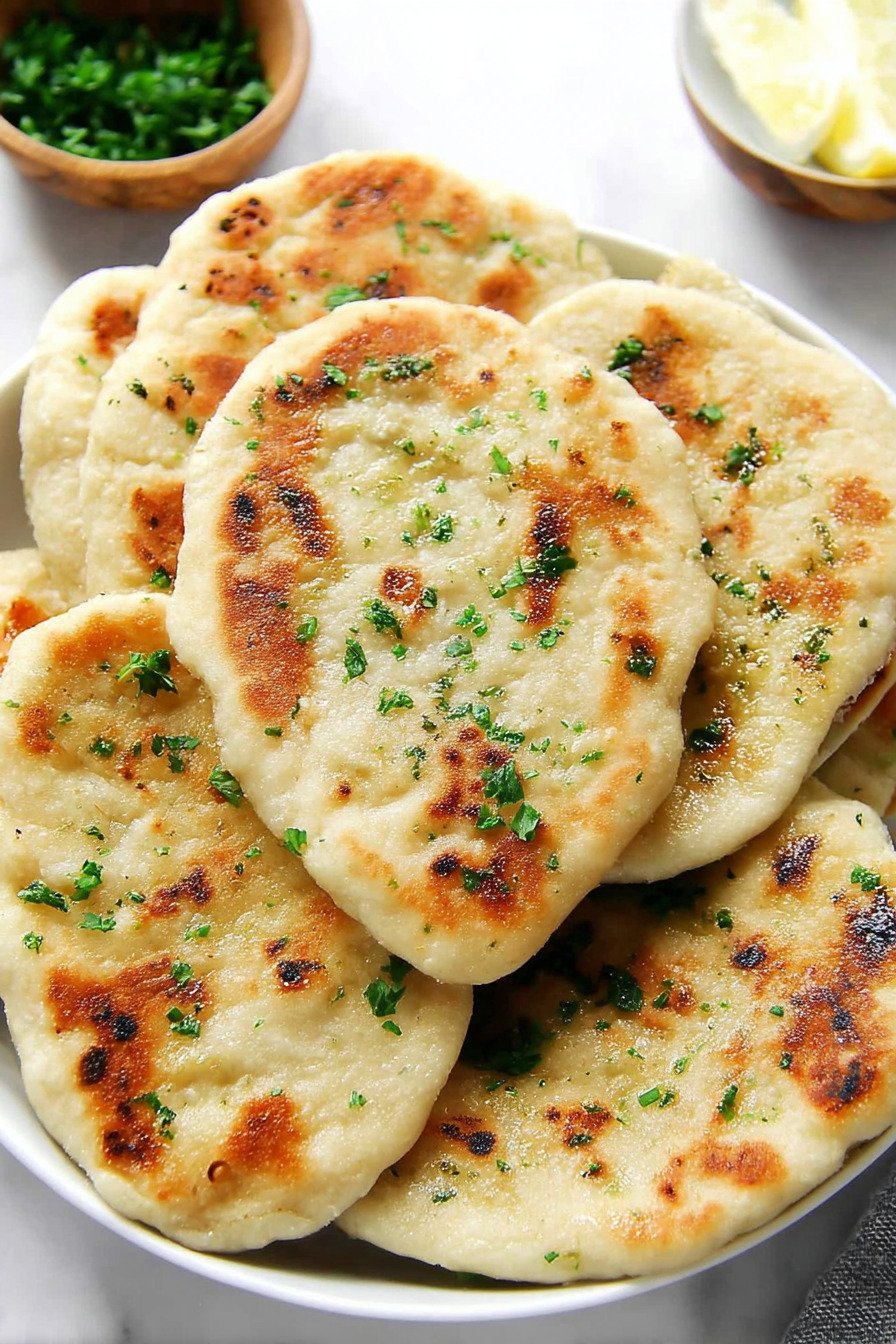
Step 6. Flatten each dough ball into an oblong shape about six inches long and four inches wide. You can use a rolling pin or just press them out with your hands. Aim for about one eighth inch thick. Don’t stress if they’re not perfect circles. Rustic shapes are part of the charm. This is one of those Cast Iron Bread Recipes where imperfection actually looks better.
Step 7. Brush one side of each naan with melted butter. Be generous here. The butter creates that golden, crispy exterior we’re after. Heat your cast iron skillet over medium heat and add about two teaspoons of olive oil. Let it get nice and hot.
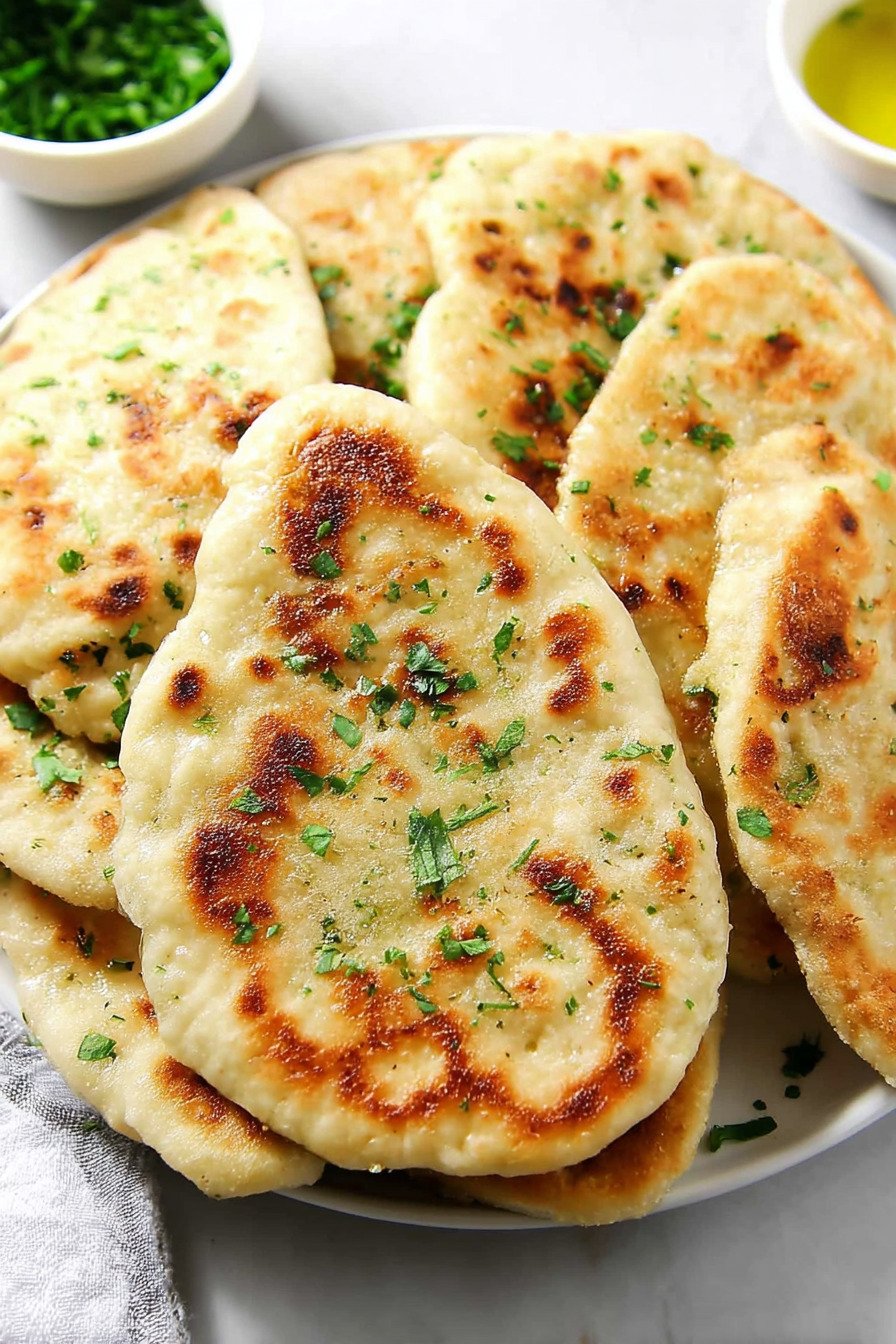
Step 8. Place one or two pieces of naan in the hot pan, butter side down. Immediately brush the top side with more butter. You’ll hear that satisfying sizzle when the dough hits the pan. Cook for about two minutes without moving them around. You want those beautiful brown spots to develop.
Step 9. Flip the naan and cook for another two minutes on the second side. The bread should puff up a little in the middle. When both sides are golden brown with those characteristic charred spots, remove from the pan. Sprinkle immediately with sea salt and fresh parsley.
Step 10. Keep the cooked naan warm by wrapping them in a clean kitchen towel while you finish cooking the rest. This helps them stay soft and prevents them from drying out. Serve warm for the best experience. These are perfect Carb Friendly Recipes that don’t leave you feeling weighed down.
5) Tips for Making Healthy Gluten Free Naan Bread
Keep your dough moist but not wet. The right consistency is sticky enough to hold together but not so wet that you can’t handle it. If your dough feels too dry and crumbly, add a tiny splash more milk. If it’s too sticky, work in a little more flour one tablespoon at a time. The humidity in your kitchen can affect how much liquid the flour absorbs.
Don’t skip the kneading step even though it’s only a few minutes. Kneading develops the structure of the dough and helps everything come together properly. Your dough should transform from rough and shaggy to smooth and elastic. When you press your finger into it, the dough should slowly spring back.
Get your pan really hot before adding the naan. A properly heated cast iron pan is what creates those beautiful charred spots. You want to hear that sizzle when the dough hits the pan. If the pan isn’t hot enough, your naan will cook through without getting those spots and might turn out tough.
Use real butter for brushing the naan. I know it’s tempting to use oil or a butter substitute, but real butter makes such a difference in flavor. The butter browns slightly as the naan cooks and creates this incredible nutty, rich taste. This is one place where I don’t skimp on ingredients.
Don’t roll the naan too thin. If you roll them thinner than one eighth inch, they won’t puff up nicely and might turn out crispy like crackers instead of soft and pillowy. On the flip side, too thick and they won’t cook through properly in the middle. Finding that sweet spot comes with practice.
Keep finished naan warm wrapped in a towel. This tip is game changing for serving. The towel traps steam and keeps the bread soft while you finish cooking the rest. Cold naan gets stiff and loses that fresh from the pan magic. If you’re making these for a party, you can keep them warm in a low oven too.
6) Making Healthy Gluten Free Naan Bread Ahead of Time
You can absolutely make the dough ahead and store it in the fridge for up to 24 hours. Just wrap it tightly in plastic wrap and pop it in the refrigerator. When you’re ready to cook, let the dough sit on the counter for about 20 minutes to take the chill off. Cold dough is harder to roll out and shape.
I actually think making the dough ahead improves the flavor. The ingredients have time to meld together and the dough becomes easier to work with. Some of the best batches I’ve made sat in the fridge overnight. Just give it a quick knead when you take it out to wake it up.
You can also shape the naan ahead of time. Roll them out, brush with butter, and stack them between pieces of parchment paper. Store the whole stack in a container in the fridge for up to eight hours. When dinner time rolls around, just pull them out and cook. This is perfect for meal prep.
If you want to freeze the dough, divide it into portions first. Wrap each portion individually in plastic wrap and then put them all in a freezer bag. Frozen dough keeps for about a month. Thaw in the fridge overnight before using. The texture might be slightly different from fresh, but it still works great.
For really advanced prep, you can cook the naan completely and then reheat later. They won’t be quite as good as fresh, but they’re still pretty amazing. This works well if you’re feeding a crowd and don’t want to be stuck cooking during the party. Just warm them up in a pan or oven before serving.
7) Storing Leftover Healthy Gluten Free Naan Bread
Store cooled naan in an airtight container or zip top bag at room temperature for up to two days. They’ll stay soft if you keep air out. I like to slip a paper towel in with them to absorb any excess moisture. Don’t refrigerate them unless you live somewhere super hot and humid.
For longer storage, the freezer is your friend. Wrap each piece of naan individually in plastic wrap, then put them all in a freezer bag. Squeeze out as much air as possible before sealing. Frozen naan keeps beautifully for up to three months. Label the bag with the date so you remember when you made them.
To reheat room temperature naan, warm them in a dry skillet over medium heat for about 30 seconds per side. You can also wrap them in foil and warm in a 350 degree oven for five to seven minutes. The microwave works in a pinch but can make them a little rubbery. If you microwave, wrap in a damp paper towel first.
For frozen naan, you can thaw at room temperature for about 15 minutes or pop them straight from the freezer into a hot pan. Add a tiny bit of butter to the pan for extra richness. Frozen naan actually reheats surprisingly well. Sometimes I think they taste even better the second time around.
Leftover naan makes amazing pizza crust or sandwich bread. Cut them in half horizontally and toast them for open faced sandwiches. Or top with sauce and cheese for quick personal pizzas. We’ve even cut them into strips and baked them crispy for dipping in hummus. Don’t let any go to waste.
8) Try these Appetizer next!


9) Healthy Gluten Free Naan Bread
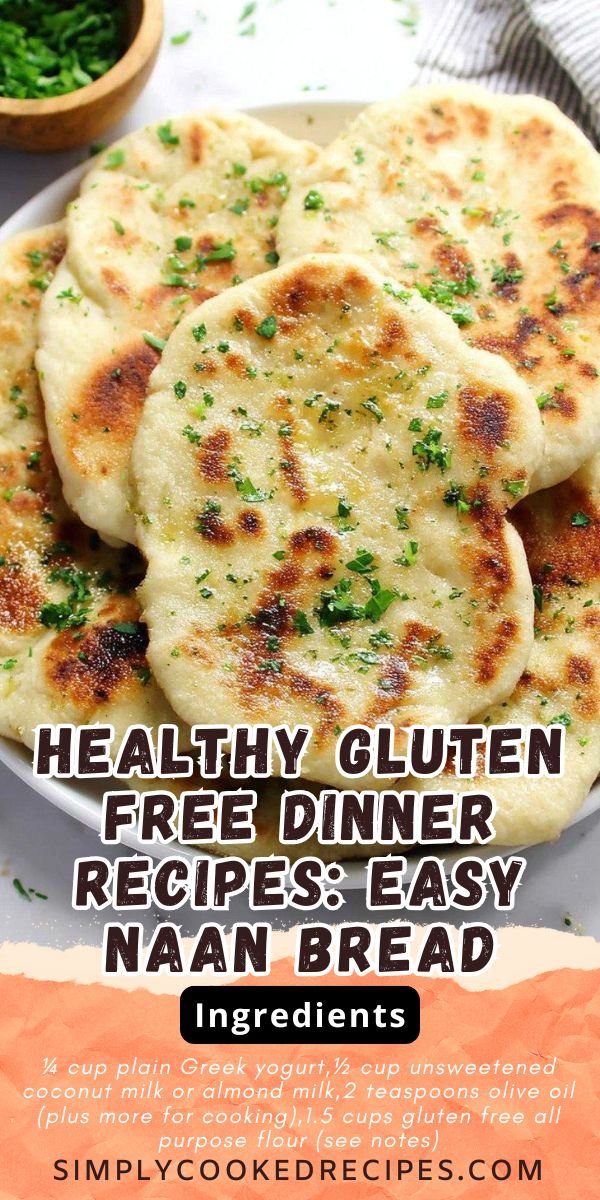
Healthy Gluten Free Dinner Recipes: Easy Naan Bread
Ingredients
Wet ingredients
- ¼ cup plain Greek yogurt
- ½ cup unsweetened coconut milk or almond milk
- 2 teaspoons olive oil (plus more for cooking)
Dry ingredients
- 1.5 cups gluten free all purpose flour (see notes)
- 2 teaspoons gluten free baking powder
- 2 teaspoons garlic powder
- 2 teaspoons dried parsley
- ½ teaspoon kosher salt
For finishing
- ¼ cup melted butter
- Fresh chopped parsley (optional for garnish)
- Sea salt for sprinkling
Instructions
- Mix up the wet ingredients in a medium bowl.
- In a separate larger bowl, mix the dry ingredients together.
- Combine the wet and dry ingredients into a chunky, slightly wet dough.
- Fold the dough onto a floured, flat surface and knead it with your hands for a few minutes until it can easily be formed into a smooth ball of dough.
- Divide the dough into 8 equal pieces. Use your hands to flatten each piece of dough out into 8 oblong shapes that are about 6 inches long, 4 inches wide, and about ⅛ inch thick each.
- Brush each piece of naan bread with some melted butter.
- Heat a cast iron pan to medium heat and add some olive oil to the pan to fully coat the bottom of the pan (about 2 teaspoons of oil). Once the oil is hot, add 1 to 2 pieces of the naan bread to the pan, butter side down. Brush the other side with more butter.
- Cook the naan for 2 minutes per side then remove it from the pan and sprinkle it with sea salt and chopped parsley. Continue until you have cooked all of the naans.
- Serve warm and enjoy with your favorite dishes!
10) Nutrition
Serving Size: 1 piece of naan | Calories: 142 | Sugar: 0.8 g | Sodium: 195 mg | Fat: 6.2 g | Saturated Fat: 3.1 g | Carbohydrates: 18.5 g | Fiber: 1.2 g | Protein: 3.1 g | Cholesterol: 12 mg


Leave a Comment