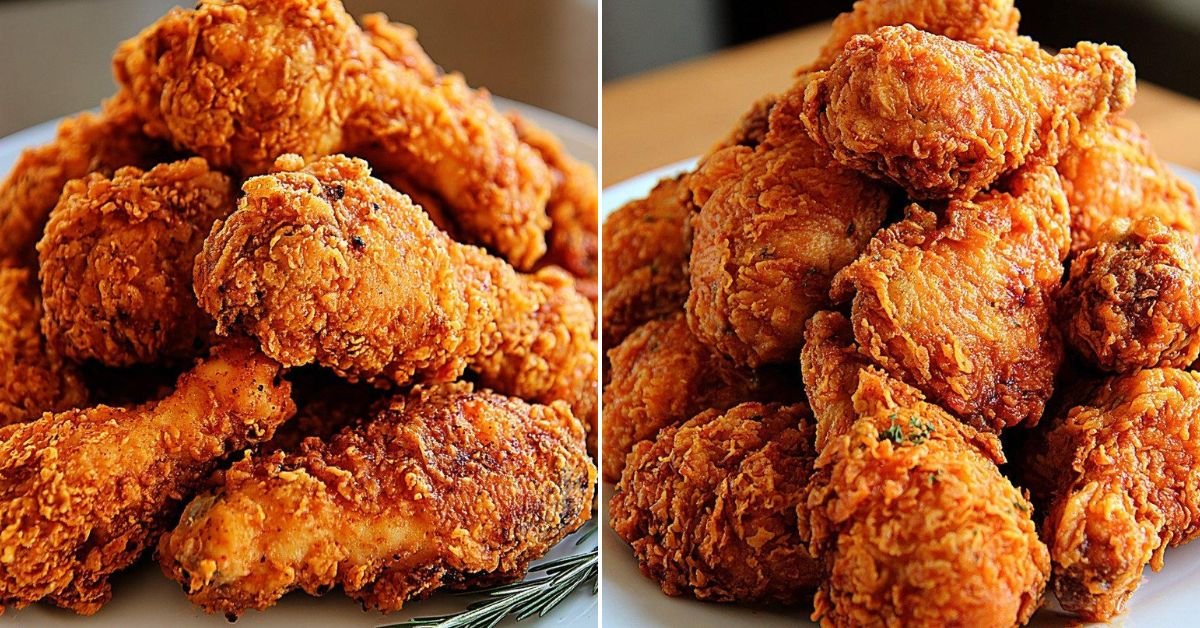
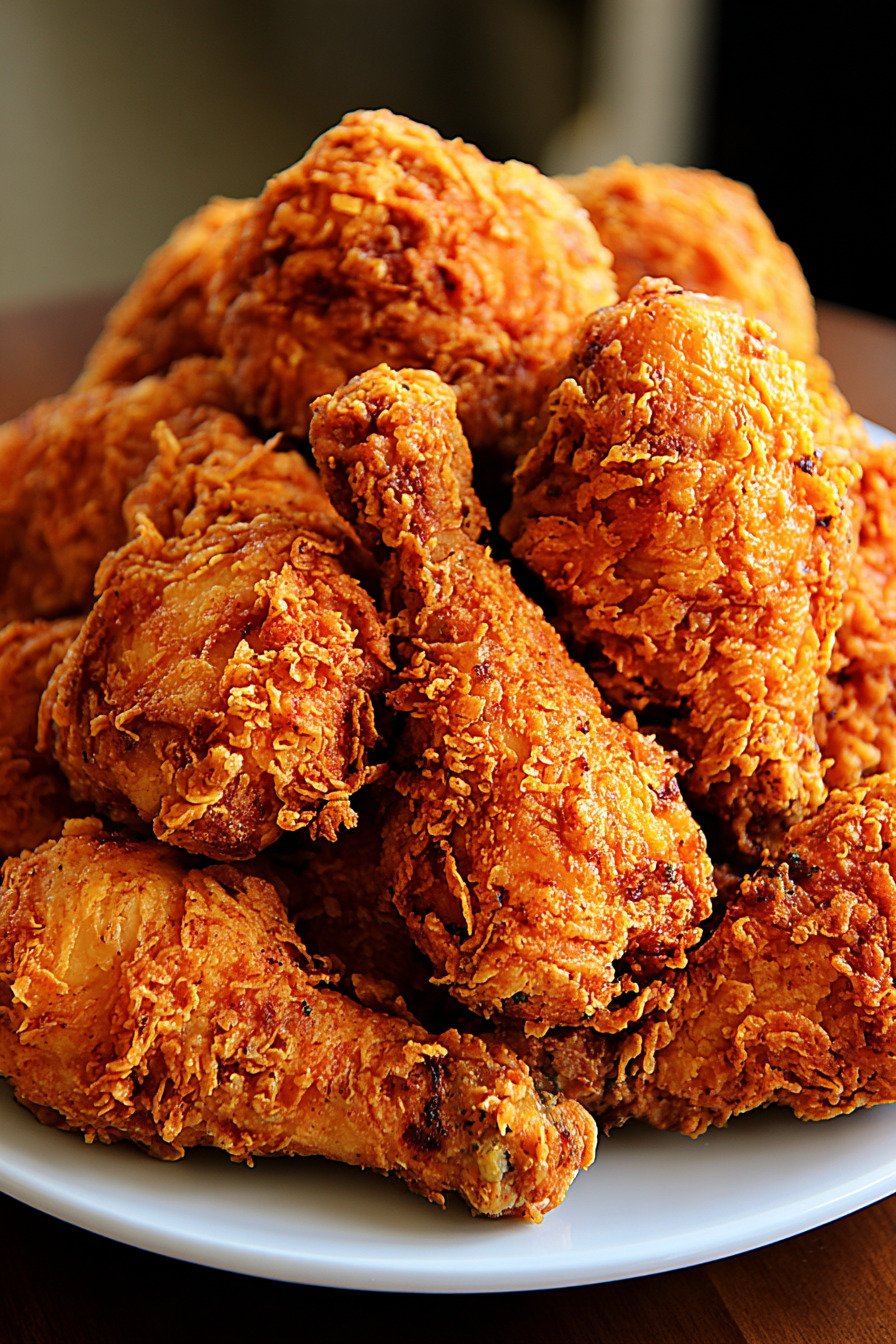
Look, I’m just gonna say it: there’s something magical about really good fried chicken legs. You know the kind I’m talking about, right? That perfect crispy coating that practically shatters when you bite into it, revealing juicy, tender meat inside. I’ve been making this fried chicken legs recipe for years now, and honestly, it rivals anything you’d get from the drive-thru. The secret? A buttermilk soak that makes the meat ridiculously tender, plus a double coating method that gives you that restaurant-quality crunch. I’m talking about the kind of chicken that’ll have everyone asking for seconds (and maybe thirds, if we’re being honest). What I love most is how this recipe works for so many occasions. Sunday dinner? Check. Game day spread? You bet. Random Tuesday when you’re craving something indulgent? Absolutely. And if you’re into experimenting, you can easily adapt this for the air fryer or even try it with different spice levels. Some folks in my family can’t handle too much heat, so I’ve learned to customize the cayenne. Trust me, once you master this recipe, you’ll never look at store-bought fried chicken the same way again.
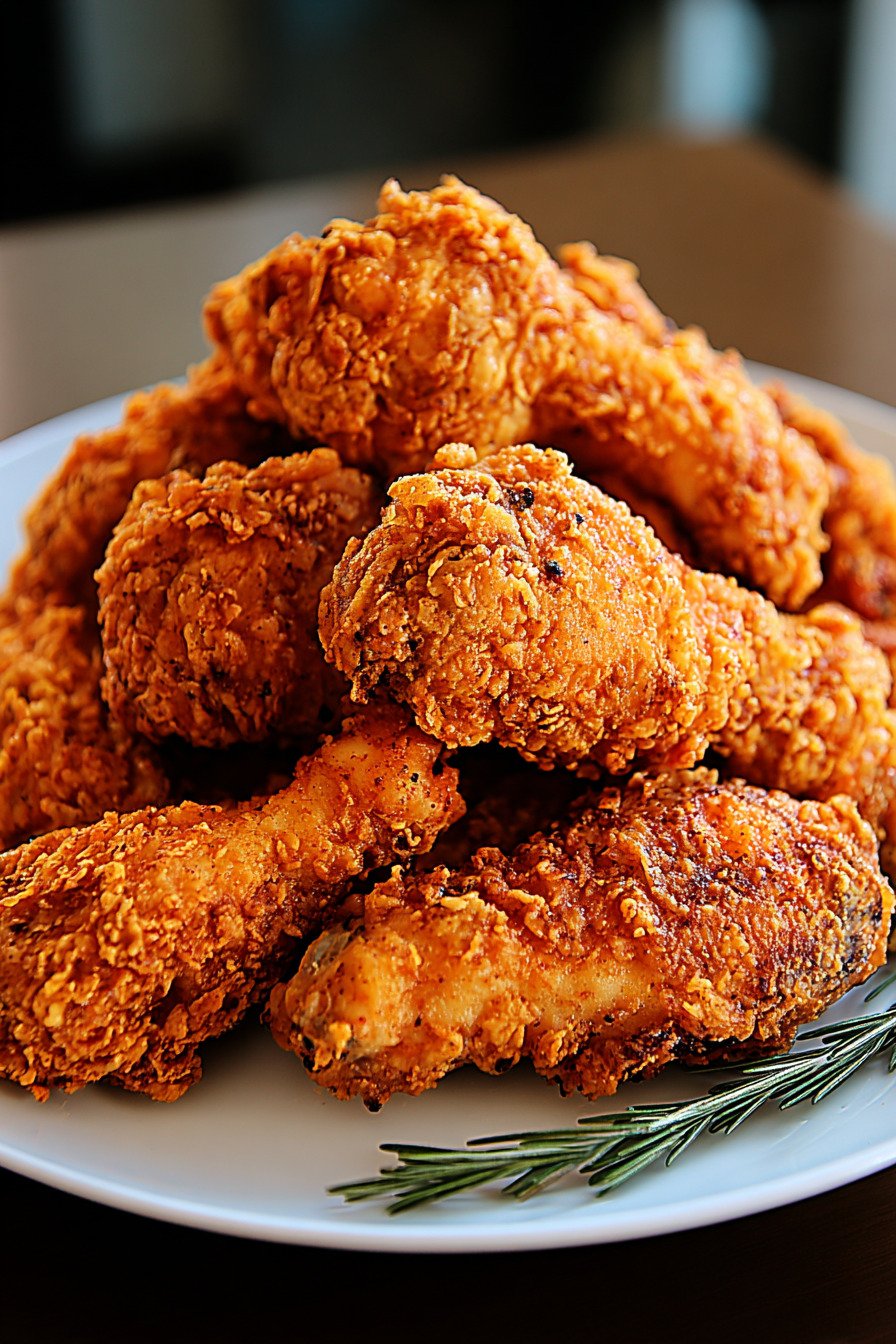
Table of Contents
- 1) Key Takeaways
- 2) Easy Popeyes Spicy Fried Chicken Legs Recipe
- 3) Ingredients for Popeyes Spicy Fried Chicken Legs
- 4) How to Make Popeyes Spicy Fried Chicken Legs
- 5) Tips for Making Popeyes Spicy Fried Chicken Legs
- 6) Making Popeyes Spicy Fried Chicken Legs Ahead of Time
- 7) Storing Leftover Popeyes Spicy Fried Chicken Legs
- 8) Try these Main Course next!
- 9) Popeyes Spicy Fried Chicken Legs
- 10) Nutrition
1) Key Takeaways
- What makes this fried chicken legs recipe so crispy?
- Why do you need to marinate chicken in buttermilk?
- What are the best spices for cajun food recipes?
- Can you make this as an air fryer recipes chicken version?
2) Easy Popeyes Spicy Fried Chicken Legs Recipe
I’ve tried a lot of fried chicken legs recipe variations over the years, and let me tell you, this one hits different. We’re talking about that perfect storm of crispy, spicy, and juicy that you usually only get from your favorite drive-thru spot. The thing is, making it at home means you control everything from the heat level to the quality of ingredients.
What makes this fried chicken legs recipe stand out from other spicy chicken recipes is the double dip technique. You coat the chicken once, dip it in that hot sauce spiked egg wash, then coat it again. Sounds like extra work, right? But that second coating is what creates those craggy, crispy bits that shatter when you bite into them. I learned this trick from my aunt who worked in a restaurant kitchen for twenty years, and she swore by it.
The buttermilk soak isn’t just for show either. When you let those chicken legs hang out in buttermilk overnight, the acid breaks down the proteins and makes the meat tender. I’ve skipped this step when I’m in a rush, and yeah, you can still make decent chicken. But when you take the time to do it properly? That’s when you get restaurant quality results at home. The meat practically falls off the bone.
Time wise, this recipe is super manageable. Sure, the marinating takes planning ahead, but the actual hands on cooking? Maybe forty minutes tops. I usually start the buttermilk soak before bed, then fry everything up the next evening. My family goes crazy for it every single time. We serve it with coleslaw and cornbread, and honestly, it feels like a celebration meal even on a random weeknight.
One more thing I love about this recipe is how forgiving it is. You can dial the heat up or down depending on who you’re feeding. Got kids who can’t handle spice? Cut the cayenne in half. Want it hotter? Add more hot sauce to the egg mixture. The base recipe is solid enough that you can make it your own without messing anything up. That’s the mark of a really good recipe if you ask me.
3) Ingredients for Popeyes Spicy Fried Chicken Legs
Chicken Legs: I always use fresh chicken legs for this fried chicken legs recipe, not frozen. Fresh chicken gives you better texture and absorbs the marinade more evenly. You want pieces that are roughly the same size so they cook at the same rate. I usually grab a pack of six to eight legs depending on how many people I’m feeding. If you’re cooking for a crowd, you can easily double the recipe.
Buttermilk: This is where the magic starts with buttermilk recipes. Real buttermilk has that tangy flavor and acidity that tenderizes the meat like nothing else. Some people try to substitute regular milk with vinegar, and look, it works in a pinch. But if you want that authentic texture and flavor, spend the extra dollar on real buttermilk. I buy the quart size and use whatever’s left in pancakes or biscuits later in the week.
All Purpose Flour: Regular white flour is what you need for that classic crispy coating. I’ve experimented with adding cornstarch or rice flour to make it extra crunchy, but honestly? Plain old AP flour does the job perfectly. The key is seasoning it well, not switching up the flour type. Save the fancy flours for other experiments.
Eggs: Three eggs mixed with water and hot sauce create the binding layer that makes the second flour coating stick. Room temperature eggs work better than cold ones straight from the fridge. They mix more smoothly and coat the chicken more evenly. Small detail, but it makes a difference in the final product.
Louisiana Hot Sauce: This is the backbone of the spice in this recipe. Louisiana style hot sauce has that perfect vinegar tang with moderate heat. It’s not about burning your mouth off, it’s about flavor. I keep a bottle of this stuff in my pantry at all times because it goes in everything from eggs to marinades. If you can’t find Louisiana brand specifically, any cayenne based hot sauce will work.
Cayenne Pepper: Here’s where you can really customize the heat level. Three tablespoons gives you that authentic spicy kick that makes this one of the best spicy chicken recipes out there. But if you’re sensitive to heat, start with one tablespoon and work your way up. You can always add more cayenne next time, but you can’t take it out once it’s in there.
Paprika: Sweet paprika adds color and a subtle sweetness that balances the heat. I prefer regular paprika over smoked for this recipe because we’re going for that classic fried chicken flavor, not BBQ vibes. Smoked paprika can overpower the other spices, so save that for when you’re making bbq chicken legs crockpot style.
Black Pepper: Freshly ground black pepper is best, but the pre-ground stuff works fine too. Pepper adds another layer of heat, but it’s a different kind of spice than cayenne. It’s more sharp and immediate, while cayenne builds. Together they create a complex heat that keeps you coming back for more bites.
Salt and Garlic Powder: These are your base seasonings for the chicken itself before it even hits the flour. I’m pretty generous with both. The salt brings out all the other flavors, and garlic powder adds that savory depth. Don’t skip seasoning the actual chicken before coating it. That’s where you build flavor from the inside out.
Peanut Oil: This is the best oil for frying chicken, hands down. It has a high smoke point so it can handle the heat without breaking down, and it doesn’t add any weird flavors to the chicken. Vegetable oil works too if that’s what you have, but peanut oil gives you the cleanest, crispiest results. I usually need about a quart for my dutch oven setup.
4) How to Make Popeyes Spicy Fried Chicken Legs
Step 1: Pour your buttermilk into a large bowl or a gallon sized zip top bag. Add all the chicken legs and make sure each piece is completely submerged. If you’re using a bowl, cover it tightly with plastic wrap. If you’re using a bag, squeeze out as much air as possible before sealing. Stick it in the fridge overnight, or for at least two hours if you’re short on time. I like to flip the bag or stir the bowl halfway through so every piece gets equal marinating time.
Step 2: When you’re ready to cook, pull the chicken out of the fridge and let it sit on the counter for about fifteen minutes. You want it closer to room temperature before frying. Cold chicken hits hot oil and drops the temperature too fast, which leads to greasy coating instead of crispy. Drain off the buttermilk but don’t rinse the chicken. That little bit of buttermilk clinging to the meat helps the flour stick better.
Step 3: Set up your dredging station. Grab a large bowl and whisk together the eggs, water, and hot sauce until it’s all blended and slightly frothy. In your gallon freezer bag, dump in all the flour, black pepper, cayenne, and paprika. Seal the bag and shake it like you’re making a cocktail. You want those spices distributed evenly throughout the flour so every bite has consistent flavor and heat.
Step 4: Season each chicken leg with salt and garlic powder on all sides. Don’t be shy here. This is your first layer of seasoning and it needs to be strong enough to flavor the meat itself. I probably use about a quarter teaspoon of each per piece of chicken. Some people think seasoning the meat is overkill when you’ve got seasoned flour, but trust me, it makes a huge difference in the final taste.
Step 5: Drop three or four chicken legs into the flour bag and seal it up tight. Now shake that bag like your life depends on it. Every single spot on those chicken pieces needs to be covered in flour. When you pull them out, they should look like they’re wearing a thick white coat. Shake off any excess flour and set the pieces on a plate or wire rack.
Step 6: Take your floured chicken pieces one at a time and dunk them in the egg and hot sauce mixture. Turn them over, make sure every bit of that flour coating gets wet. The wet coating will make the second round of flour stick and create those craggy, extra crispy bits. Let the excess egg mixture drip off before moving to the next step.
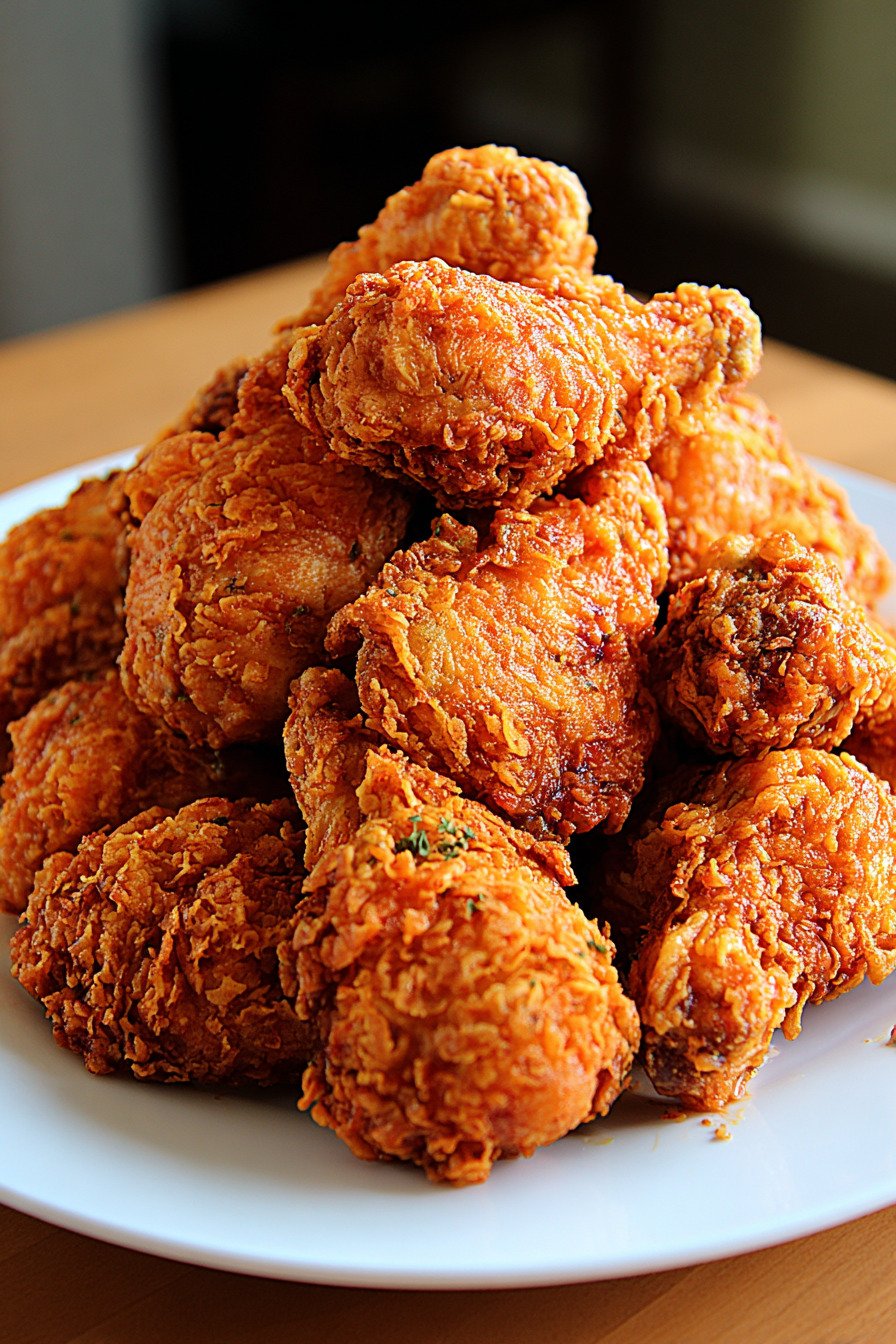
Step 7: Back into the flour bag those chicken legs go. Give it another good shake to coat them completely a second time. This double coating is what separates okay fried chicken from amazing fried chicken. When you pull them out this time, they should look really thick and bumpy. That rough texture is exactly what you want. It creates more surface area for crisping up in the hot oil.
Step 8: Heat your peanut oil in a deep fryer or a heavy bottomed pot to exactly 350 degrees F. Use a thermometer to check because guessing doesn’t work here. Too cool and your chicken absorbs oil and gets soggy. Too hot and the outside burns before the inside cooks through. When the oil is ready, you can test it by dropping a pinch of flour in. If it sizzles immediately, you’re good to go.
Step 9: Carefully lower your chicken legs into the hot oil using tongs. Don’t drop them from high up or you’ll splash hot oil everywhere. Work in batches so you don’t crowd the pot. Crowding drops the oil temperature and makes everything greasy instead of crispy. I usually fry three or four pieces at a time depending on the size of my pot. Give them room to float and cook evenly.
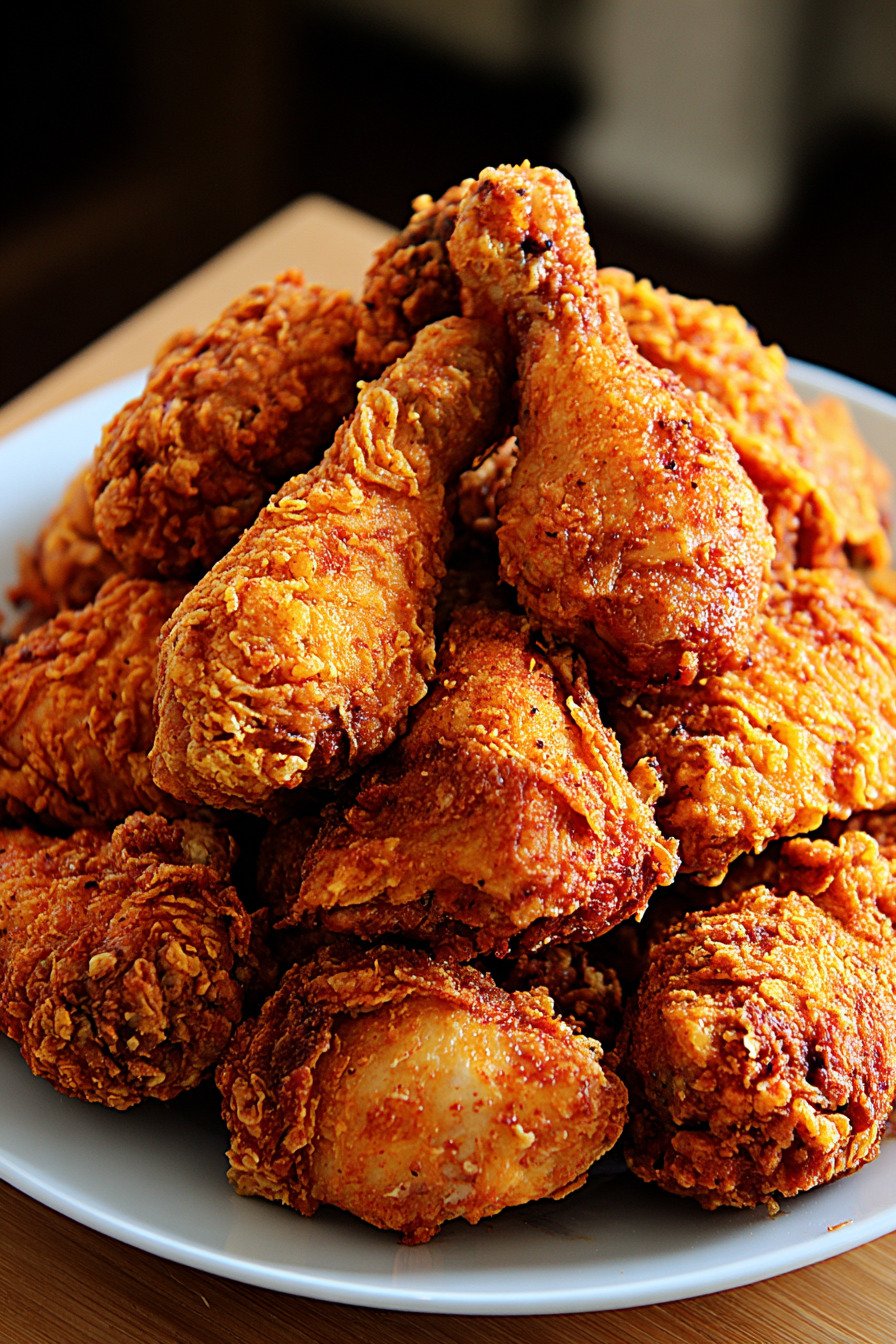
Step 10: Let the chicken fry for fifteen to eighteen minutes, flipping halfway through if you’re using a skillet instead of a deep fryer. The coating should turn a deep golden brown, almost amber color. When you think it’s done, pull one piece out and check the internal temperature with a meat thermometer. It should read 165 degrees F at the thickest part. If it’s not there yet, give it a few more minutes.
Step 11: Transfer the finished chicken to a wire rack set over a baking sheet, or to a plate lined with paper towels. The wire rack is better because it lets air circulate and keeps the bottom from getting soggy. Let the chicken rest for about five minutes before serving. I know it’s hard to wait when it smells this good, but that rest time lets the juices redistribute and the coating sets up even crispier.
Step 12: Serve your fried chicken legs hot with whatever sides make you happy. I’m partial to creamy coleslaw and buttery cornbread, but mac and cheese, collard greens, or potato salad all work great too. The leftovers, if you have any, are amazing cold the next day. Some people actually prefer cold fried chicken. I’m not one of them, but I respect it.
5) Tips for Making Popeyes Spicy Fried Chicken Legs
The most important tip I can give you about this cajun food recipes style chicken is maintaining your oil temperature. Invest in a good thermometer if you don’t have one already. The cheap little ones from the grocery store work fine. You’re looking for a steady 350 degrees F throughout the cooking process. When you add chicken to the oil, the temperature will drop. That’s normal. Just wait for it to come back up before adding the next batch.
I learned this the hard way after making greasy, soggy chicken more times than I care to admit. The oil needs to be hot enough to immediately start crisping that coating. If it’s too cool, the flour coating just absorbs oil like a sponge. You end up with chicken that’s heavy and greasy instead of light and crispy. Nobody wants that. Check the temperature between batches and adjust your heat as needed.
Another game changer is letting your chicken come to room temperature before frying. I mentioned this in the instructions, but it’s worth repeating. Cold chicken from the fridge hits that hot oil and causes the temperature to plummet. It takes forever to come back up, and meanwhile your chicken is sitting in oil that’s too cool. Twenty minutes on the counter makes a huge difference. Just don’t leave it out longer than an hour for food safety reasons.
The buttermilk marinade is non-negotiable if you want tender, juicy meat. I’ve tried making this recipe with just a quick thirty minute soak, and yeah, it’s edible. But overnight is when the real magic happens. That acid in the buttermilk breaks down the tough muscle fibers and makes the chicken so tender it practically melts off the bone. If you’re really in a pinch, give it at least four hours. Less than that and you might as well skip it entirely.
Don’t overcrowd your frying pot. I can’t stress this enough. When you pack too many pieces in at once, the oil temperature drops too much and takes forever to recover. You end up with uneven cooking and greasy results. Fry in small batches even if it means standing at the stove a little longer. The end result is worth the extra time. I usually do three or four legs at a time in my dutch oven.
If you want to try making this as air fryer recipes chicken, you absolutely can. Spray the coated chicken with cooking spray and air fry at 400 degrees F for about twenty minutes, flipping halfway through. It won’t be quite as crispy as deep fried, but it’s a healthier option and still tastes great. I do this sometimes when I’m trying to be good about my fried food intake. Just manage your expectations about the texture.
For storing and reheating, don’t use the microwave unless you want sad, rubbery chicken. Reheat leftover pieces in a 375 degree F oven for about ten to fifteen minutes. Put them on a wire rack over a baking sheet so hot air can circulate all around. This crisps up the coating again and heats the meat through without drying it out. It’s not quite as good as fresh, but it’s pretty darn close.
6) Making Popeyes Spicy Fried Chicken Legs Ahead of Time
Here’s the thing about making fried chicken ahead of time. It can work, but you need to know the right way to do it. The biggest mistake people make is fully cooking the chicken, refrigerating it, and then trying to serve it cold. Cold fried chicken can be good, don’t get me wrong. But if you’re expecting that fresh from the fryer experience, you’ll be disappointed. The coating gets softer in the fridge and loses some of that magical crunch.
What I do when I need to prep ahead for a party or family gathering is get everything ready up to the point of frying. I marinate the chicken overnight like usual, then set up my dredging station the morning of. I coat all the chicken pieces in the double layer of seasoned flour and arrange them on a baking sheet lined with parchment paper. Then I cover the whole thing loosely with plastic wrap and stick it in the fridge for up to four hours.
When it’s time to serve, I pull the chicken out and let it sit for about twenty minutes while the oil heats up. Then I fry as usual. This method gives you fresh, hot, crispy chicken without the stress of doing all the prep work right before guests arrive. The coating might be slightly less crispy than if you fried it immediately after breading, but the difference is minimal. Most people won’t even notice.
If you’re making this for meal prep and plan to eat it throughout the week, go ahead and fry it all at once. Store the cooled chicken in an airtight container in the fridge for up to three days. When you’re ready to eat, reheat it in the oven like I mentioned in the tips section. It’s perfect for packed lunches or quick dinners when you don’t feel like cooking. I slice it up and put it in salads sometimes, which is a great way to use leftovers.
The buttermilk marinade step is actually perfect for meal planning. You can marinate the chicken for up to twenty four hours without any issues. I’ve even left it for thirty six hours when life got crazy, and it was fine. Just don’t go much longer than that or the texture starts getting weird. The meat can get almost mushy if it sits in acid for too long. Overnight to twenty four hours is the sweet spot for this recipe.
7) Storing Leftover Popeyes Spicy Fried Chicken Legs
Let’s talk about storing your leftover fried chicken properly so it doesn’t turn into a soggy mess. First off, never put hot chicken straight into the fridge. I know you want to get it put away, but that trapped steam will make the coating soft and mushy. Let it cool to room temperature first, which takes about thirty minutes. Leaving it out for an hour won’t hurt anything, but I wouldn’t push it much past that.
Once it’s cooled down, grab an airtight container or a zip top bag. I prefer containers because they protect the chicken better and keep the coating from getting squished. Line the bottom with a paper towel to absorb any moisture that collects. Lay your chicken pieces in a single layer if possible. If you need to stack them, put another paper towel between the layers. This keeps everything from getting soggy.
Stored this way, your fried chicken will keep in the fridge for three to four days. Some people say five days, but I think the quality really starts dropping off after day three. The coating gets softer each day, and the meat can dry out a bit. If you know you won’t eat it within that timeframe, freeze it instead. Wrap each piece individually in plastic wrap, then put them all in a freezer bag. They’ll keep for up to three months frozen.
When you’re ready to reheat, the oven is your best friend. Preheat to 375 degrees F and arrange the chicken on a wire rack set over a baking sheet. This setup lets hot air circulate all around each piece. Heat for ten to fifteen minutes until the chicken is warmed through and the coating crisps back up. If you’re reheating from frozen, let it thaw in the fridge overnight first. Otherwise you’ll end up with chicken that’s hot on the outside but still frozen in the middle.
For taking this to potlucks or picnics, you’ve got options. If you’ll be eating it within a couple hours, room temperature fried chicken is perfectly safe and honestly pretty tasty. Just transport it in a container that allows some air flow. If it’ll be longer than that, keep it in a cooler with ice packs. Some people bring a toaster oven to events to reheat chicken, which seems like overkill to me. But if you’re serious about serving hot, crispy chicken away from home, it’s an option.
One trick I learned from a friend who does a lot of catering is storing the chicken unwrapped in the fridge for the first few hours. The moving air helps keep the coating crisp. Then once it’s fully chilled, wrap it up properly for longer storage. This works great if you’re making chicken for an event the next day. You get to serve it with a crispier coating than if you’d wrapped it up while it was still warm. Small details like this separate good fried chicken from great fried chicken.
8) Try these Main Course next!


9) Popeyes Spicy Fried Chicken Legs
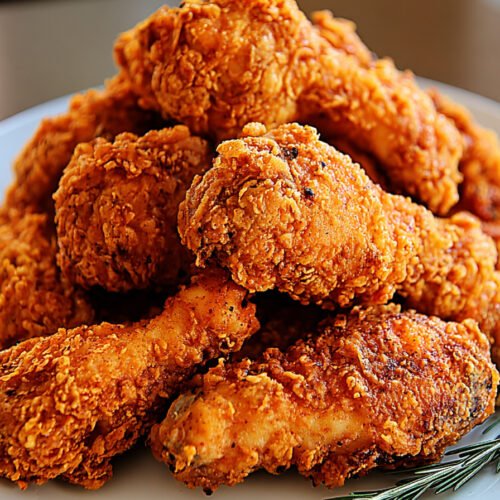
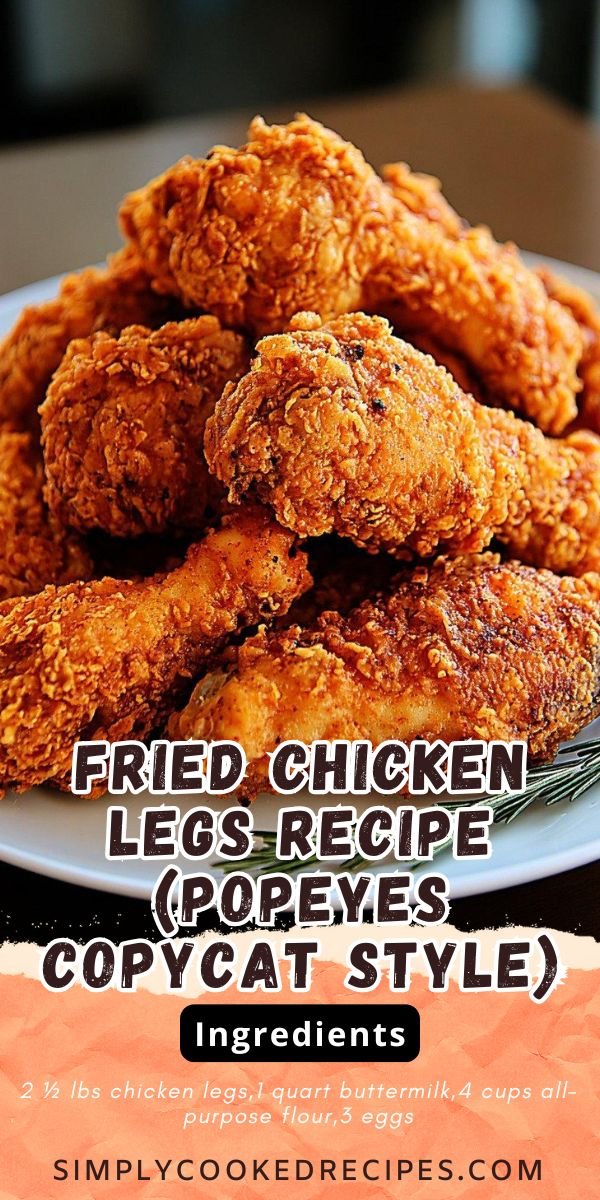
Fried Chicken Legs Recipe (Popeyes Copycat Style)
Ingredients
- 2 ½ lbs chicken legs
- 1 quart buttermilk
- 4 cups all-purpose flour
- 3 eggs
- ⅓ cup water
- 1 cup Louisiana hot sauce
- 3 tablespoons cayenne pepper
- 2 teaspoons paprika
- 2 teaspoons black pepper
- Salt to taste
- Garlic powder to taste
- Peanut oil for frying
Instructions
- Start by marinating your chicken legs in buttermilk. Pour the buttermilk into a large bowl, add the chicken pieces, cover with plastic wrap, and pop it in the fridge overnight. If you’re short on time, at least give it 2 hours, but trust me, overnight is where the magic happens.
- When you’re ready to cook, drain the buttermilk from the chicken and set the pieces aside on a plate.
- Grab a large bowl and whisk together the eggs, water, and hot sauce until everything’s nice and blended. Set this aside for now.
- In a gallon freezer bag, mix the flour, black pepper, cayenne pepper, and paprika. Seal it up and give it a good shake to distribute all those spices evenly.
- Season each chicken leg with salt and garlic powder. Don’t be shy here, this is where you build flavor from the inside out.
- Drop the seasoned chicken legs into the flour bag and shake like you mean it. Each piece should be completely covered in that seasoned flour.
- Now dip each floured piece into your egg and hot sauce mixture, making sure every bit gets coated.
- Back into the flour bag they go for round two. This double coating is what gives you that signature crispy crust.
- Heat your peanut oil in a deep fryer or large heavy skillet to 350°F. You can test it by dropping a pinch of flour in, if it sizzles right away, you’re good to go.
- Carefully lower the chicken legs into the hot oil, working in batches so you don’t overcrowd the pan. Fry for 15 to 18 minutes, flipping halfway through if using a skillet, until they’re deep golden brown and cooked through.
- Transfer the fried chicken to a plate lined with paper towels to drain off any excess oil.
- Let them rest for just a couple minutes (if you can wait that long), then serve hot with your favorite sides.
10) Nutrition
Serving Size: 1 chicken leg | Calories: 485 | Sugar: 2.1 g | Sodium: 892 mg | Fat: 28.5 g | Saturated Fat: 6.8 g | Carbohydrates: 28.4 g | Fiber: 1.2 g | Protein: 28.6 g | Cholesterol: 142 mg


Leave a Comment