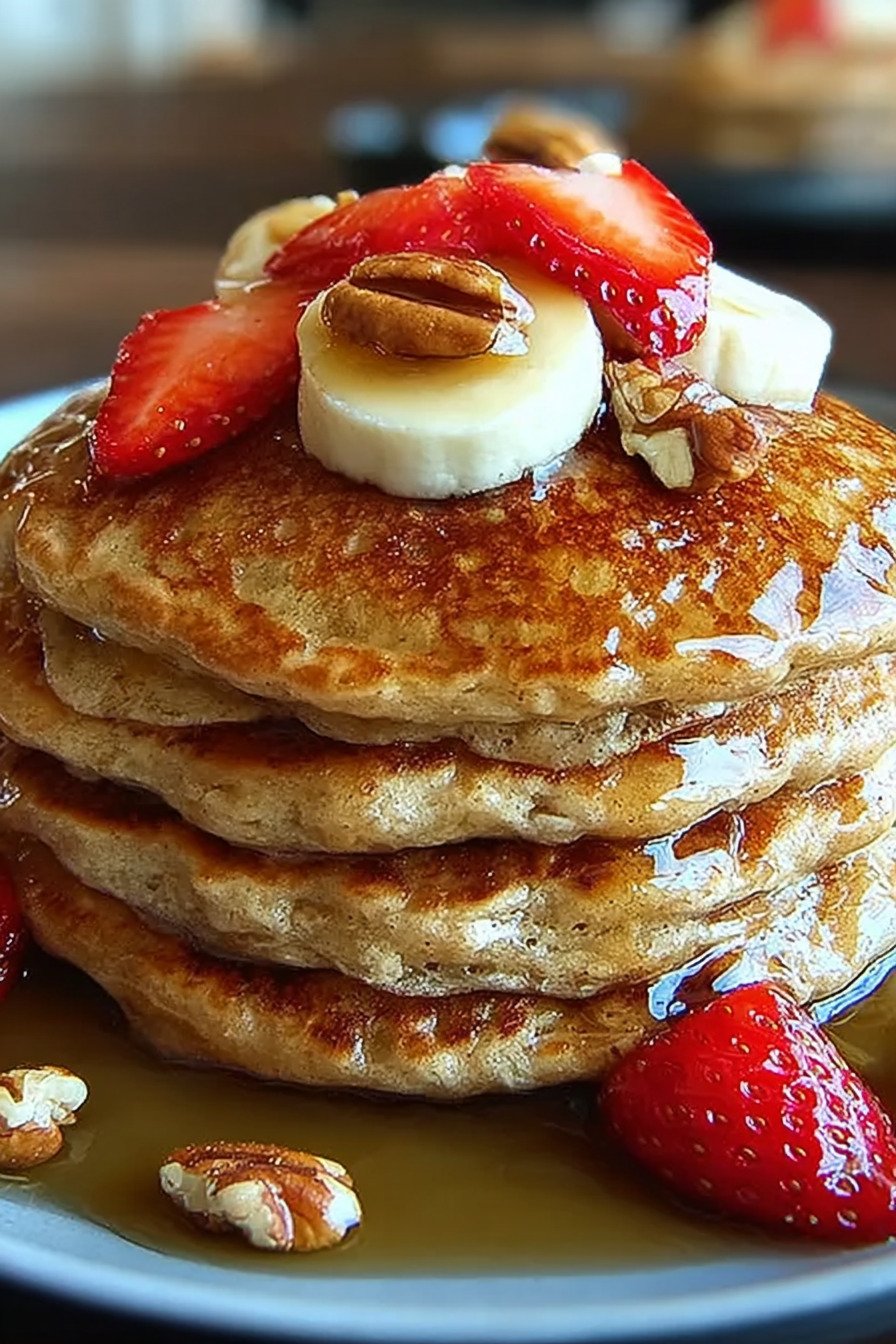
I’ve gotta be honest with you: these fluffy protein pancakes changed my entire Sunday morning routine. Who knew that tossing oats into a blender could create the most incredible high protein pancakes that actually taste like a treat? I’m not exaggerating when I say my kids ask for these every single weekend now. What makes these easy protein pancakes so special? Well, they’re flourless, naturally sweetened, and packed with protein, but they still have that perfect fluffy texture we all crave. I stumbled on this protein pancakes recipes by accident when I ran out of flour one morning (classic me, right?). Turns out, it was the best kitchen mishap ever. These homemade protein pancakes come together in literally 5 minutes. Just blend, pour, flip, and you’re done. If you’ve been wondering how to make protein pancakes that don’t taste like cardboard, this is your answer. They’re perfect for meal prep too. I usually make a double batch and freeze half for those crazy weekday mornings when I can barely remember my own name.
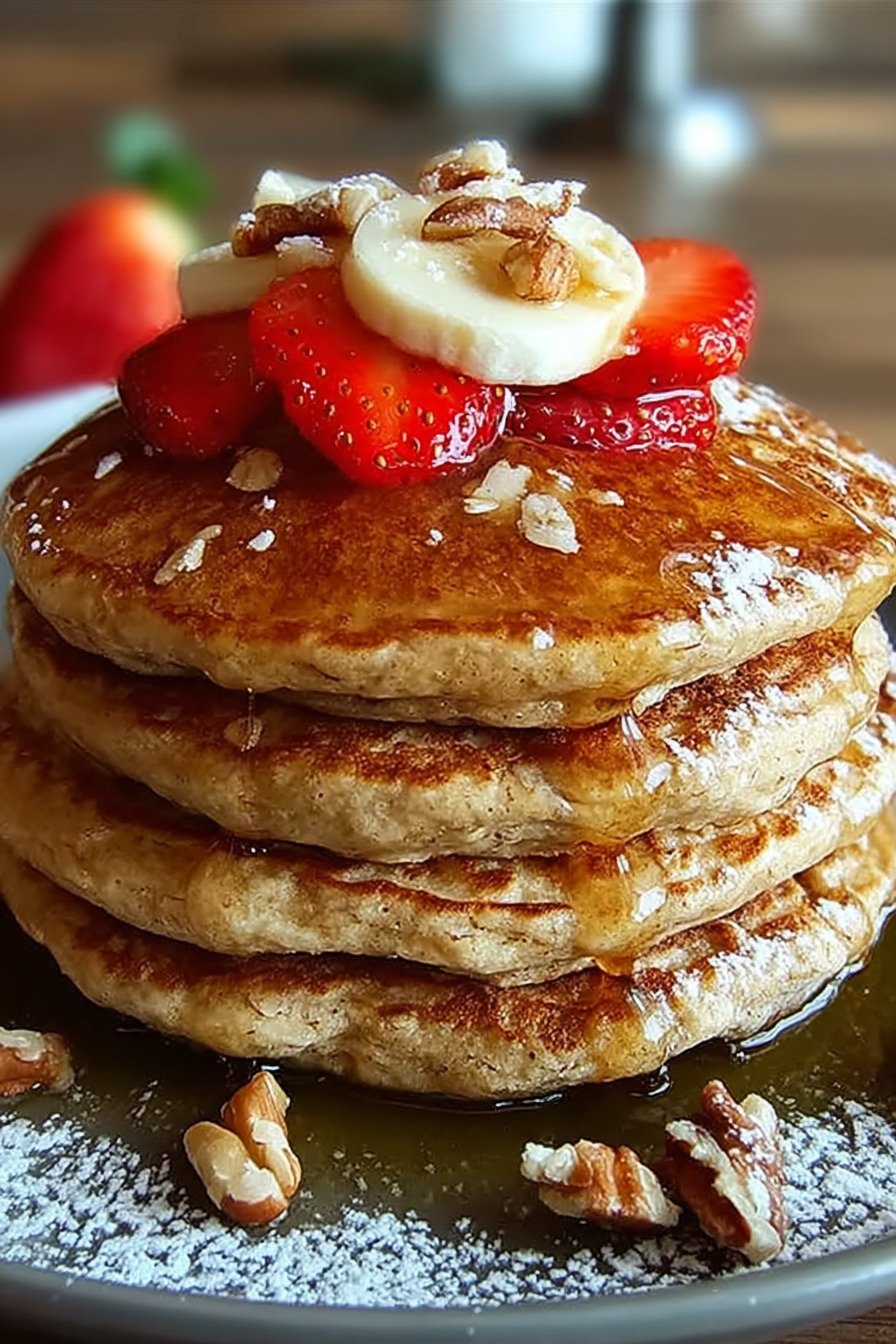
Table of Contents
- 1) Key Takeaways
- 2) Easy Oatmeal Protein Pancakes Recipe
- 3) Ingredients for Oatmeal Protein Pancakes
- 4) How to Make Oatmeal Protein Pancakes
- 5) Tips for Making Oatmeal Protein Pancakes
- 6) Making Oatmeal Protein Pancakes Ahead of Time
- 7) Storing Leftover Oatmeal Protein Pancakes
- 8) Try these Breakfast recipes next!
- 9) Oatmeal Protein Pancakes
- 10) Nutrition
1) Key Takeaways
- What makes oatmeal protein pancakes so fluffy without flour?
- Can you really make protein pancakes in a blender?
- How do you keep protein pancakes from getting rubbery?
- What’s the secret to meal prepping pancakes that actually reheat well?
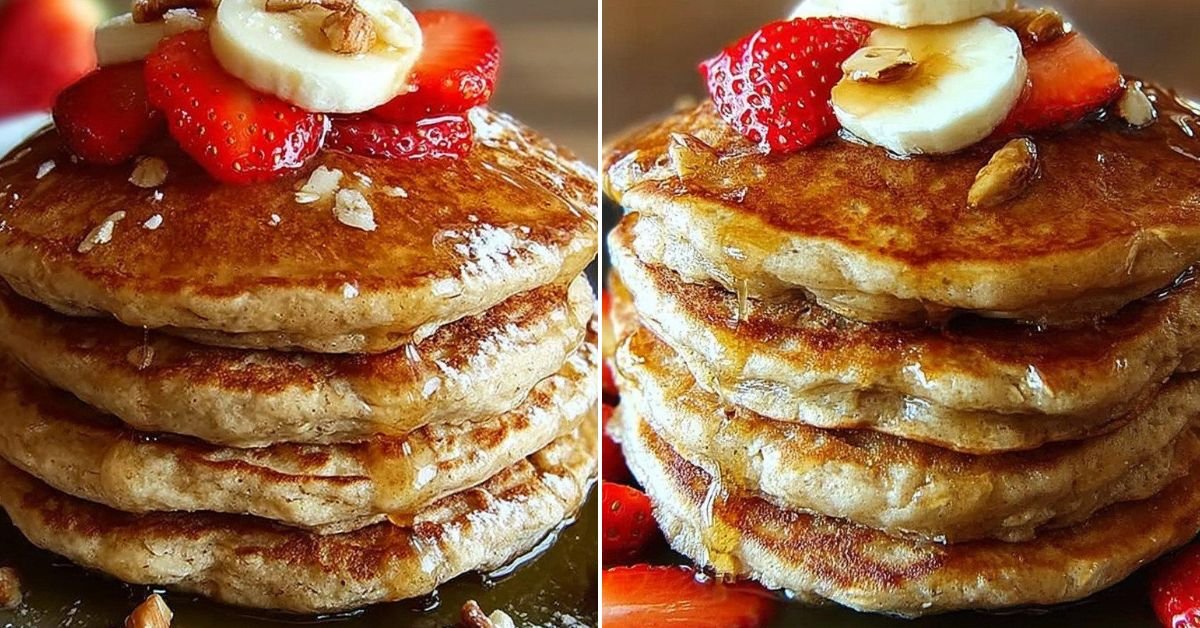
2) Easy Oatmeal Protein Pancakes Recipe
Listen, I never thought I’d be that person who gets excited about breakfast. But here we are. These oatmeal protein pancakes changed everything for me. They’re ridiculously easy to make, taste incredible, and pack enough protein to keep you full until lunch. What’s not to love?
The best part? You don’t need any fancy ingredients or equipment beyond a blender. I’m talking five minutes of prep time max. Throw everything in, blend it up, and pour. That’s it. No measuring cups overflowing with flour. No whisking until your arm falls off. Just simple, straightforward cooking that works.
I started making these fluffy protein pancakes about six months ago when my mornings got crazy busy. You know how it goes. You wake up with big plans to make a healthy breakfast, then reality hits and you’re running out the door with a granola bar. These pancakes solved that problem for me. They’re quick enough for weekdays but special enough that my family requests them every weekend.
What really surprised me was the texture. I’d tried other high protein pancakes before and they always came out dense and weird. Kind of like eating a sponge, if I’m being honest. But these? They’re legitimately fluffy and light. The oats blend up so smooth you’d never know there’s no flour in them. My picky eater doesn’t even notice they’re healthy.
The protein powder gives them staying power without that chalky aftertaste some protein pancakes recipes have. I use vanilla because it adds a nice sweetness, but unflavored works too if that’s what you’ve got. And the honey? Just enough to make them taste like a treat without going overboard on sugar.
Here’s what sold me completely. These easy protein pancakes freeze like a dream. I make a double batch every Sunday, freeze half, and pop them in the toaster on busy mornings. They come out just as good as fresh. Maybe even better if you ask my kids. Something about toasted edges makes everything taste amazing, right?
You can dress them up or keep them simple. Sometimes I go all out with fresh berries, yogurt, and a drizzle of maple syrup. Other days it’s just butter and I’m out the door. They work either way. That’s the beauty of a good base recipe. It adapts to whatever your morning looks like.
3) Ingredients for Oatmeal Protein Pancakes
Rolled Oats: Regular old-fashioned oats work best here. Don’t use instant oats or steel-cut. The rolled ones blend up perfectly smooth and give you that fluffy texture we’re after. I always keep a big container in my pantry. They’re cheap, they last forever, and honestly, I use them in everything from pancakes to meatloaf. Pro tip? Buy them in bulk. You’ll save a ton.
Eggs: Two large eggs bind everything together and add protein. They’re pretty much doing all the heavy lifting here since we don’t have flour. Room temperature eggs blend better, but I’ve definitely used cold ones straight from the fridge when I’m in a hurry. It still works. The pancakes might be slightly less fluffy, but we’re talking minimal difference.
Milk: Any milk works. Seriously, any. I use unsweetened almond milk because that’s what I keep around, but my sister makes these homemade protein pancakes with regular dairy milk and they’re great. Oat milk, soy milk, whatever you’ve got. The type doesn’t matter nearly as much as you’d think. Just avoid anything too thick like heavy cream or it’ll throw off the consistency.
Vanilla Protein Powder: This is where the magic happens. Two scoops of vanilla protein powder bump up the protein content big time and add a subtle sweetness. I’ve tried about a million brands at this point. Some are better than others, but most work fine. If your protein powder is really sweet already, you might want to cut back on the honey a bit.
Honey or Maple Syrup: Just two tablespoons adds the right amount of sweetness without making these taste like dessert. I prefer honey because it blends smoother, but maple syrup works great too. Sometimes I use half and half if I’m feeling fancy. You could probably use agave nectar or even a bit of brown sugar if that’s what you have on hand.
Baking Powder: One teaspoon is all you need for lift. This is what makes your pancakes puff up nice and fluffy instead of sitting flat and sad in the pan. Make sure yours is fresh. Old baking powder loses its oomph and your pancakes won’t rise properly. I learned that the hard way after wondering why my pancakes suddenly stopped working.
Vanilla Extract: Half a teaspoon might seem small, but it makes a real difference. Skip the imitation stuff if you can. Real vanilla extract just tastes better. I know it costs more, but a little bottle lasts forever and it’s one of those things worth spending a few extra bucks on. Your taste buds will thank you.
Salt: Quarter teaspoon of salt brings out all the other flavors. Sweet things need salt. That’s just a fact. Don’t skip it. I use regular table salt, but kosher salt works too. Just use a bit more if you’re using kosher since the grains are bigger.
Butter or Oil for Cooking: I use butter because it tastes amazing and gives the pancakes crispy edges. But coconut oil or even cooking spray works if you’re watching calories. Just make sure your pan is well-greased or you’ll be scraping pancake bits off forever. Not fun. Trust me on this one.
4) How to Make Oatmeal Protein Pancakes
Step 1. Grab your blender and toss in the oats, eggs, milk, protein powder, honey, baking powder, vanilla, and salt. Don’t overthink the order. Just throw it all in there. Blend on high for about 30 seconds until everything looks smooth and creamy. You shouldn’t see any chunks of oats floating around. If you do, blend for another 10 seconds or so.
Step 2. Here’s the part most people skip, but it really matters. Let that batter sit for five minutes after blending. I know it’s tempting to start cooking right away, but give it a rest. The oats need time to soak up the liquid. This is how to make protein pancakes that are actually fluffy instead of dense. Set a timer. Walk away. Check your phone. Whatever keeps you from jumping the gun.
Step 3. Get your pan or griddle heating over medium heat. Not too hot or the outside will burn before the inside cooks through. I learned this lesson after making a batch of pancakes that looked perfect on the outside but were raw in the middle. Gross. Medium heat gives you time to cook them properly without rushing.
Step 4. Drop a little pat of butter onto your hot pan and let it melt completely. Swirl it around so it covers the whole surface. This keeps the pancakes from sticking and adds flavor. You can use cooking spray if you want, but butter just tastes better. Once the butter stops foaming, you’re ready to pour.
Step 5. Pour about a quarter cup of batter for each pancake. Don’t make them too big or they’ll be hard to flip. I usually fit three or four on my griddle at once. Leave enough space between them so they’re not touching. You’ll thank yourself when it’s time to flip and you’re not trying to separate pancake blobs.
Step 6. Now comes the waiting game. Watch for little bubbles to form on the surface. This usually takes two to three minutes depending on how hot your pan is. When you see bubbles popping and the edges look set, that’s your signal. Don’t flip too early or you’ll end up with a mess. I’ve done it. It’s not pretty.
Step 7. Slide your spatula under the pancake and flip it in one smooth motion. The second side cooks faster, usually about two minutes. You want a nice golden brown color. If they’re getting too dark too fast, turn your heat down a notch. Better to cook them a bit slower than burn them.
Step 8. Keep the finished pancakes warm while you cook the rest. I stick them in the oven on the lowest setting, around 200 degrees. Just pile them on a plate. They’ll stay warm and fluffy until you’re done cooking the whole batch. Then pile them high, add your favorite toppings, and dig in.
5) Tips for Making Oatmeal Protein Pancakes
Get your blender really going. I mean really blend this batter. At least 30 seconds on high. Maybe even 40 if your blender isn’t super powerful. You want that batter silky smooth with zero oat chunks. Those chunks won’t cook through properly and you’ll end up with weird bits in your pancakes. Not terrible, but not great either. A smooth batter makes all the difference between okay pancakes and amazing ones.
If your batter looks too thick after sitting, add a splash more milk. Oats keep absorbing liquid even after you blend them. Sometimes the batter thickens up more than you want. Just add a tablespoon or two of milk and give it a quick stir. You’re going for a thick but pourable consistency. Like regular pancake batter, maybe just a tiny bit thicker.
The five-minute rest really matters. I can’t stress this enough. Let the batter sit after blending. I know I already mentioned it in the instructions, but people keep skipping this step and then wondering why their pancakes aren’t fluffy. The oats need time to hydrate. Those five minutes are when the magic happens. Set a timer if you have to. Do not skip this part.
Medium heat is your best friend. I see people crank the heat up thinking it’ll cook faster. Bad idea. High heat burns the outside before the inside cooks. You’ll have beautiful golden pancakes that are raw in the middle. Medium heat might feel slow, but it cooks them evenly all the way through. Patience pays off here.
Don’t press down on them with your spatula. I see people do this all the time and it drives me nuts. You’re squishing out all the air you worked so hard to get in there. Just let them sit on the griddle and do their thing. Flip once and leave them alone. That’s how you get fluffy pancakes instead of hockey pucks.
Watch the first pancake closely. Use it as your test case. Too dark? Lower the heat. Too pale? Bump it up a bit. The first one tells you everything you need to know about your heat level. I usually eat the first pancake while I’m cooking anyway. Chef’s treat, right? By the second or third pancake, you’ll have the timing down perfect.
Fresh baking powder makes a huge difference. Check the date on your container. Baking powder loses its power over time. If yours is more than six months old, you might want to grab a new one. It’s cheap and makes your pancakes so much fluffier. I write the date on the container when I open it so I know when to replace it.
6) Making Oatmeal Protein Pancakes Ahead of Time
These pancakes are meal prep gold. Seriously, they might be the best make-ahead breakfast I’ve ever found. I cook up a huge batch every Sunday and we eat them all week long. They reheat perfectly and taste just as good as fresh. Maybe I’m weird, but I actually prefer them reheated in the toaster. Something about those crispy edges gets me every time.
Here’s my system. Make a double or triple batch on the weekend. Let them cool completely on a wire rack. This is important because if you stack them while they’re still warm, they’ll get soggy. Nobody wants soggy pancakes. Once they’re cool, I stack them with little squares of parchment paper between each one. Keeps them from sticking together in the freezer.
Then I slide the whole stack into a freezer bag, squeeze out as much air as possible, and toss them in the freezer. They’ll keep for at least three months, maybe longer. I’ve never had them last that long because we eat them too fast. On busy mornings, I just grab however many I need and pop them straight into the toaster from frozen. No thawing needed.
The toaster method is my favorite way to reheat them. Two or three minutes on medium setting and they come out perfect. Crispy on the outside, warm and fluffy on the inside. Way better than the microwave, which tends to make them rubbery. If you don’t have a toaster, you can reheat them in a 350-degree oven for about five minutes. Still good, just takes a bit longer.
You can also make the batter ahead and keep it in the fridge for a day or two. Just give it a good stir before cooking because it’ll thicken up in the fridge. Add a splash of milk if needed. This works great if you want fresh pancakes but don’t want to drag out the blender first thing in the morning. The batter holds up really well for about 48 hours.
Want to get really fancy? Freeze them individually on a baking sheet first, then transfer to a bag. This keeps them from freezing into one big clump. You can grab exactly how many you need without having to pry them apart. Takes an extra step, but it’s worth it if you’re serious about your breakfast game. I do this when I have time on the weekends.
7) Storing Leftover Oatmeal Protein Pancakes
Leftover pancakes keep great in the fridge for about five days. Just stack them in an airtight container once they’ve cooled down. I use those glass containers with snap-on lids. Keeps them fresh and I can see exactly what’s in there. No mystery containers lurking in the back of my fridge.
When you’re ready to eat them, you’ve got options. The toaster is still my top choice. Straight from the fridge, pop them in for a minute or two. They come out warm with slightly crispy edges. If you’re in a real hurry, the microwave works too. About 20 to 30 seconds per pancake. Cover them with a damp paper towel so they don’t dry out.
If you’ve got extra batter instead of cooked pancakes, pour it into a jar or container with a tight lid. It’ll keep in the fridge for two days, maybe three if you’re pushing it. Give it a really good shake or stir before using because everything settles. The protein powder especially likes to sink to the bottom. Add a tiny splash of milk if it seems too thick after sitting.
Room temperature is not your friend with these. Don’t leave cooked pancakes sitting out for more than two hours. They’ve got eggs and milk in them, so they need to be refrigerated. I learned this the hard way when I left a batch out after breakfast and came back to find them looking sad and dried out. Straight into the fridge they go as soon as we’re done eating.
Want to pack them for lunch or snacks? They travel really well. I wrap individual pancakes in plastic wrap or foil and toss them in lunchboxes. They’re great cold, but you can also send them with a small container of syrup or nut butter for dipping. My kids love taking these to school. Way better than the processed stuff from the cafeteria.
8) Try these Breakfast recipes next!


9) Oatmeal Protein Pancakes
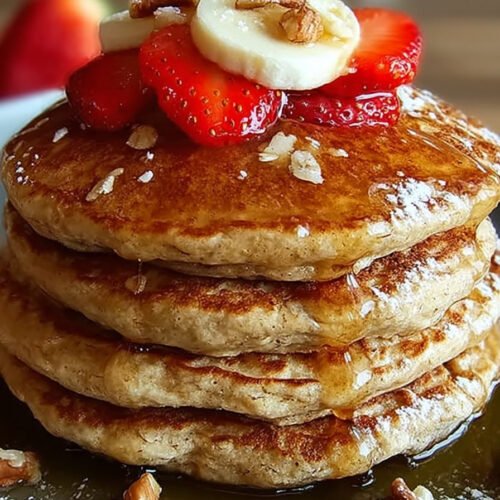
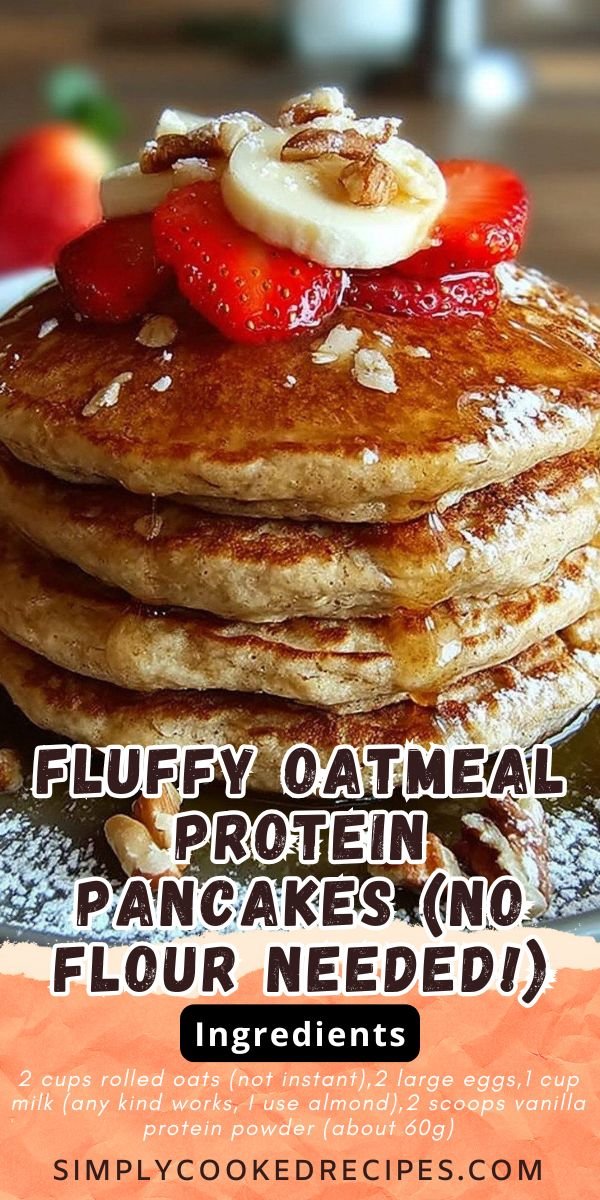
Fluffy Oatmeal Protein Pancakes (No Flour Needed!)
Ingredients
- 2 cups rolled oats (not instant)
- 2 large eggs
- 1 cup milk (any kind works, I use almond)
- 2 scoops vanilla protein powder (about 60g)
- 2 tablespoons honey or maple syrup
- 1 teaspoon baking powder
- 1/2 teaspoon vanilla extract
- 1/4 teaspoon salt
- Butter or oil for cooking
Instructions
- Throw all your ingredients except the butter into a blender. Blend on high for about 30 seconds until you’ve got a smooth batter. It should look like regular pancake batter, maybe just a tiny bit thicker.
- Let the batter rest for 5 minutes while you heat up your pan or griddle over medium heat. This gives the oats time to absorb the liquid and makes for fluffier pancakes.
- Add a little butter to your pan and let it melt. Pour about 1/4 cup of batter for each pancake. Don’t crowd them or you’ll regret it when it’s time to flip.
- Watch for those little bubbles to form on the surface (usually takes 2 to 3 minutes). When the edges look set and you see bubbles popping, that’s your cue to flip.
- Cook the other side for another 2 minutes or so until it’s golden brown. The second side always cooks faster, so don’t walk away.
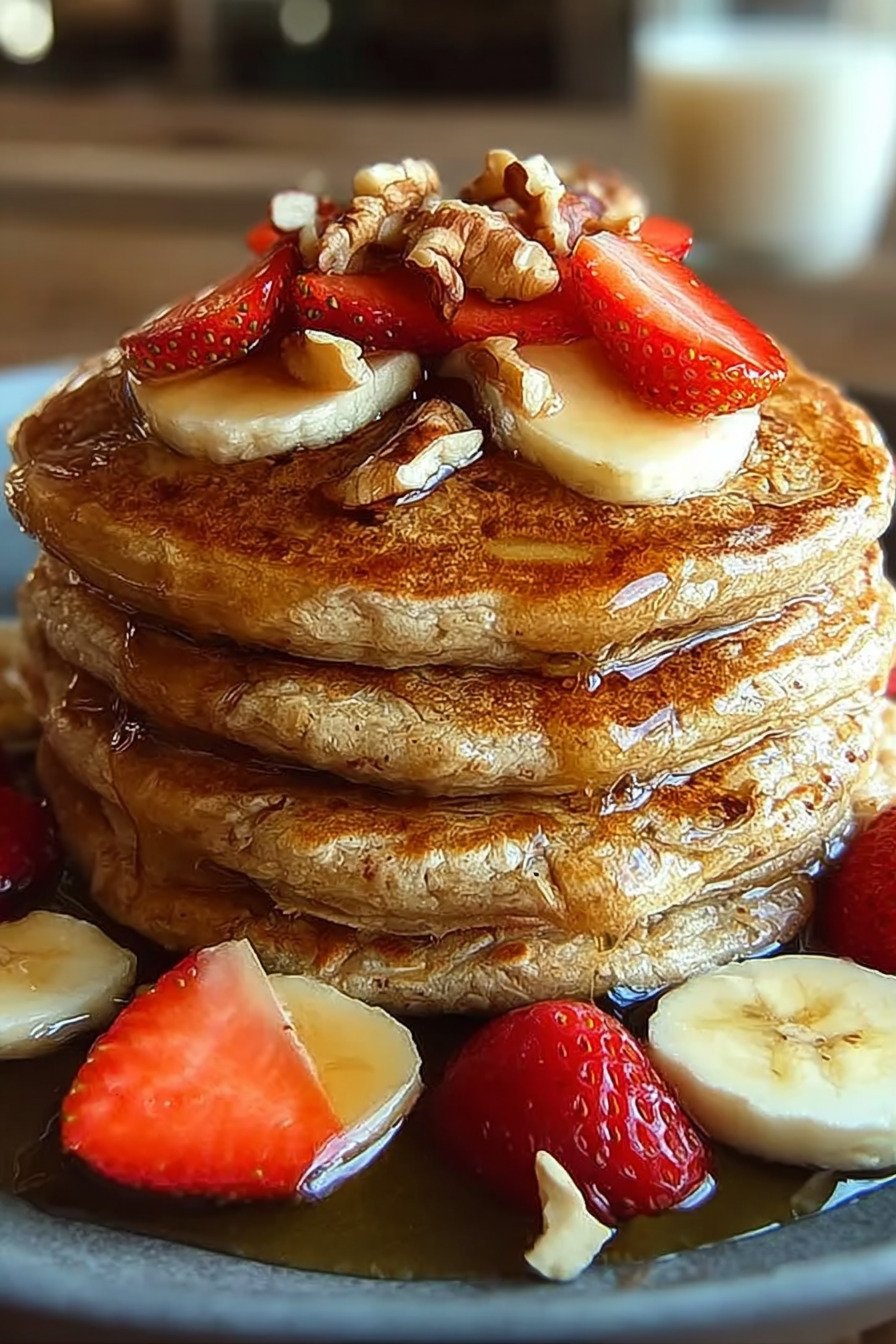
- Keep the finished pancakes warm in a low oven (like 200°F) while you cook the rest. Serve them up with your favorite toppings and try not to eat them all before everyone gets to the table.
10) Nutrition
Serving Size: 2 pancakes, Calories: 285, Sugar: 8 g, Sodium: 320 mg, Fat: 7 g, Saturated Fat: 2 g, Carbohydrates: 35 g, Fiber: 4 g, Protein: 20 g, Cholesterol: 95 mg


Leave a Comment