Listen, I’ve been making this pumpkin pie recipe for years now, and let me tell you, it’s the one that never lets me down. You know how some recipes promise the world and deliver meh results? Not this one. We’re talking about a real pumpkin pie recipe that actually tastes like fall should taste. What makes this simple pumpkin pie recipe so darn good? Well, it starts with real pumpkin (none of that weird canned stuff that tastes like cardboard), and it’s way easier than you’d think. I mean, if I can make it while my kids are asking me fifteen questions about dinosaurs, you can totally do this. The pumpkin pie crust recipe comes together beautifully, and honestly, that’s half the battle won right there. Now, I’m not gonna lie and say this is some fancy healthy pumpkin pie recipe with kale or whatever people are putting in desserts these days. But it’s made with fresh ingredients, real spices, and actual love. This fresh pumpkin pie recipe has become my go-to for Thanksgiving, random Tuesdays when I need pie (don’t judge), and pretty much any time someone says “hey, can you bring dessert?” The filling is creamy, perfectly spiced, and sits in that flaky crust like it was meant to be there all along. Trust me on this one.
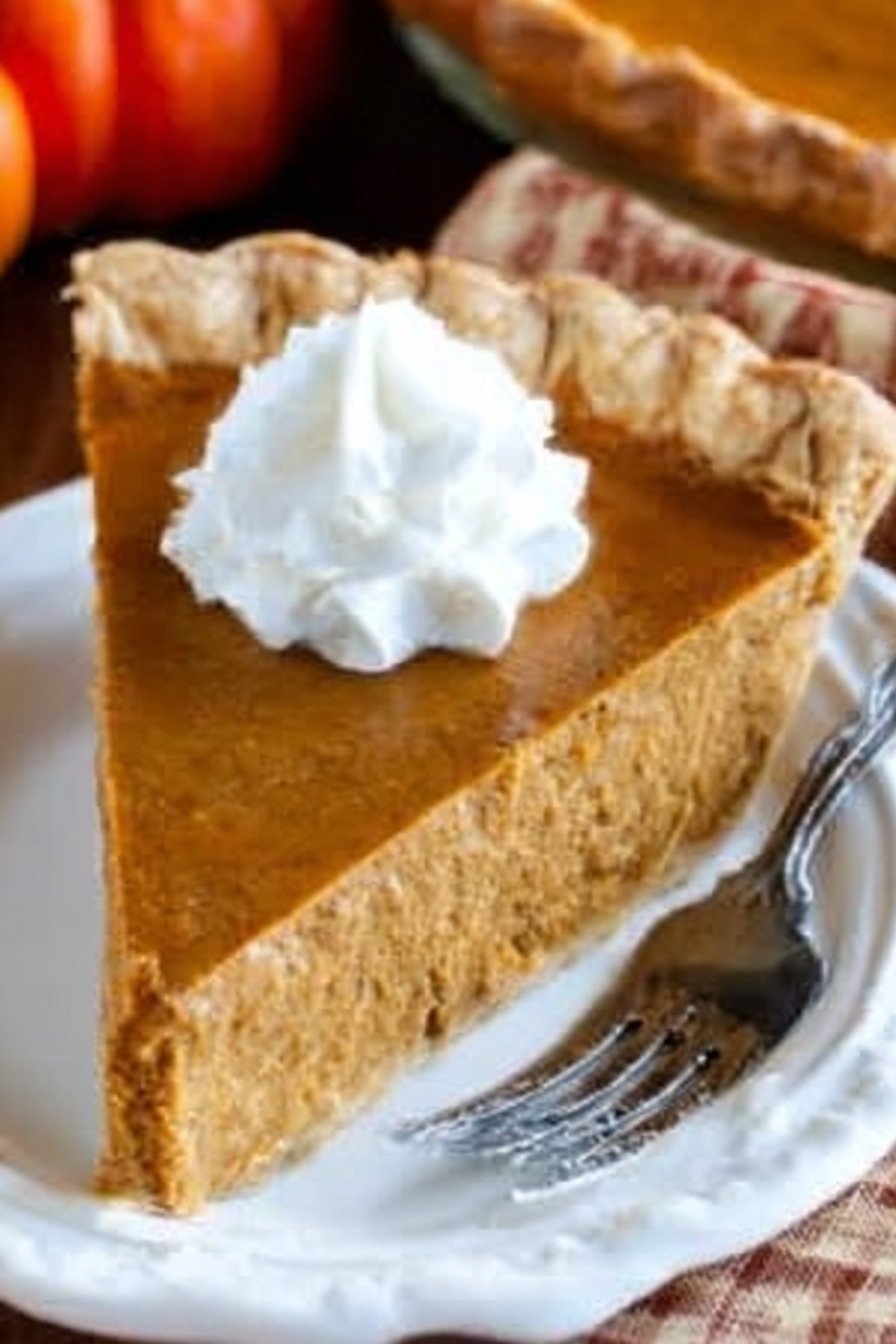
Table of Contents
- 1) Key Takeaways
- 2) Easy Homemade Pumpkin Pie Recipe
- 3) Ingredients for Easy Homemade Pumpkin Pie
- 4) How to Make Easy Homemade Pumpkin Pie
- 5) Tips for Making Easy Homemade Pumpkin Pie
- 6) Making Easy Homemade Pumpkin Pie Ahead of Time
- 7) Storing Leftover Easy Homemade Pumpkin Pie
- 8) Try these Desserts next!
- 9) Easy Homemade Pumpkin Pie
- 10) Nutrition
1) Key Takeaways
- What makes this pumpkin pie so easy to prepare?
- Can I use fresh pumpkin instead of canned puree?
- How do I prevent my pumpkin pie crust from getting soggy?
- What’s the secret to getting that perfect creamy pumpkin pie filling?
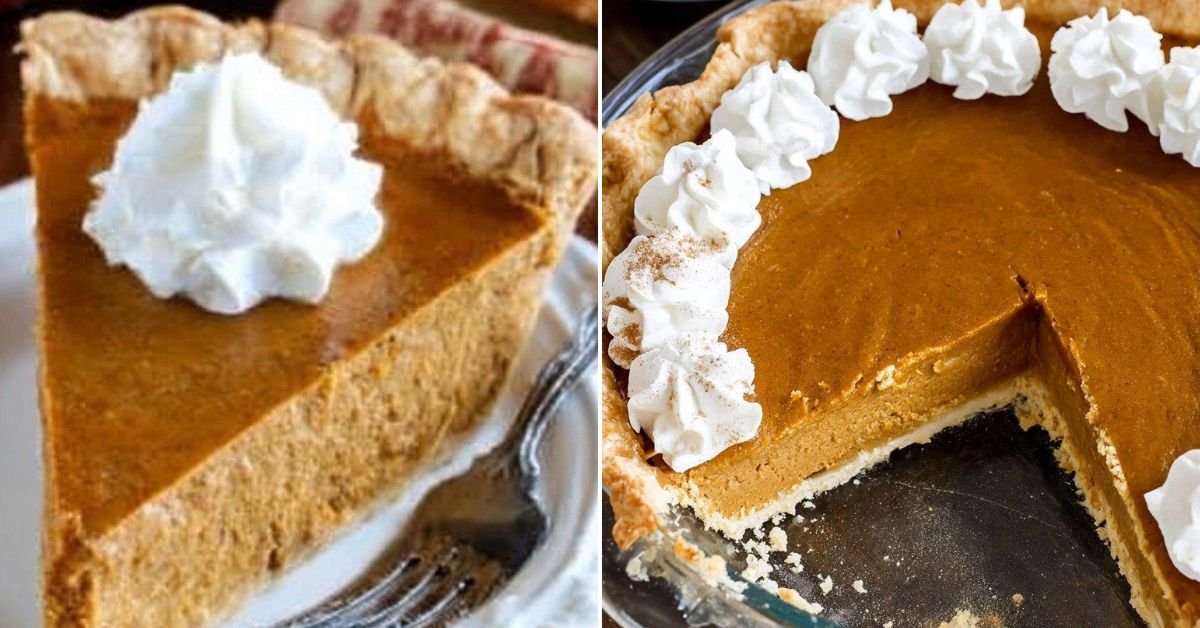
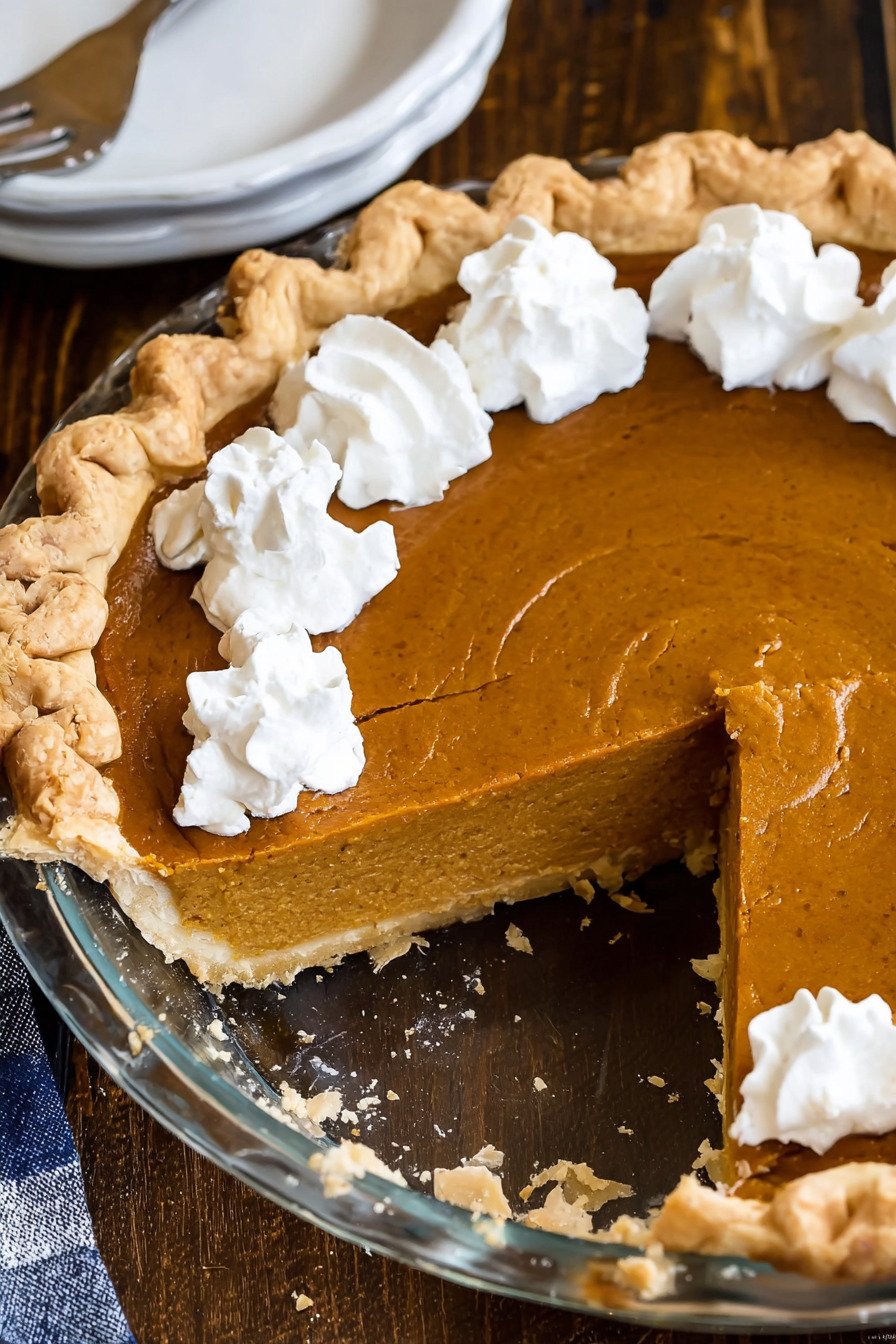
2) Easy Homemade Pumpkin Pie Recipe
Look, I get it. You’re probably thinking another pumpkin pie recipe is the last thing the internet needs. But hear me out on this one. This isn’t just any old pumpkin pie recipe. It’s the one I’ve been making for my family every fall for the past decade, and it’s never once failed me. We’re talking silky smooth filling, perfectly spiced, sitting in a crust that stays crispy on the bottom. No soggy disasters here.
What makes this simple pumpkin pie recipe different? For starters, we’re keeping things straightforward. No weird ingredients you can’t pronounce or fifteen different spices fighting for attention. Just good, honest flavors that taste like autumn should taste. The kind of pie that makes your house smell so good your neighbors start dropping by with flimsy excuses about needing to borrow sugar.
I’m Kathy from Simply Cooked Recipes, and I’ve spent years testing this recipe until it became foolproof. My kids used to joke that our kitchen turned into a pumpkin pie factory every October. They weren’t wrong. But all that testing paid off when I finally nailed the perfect ratio of pumpkin to sweetness, the ideal spice blend, and that magical baking time that gives you set edges with just a tiny wobble in the center.
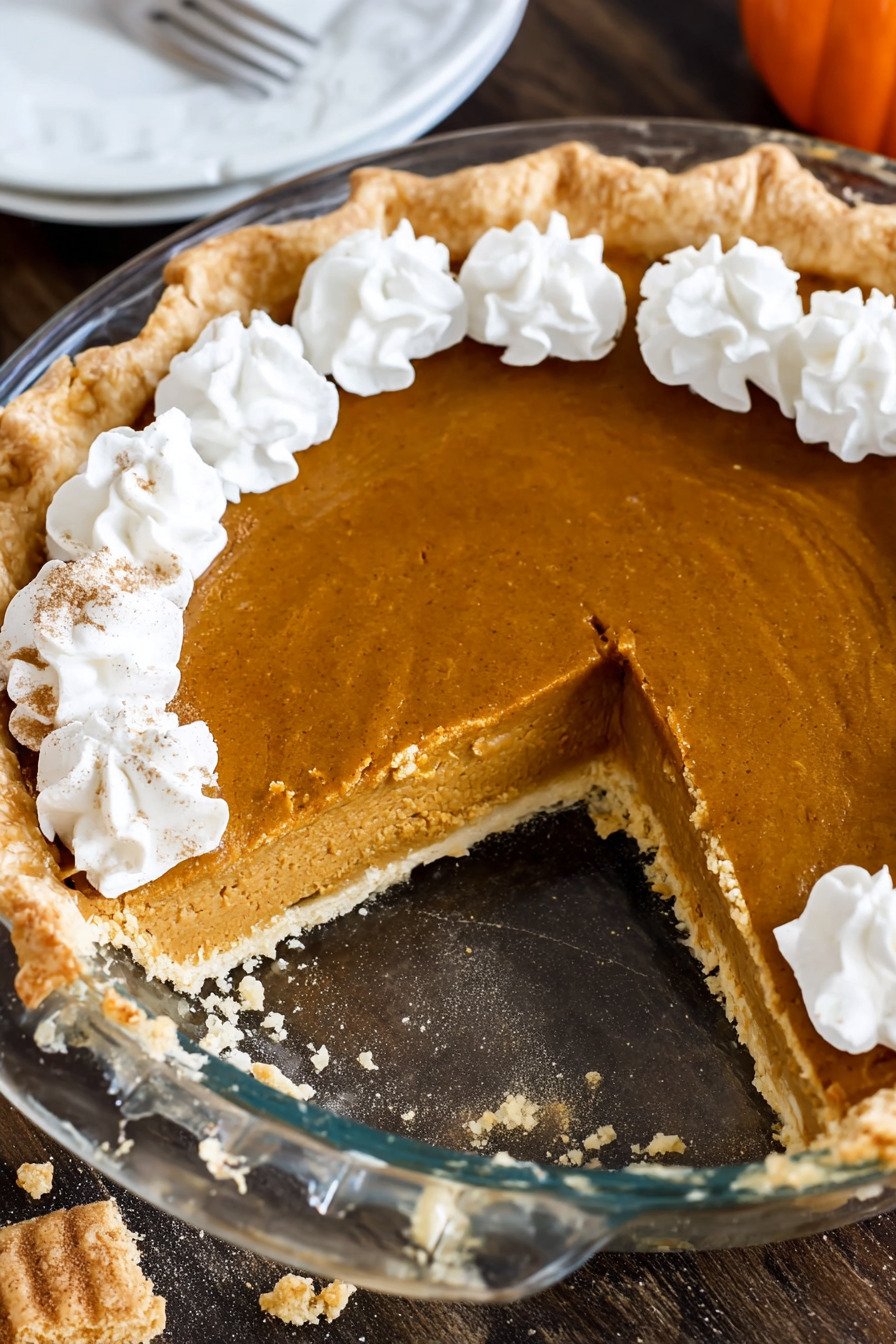
This healthy pumpkin pie recipe uses real ingredients without any shortcuts that compromise flavor. The sweetened condensed milk creates an incredibly creamy texture that you just can’t get any other way. And that little trick with the egg white on the crust? Pure genius. It creates a barrier that keeps everything crisp and prevents that dreaded soggy bottom that ruins so many pies.
Here’s the thing about making pumpkin pie. People get intimidated by it. They think it’s complicated or that they need some secret family recipe passed down through generations. Wrong. You need a good recipe, basic ingredients, and about an hour of your time. That’s it. No culinary degree required. If you can whisk ingredients together and follow simple instructions, you can absolutely make this pie.
3) Ingredients for Easy Homemade Pumpkin Pie
Refrigerated Pie Crust
Let’s start with the foundation. You can totally make your own crust from scratch if that’s your jam. I respect that. But we’re going for easy here, and refrigerated pie crusts have come a long way. They’re actually really good now. Just make sure you let it sit at room temperature for about 15 minutes before unrolling it. Cold crust equals tears in the dough, and nobody wants that drama. Press it gently into your pie pan, trim the edges, and crimp it however makes you happy. I just use my fingers because I’m not fancy like that.
Egg White for Brushing
This is your secret weapon against soggy crust syndrome. Beat one egg white lightly with a fork until it’s just a bit frothy. Then brush it all over the bottom and sides of your crust before you add the filling. It creates this invisible shield that keeps moisture where it belongs. In the filling, not soaking into your beautiful crust. Trust me on this. It’s a game changer. Some people skip this step and then wonder why their crust gets mushy. Don’t be those people.
Pure Pumpkin Puree
Get the 15 ounce can of pure pumpkin puree. Not pumpkin pie filling. Those are two completely different things. Pure pumpkin is just that. Pumpkin. Nothing else. The pie filling already has sugar and spices mixed in, which will throw off our carefully balanced recipe. Read those labels. I learned this the hard way years ago when I grabbed the wrong can and ended up with a pie so sweet it made my teeth hurt. Live and learn, right?
Sweetened Condensed Milk
This stuff is magic in a can. It’s what gives our pie that luxuriously smooth, creamy texture. You need the 14 ounce can. Some people try to substitute evaporated milk or regular milk thinking it’s the same thing. It’s not. Sweetened condensed milk is thick, sweet, and concentrated. It’s been cooked down until about 60% of the water is gone. That’s why it works so well in pies. It creates that perfect custard texture without making things watery.
Eggs
You’ll need two large eggs for this fresh pumpkin pie recipe. They act as a binder and help create that silky custard filling we’re after. Make sure they’re at room temperature if possible. Cold eggs don’t mix as smoothly into the filling. I usually pull mine out of the fridge while I’m preheating the oven. By the time I’m ready to use them, they’ve warmed up just enough. It’s the little things that make a difference.
Ground Cinnamon
One teaspoon of this warm, sweet spice is non negotiable. Cinnamon is what makes pumpkin pie taste like pumpkin pie. It’s the star of our spice blend. I prefer using fresh ground cinnamon if you have it. The flavor is just more robust and aromatic. But regular ground cinnamon from the grocery store works perfectly fine too. Just make sure it’s not ancient. Spices do lose their potency over time. If your cinnamon has been sitting in your cupboard since 2015, maybe invest in a new jar.
Ground Ginger
Half a teaspoon of ground ginger adds a subtle warmth and slight spiciness that complements the cinnamon beautifully. It’s not overpowering. Just enough to make you go “mmm, what is that?” when you take a bite. Some people think ginger is too strong in desserts, but that’s usually when too much is used. We’re keeping it balanced here. It adds depth without stealing the show.
Ground Nutmeg
Another half teaspoon goes to nutmeg. This spice is interesting. Too much and it tastes medicinal. Just right and it adds this cozy, almost buttery note that makes the pie taste richer. Freshly grated nutmeg is phenomenal if you have a whole nutmeg and a microplane grater. But ground works great too. Fun fact about nutmeg. It’s actually the seed of a fruit. Random knowledge to share at your next dinner party.
Salt
Half a teaspoon might seem like a lot for a dessert, but salt is what makes all the other flavors pop. It balances the sweetness and brings out the spices. Without salt, the pie tastes flat and one dimensional. With it, everything comes alive. It’s like turning up the volume on all the good flavors. I use regular table salt, but kosher salt works too. Just use a bit more since the grains are larger.
4) How to Make Easy Homemade Pumpkin Pie
Step 1
Get your oven going at 425°F. This high starting temperature is key to getting that crust nice and golden. While the oven’s heating up, take your pie crust and gently press it into a 9 inch pie pan. Don’t stretch it or it’ll shrink back when it bakes. Just ease it in there like you’re tucking a baby into bed. Trim any excess dough hanging over the edges. I usually leave about half an inch and then fold it under itself to create a little lip. Then crimp it however you like. I do the classic pinch with my thumb and forefinger, but you do you.
Step 2
Now for that egg white magic. Beat one egg white with a fork until it’s a bit frothy. You’re not making meringue here, so don’t go crazy. Just mix it up until it’s uniform and slightly bubbly. Then use a pastry brush (or the back of a spoon if you don’t have a brush) to coat the entire bottom and sides of your crust. Get into all the corners. This creates that moisture barrier I was telling you about. The one that keeps your crust crispy instead of soggy. It’s such a simple step but makes such a huge difference.
Step 3
Grab a medium sized bowl for the real pumpkin pie recipe filling. Add your pumpkin puree, sweetened condensed milk, and eggs. Now whisk. Not a gentle stir. A proper whisk. You want everything completely smooth and uniform. No lumps of pumpkin hanging out. No streaks of condensed milk. Just one beautiful, cohesive mixture. This usually takes me about a minute of steady whisking. My arm gets a little tired, but that’s how you know you’re doing it right.
Step 4
Time to add the spices. Measure out your cinnamon, ginger, nutmeg, and salt. Toss them all into the bowl with your pumpkin mixture. Whisk again until the spices are completely incorporated. You shouldn’t see any dark streaks or spots. Everything should be one gorgeous orangey brown color. Take a moment to smell it right now. Seriously. Lean over that bowl and inhale. That’s the smell of fall happiness right there. If that doesn’t make you excited about pie, I don’t know what will.
Step 5
Pour your pumpkin mixture into the prepared crust. Here’s a pro tip. Don’t fill it all the way to the top. Leave about a quarter inch of space. Pies puff up slightly as they bake, and if you overfill it, you’ll have filling bubbling over the edges and making a mess in your oven. Ask me how I know this. Go ahead. I’ll wait. Yeah, I’ve learned this lesson the hard way more than once. Now I always leave a little room at the top.
Step 6
Put the pie in your preheated 425°F oven. Set a timer for 15 minutes. When that timer goes off, do not open the oven door. This is critical. Just reach over and turn the temperature down to 350°F. Opening the door lets out heat and can cause the pie to crack. The temperature change from high to low is what gives you that perfectly cooked pie with smooth edges and a creamy center. Bake for another 35 to 40 minutes at the lower temperature.
Step 7
How do you know when it’s done? The edges should be completely set and firm. The center should still have a slight wobble when you gently shake the pan. Not liquid. Not firm. Just a little jiggle. Think Jell O that’s almost set but not quite. That’s perfect. If the center is completely firm, you’ve overbaked it. It’ll still taste good, but the texture won’t be as creamy. Take it out and set it on a wire rack to cool completely. This takes a couple hours. I know waiting is torture, but patience pays off here.
Step 8
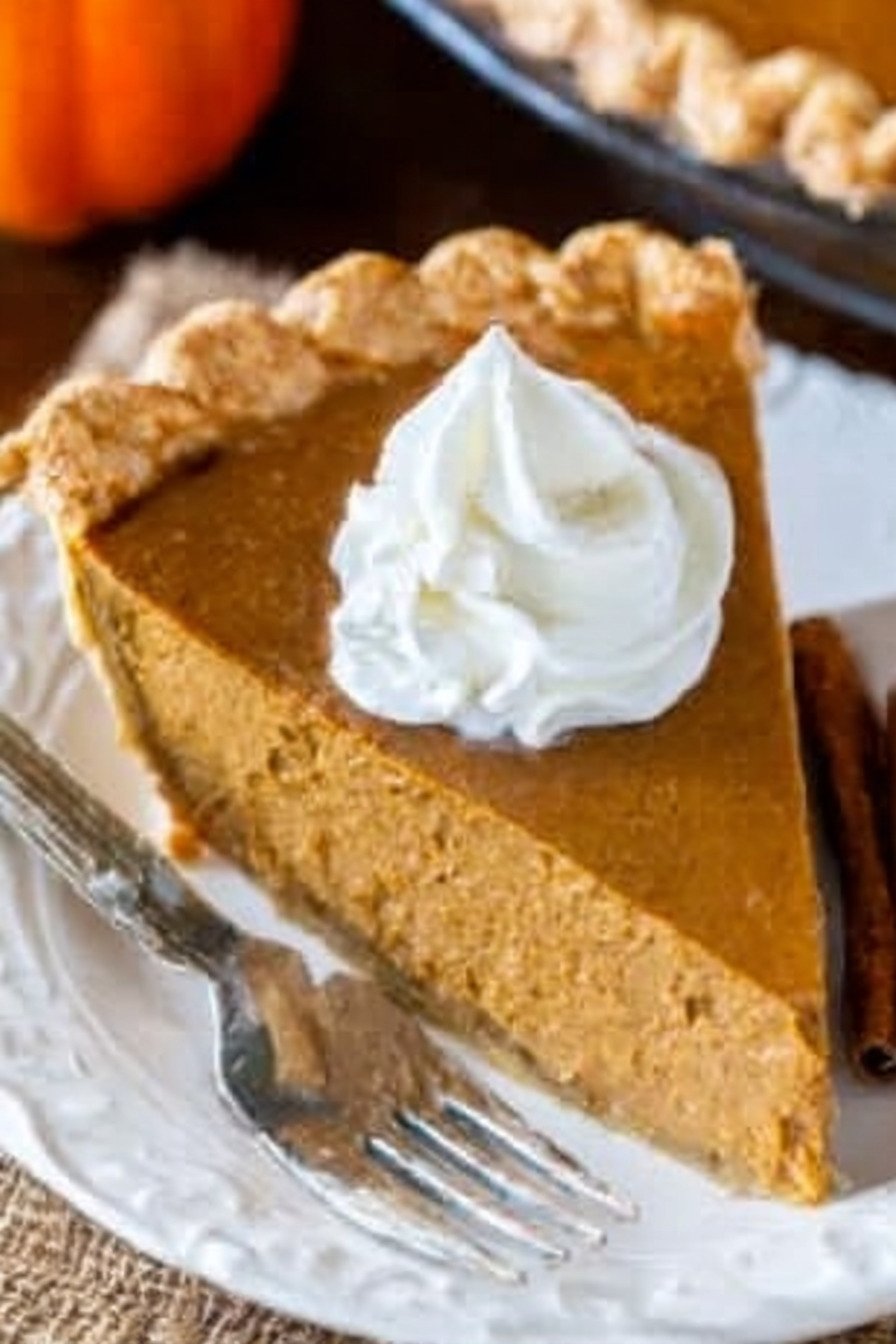
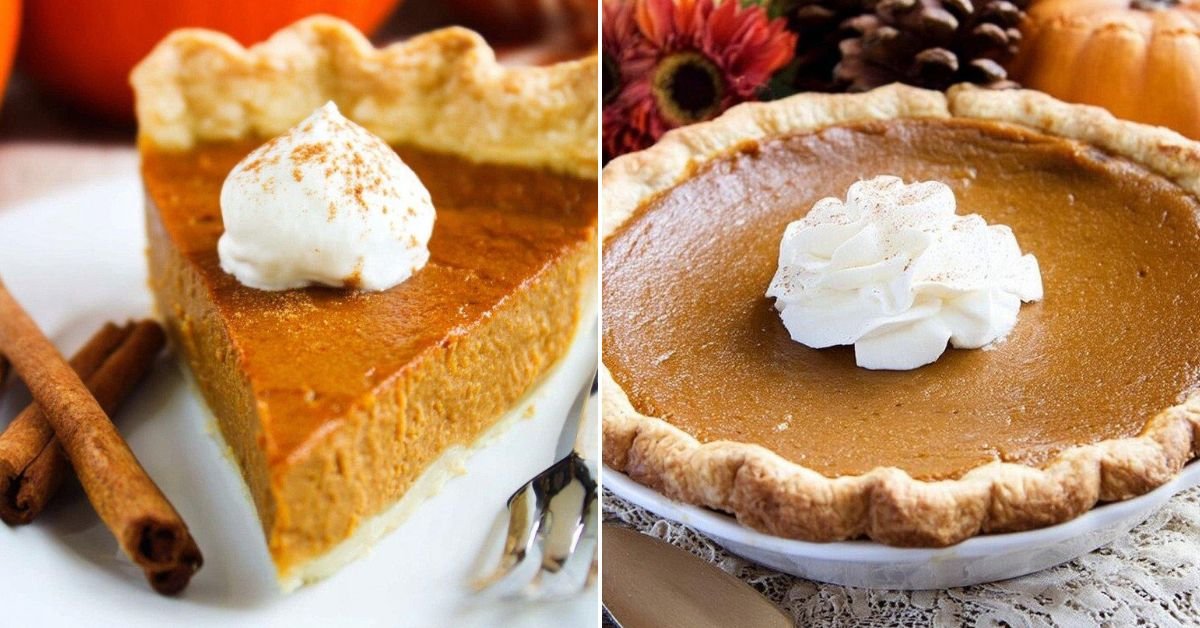
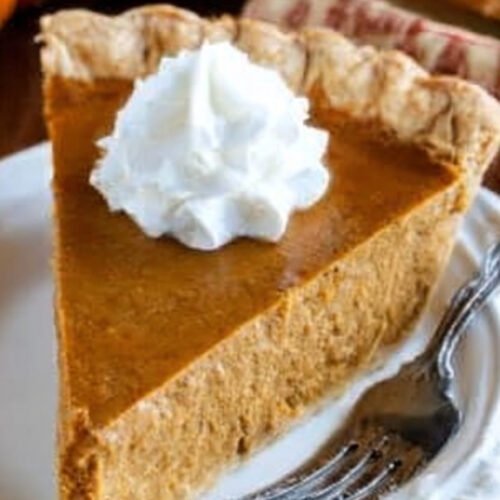
Once your pie has cooled to room temperature, stick it in the fridge for at least 2 hours. Overnight is even better. Pumpkin pie needs to chill completely for the filling to set properly. Cutting into a warm pie will give you pumpkin soup instead of nice clean slices. When you’re ready to serve, top each slice with a generous dollop of whipped cream. Or don’t. Some people like it plain. Some people like ice cream instead. You do whatever makes you happy. It’s your pie.
5) Tips for Making Easy Homemade Pumpkin Pie
Let’s talk about getting that perfect pumpkin pie crust recipe results. The crust can make or break your pie experience. If you’re using a store bought crust, let it warm up for 15 minutes before working with it. Cold dough cracks and tears. Room temperature dough is flexible and easy to work with. When you press it into the pan, work from the center outward. This prevents air bubbles from forming underneath. Air bubbles create weak spots that can lead to cracks or uneven baking.
Speaking of crust, that egg white wash is non negotiable if you want a crispy bottom. But here’s a tip nobody tells you. After you brush on the egg white, pop the crust in the freezer for 10 minutes before adding the filling. This sets the egg white and creates an even better barrier. It also helps the crust hold its shape better during baking. I started doing this a few years ago and noticed a real difference in how crispy the bottom stayed.
Temperature matters more than you think. Using room temperature eggs and pumpkin puree (if you stored it in the fridge after opening) helps everything blend together more smoothly. Cold ingredients don’t incorporate as well and can create a lumpy filling. I usually pull my eggs out when I start preheating the oven. By the time I need them, they’ve warmed up enough. Same with any leftover pumpkin puree from a can.
Watch your pie like a hawk during the last 10 minutes of baking. Every oven is different, and yours might run hot or cool. The visual cues are more important than the exact time. Set edges with a jiggly center. That’s what you’re looking for. If the edges start getting too dark before the center is set, cover them loosely with strips of aluminum foil. This protects them from overbrowning while the center finishes cooking.
Don’t skip the cooling steps. I know it’s tempting to cut into that beautiful pie right away, but resist. The filling needs time to set properly as it cools. First at room temperature, then in the fridge. If you cut it too soon, the filling will be runny and won’t hold its shape. Trust the process. Good things come to those who wait. And a perfectly sliced piece of pumpkin pie is definitely worth the wait.
6) Making Easy Homemade Pumpkin Pie Ahead of Time
Here’s some good news for all you planners out there. This pumpkin pie recipe with real pumpkin is fantastic for making ahead. In fact, I’d argue it tastes even better the next day. The flavors have time to meld together and develop. The texture becomes even more creamy and smooth. I make mine at least a day before I need it, sometimes even two days ahead.
You can bake the pie up to three days before you plan to serve it. Just let it cool completely, cover it loosely with plastic wrap or aluminum foil (don’t let it touch the surface of the pie), and store it in the fridge. The pie will stay fresh and delicious. The crust might lose a tiny bit of its crispness after day two, but it’s still really good. Way better than trying to bake a pie the morning of a big dinner when you’ve got fifteen other things going on.
If you want to prep even further ahead, you can make the filling a day in advance and store it in an airtight container in the fridge. Then the day you want to bake, just give it a good stir, pour it into your prepared crust, and bake as directed. This breaks up the work and makes the whole process feel less overwhelming. You can even prepare the crust, brush it with egg white, and keep it in the fridge overnight.
Can you freeze pumpkin pie? Yep. Bake it, let it cool completely, then wrap it tightly in plastic wrap followed by aluminum foil. It’ll keep in the freezer for up to a month. When you’re ready to serve it, thaw it overnight in the fridge. The texture might be slightly different from fresh, a bit more dense, but it’s still perfectly delicious. I’ve done this many times when I wanted to get a jump on holiday baking.
One thing I don’t recommend is freezing the unbaked pie. Custard based pies like pumpkin don’t freeze well before baking. The texture gets weird and grainy. If you’re going to freeze it, bake it first. The cooked custard holds up much better to freezing and thawing. This is one of those things I learned through trial and error. The first time I tried freezing an unbaked pumpkin pie, it was a disaster. Lesson learned.
7) Storing Leftover Easy Homemade Pumpkin Pie
Got leftover pie? Lucky you. Store it in the fridge, covered loosely with plastic wrap or aluminum foil. It’ll stay good for up to four days. Some people say three days, but I’ve pushed it to four many times without any issues. Just make sure it’s properly chilled. Pumpkin pie contains eggs and dairy, so it needs to stay cold. Don’t leave it sitting out on the counter for hours. Two hours max is the safe zone.
I like to cover my pie with a cake dome or pie keeper if I have one. This keeps the top from drying out and prevents it from absorbing any weird fridge smells. If you don’t have a pie keeper, plastic wrap works fine. Just be gentle when you put it on so you don’t smoosh the top of the pie. Or use toothpicks stuck in around the edges to hold the plastic wrap above the surface. Old school trick that works great.
Individual slices can be stored in airtight containers. This is actually my preferred method for leftovers. Each person can grab a slice when they want one without uncovering the whole pie repeatedly. It also makes slices easier to reheat if you like warm pie. Just pop a slice in the microwave for 20 to 30 seconds. Not too long or the filling gets weird and separated. Just enough to take the chill off.
Can you eat pumpkin pie cold straight from the fridge? Absolutely. That’s how I prefer it most of the time. Cold pumpkin pie with whipped cream is one of life’s simple pleasures. Some people like it room temperature. Some like it slightly warm. Experiment and find your preference. There’s no wrong answer here. Whatever makes your taste buds happy is the right way to eat pie.
If your leftover pie seems to be weeping liquid (you’ll see a thin layer of liquid on top), that’s normal. It just means some of the moisture has separated out. You can gently blot it off with a paper towel before serving. It doesn’t mean the pie has gone bad. It’s just a natural thing that happens with custard pies sometimes. The taste and texture are still fine. Been there, done that, eaten the pie anyway. No regrets.
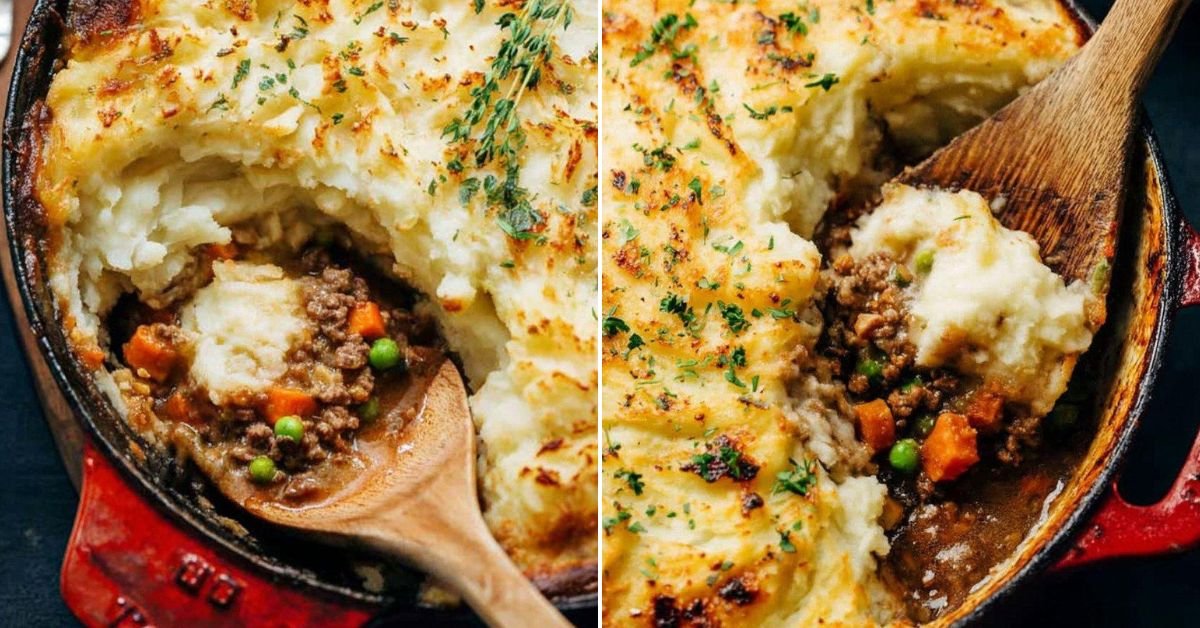
8) Try these Desserts next!


9) Easy Homemade Pumpkin Pie
Easy Homemade Pumpkin Pie Recipe
Ingredients
For the Crust
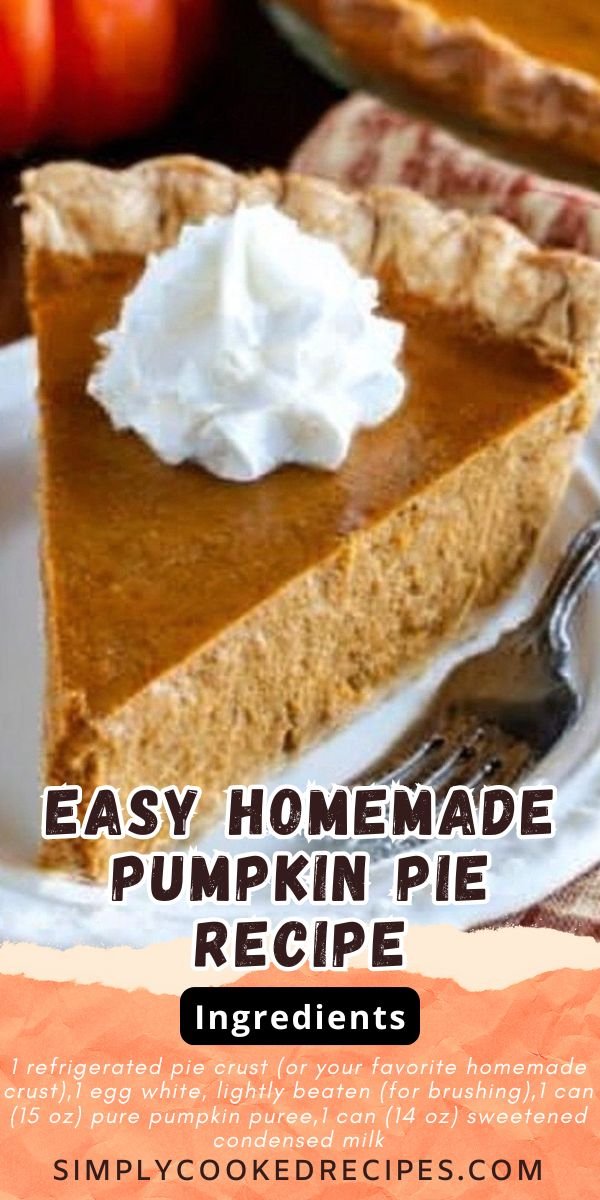
- 1 refrigerated pie crust (or your favorite homemade crust)
- 1 egg white, lightly beaten (for brushing)
For the Filling
- 1 can (15 oz) pure pumpkin puree
- 1 can (14 oz) sweetened condensed milk
- 2 large eggs
- 1 teaspoon ground cinnamon
- 1/2 teaspoon ground ginger
- 1/2 teaspoon ground nutmeg
- 1/2 teaspoon salt
Instructions
- Preheat your oven to 425°F. Take that pie crust and press it gently into a 9-inch pie pan. Trim any excess hanging over the edges and crimp it however you like (I just pinch mine with my fingers, nothing fancy).
- Brush the bottom and sides of the crust with that beaten egg white. This little trick keeps the crust from getting soggy, and trust me, it works like magic.
- In a medium bowl, whisk together the pumpkin puree, sweetened condensed milk, and eggs until everything’s smooth and well combined. No lumps allowed here, folks.
- Add in your cinnamon, ginger, nutmeg, and salt. Whisk it all together until the spices are evenly distributed and the mixture looks uniform. Take a moment to smell it because it smells like happiness.
- Pour the pumpkin mixture into your prepared crust. Try not to overfill it or you’ll have a mess in your oven (learned that the hard way).
- Bake at 425°F for 15 minutes. Then, without opening the oven door, reduce the temperature to 350°F and continue baking for another 35 to 40 minutes. The pie is done when the edges are set but the center still has a slight jiggle to it.
- Remove from the oven and let it cool completely on a wire rack. I know waiting is hard, but cutting into a warm pie will give you soup, not slices.
- Once cooled, refrigerate for at least 2 hours before serving. Top with whipped cream if you’re feeling fancy (and honestly, why wouldn’t you?).
10) Nutrition
Serving Size: 1 slice (1/8 of pie) | Calories: 289 | Sugar: 28.5 g | Sodium: 245 mg | Fat: 11.2 g | Saturated Fat: 5.1 g | Carbohydrates: 41.8 g | Fiber: 2.3 g | Protein: 6.7 g | Cholesterol: 68 mg


Leave a Comment