
You know what I absolutely love about this recipe? It’s one of those pudding recipes that doesn’t mess around with weird substitutions. No avocado trying to masquerade as chocolate. No tofu pretending it belongs in dessert. Just pure, honest to goodness chocolate heaven in a bowl. I stumbled onto this gem when I was craving something sweet but didn’t want to go overboard. We’re talking about 2 ingredient desserts territory here, folks (well, okay, six ingredients, but who’s counting?). The best part? You probably have everything sitting in your pantry right now. I love whipping up these 3 ingredient recipes when unexpected guests drop by. The secret is using good quality cocoa powder and letting it chill properly. Trust me on this one. What really gets me excited is how versatile this pudding is. Want healthy snacks for the kids? Done. Looking for almond flour desserts to round out your menu? Pair this with some almond cookies. Need sugar free desserts for your health kick? Swap the sweetener. Heck, I’ve even served this as breakfast pudding with some fresh berries on top (don’t judge me until you try it). This creamy treat comes together in about 15 minutes of active work, then the fridge does the heavy lifting while you go about your day. By the time dinner rolls around, you’ve got dessert ready and waiting. Pretty sweet deal if you ask me.
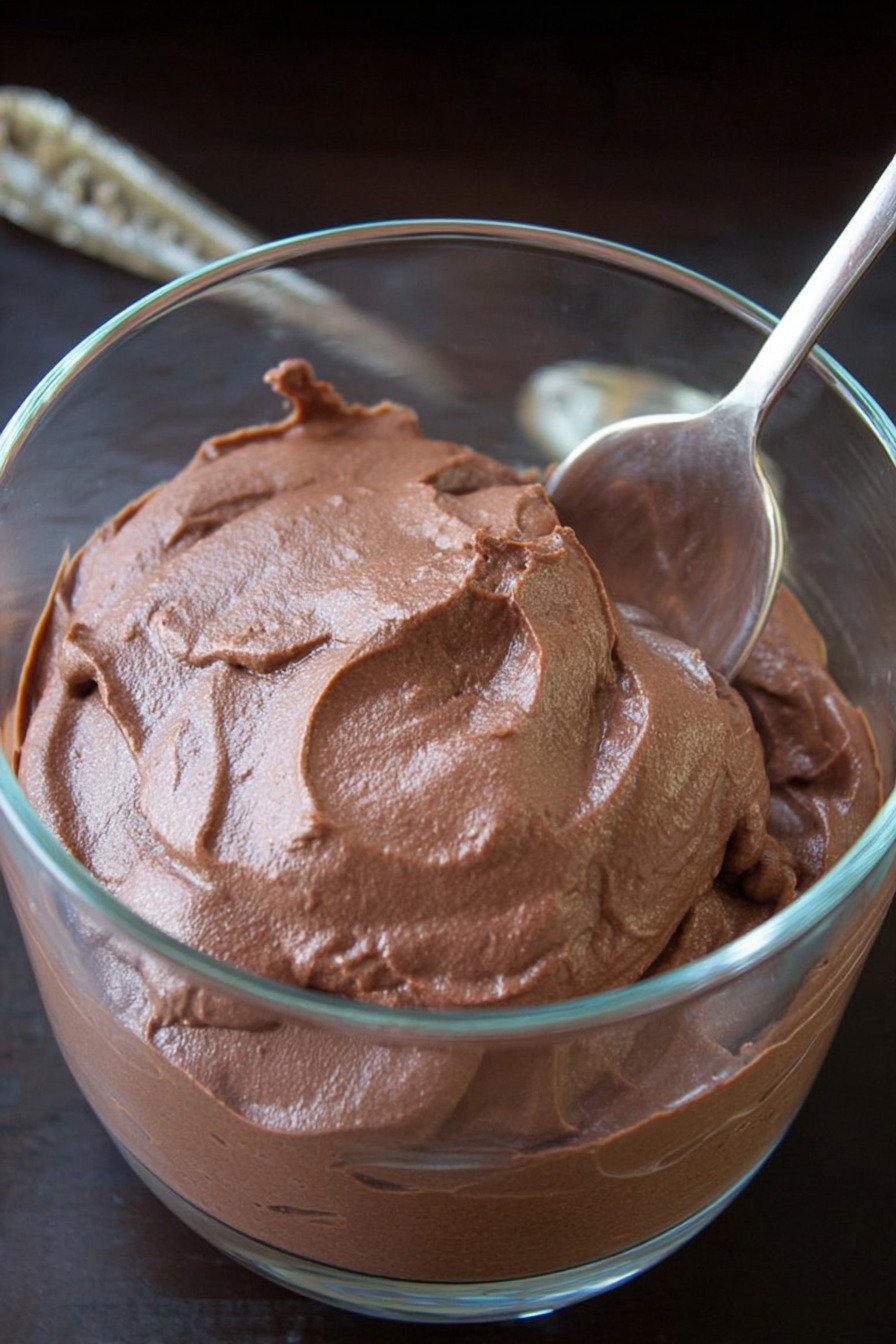
Table of Contents
- 1) Key Takeaways
- 2) Easy Creamy Chocolate Pudding Recipe
- 3) Ingredients for Creamy Chocolate Pudding
- 4) How to Make Creamy Chocolate Pudding
- 5) Tips for Making Creamy Chocolate Pudding
- 6) Making Creamy Chocolate Pudding Ahead of Time
- 7) Storing Leftover Creamy Chocolate Pudding
- 8) Try these Desserts next!
- 9) Creamy Chocolate Pudding
- 10) Nutrition
1) Key Takeaways
- What makes homemade chocolate pudding so creamy?
- Can I make pudding recipes without eggs?
- What’s the secret to thick, rich pudding that doesn’t get lumpy?
- How long does homemade chocolate pudding last in the fridge?
2) Easy Creamy Chocolate Pudding Recipe
Listen, I’ve tried just about every pudding recipe out there, and this one has become my absolute go to. When you’re looking for pudding recipes that actually deliver on that thick, spoon coating texture without making you jump through hoops, this is it. No strange ingredients trying to sneak their way in. No avocado playing dress up. Just straight up chocolate goodness that reminds me of lazy Sunday afternoons as a kid.
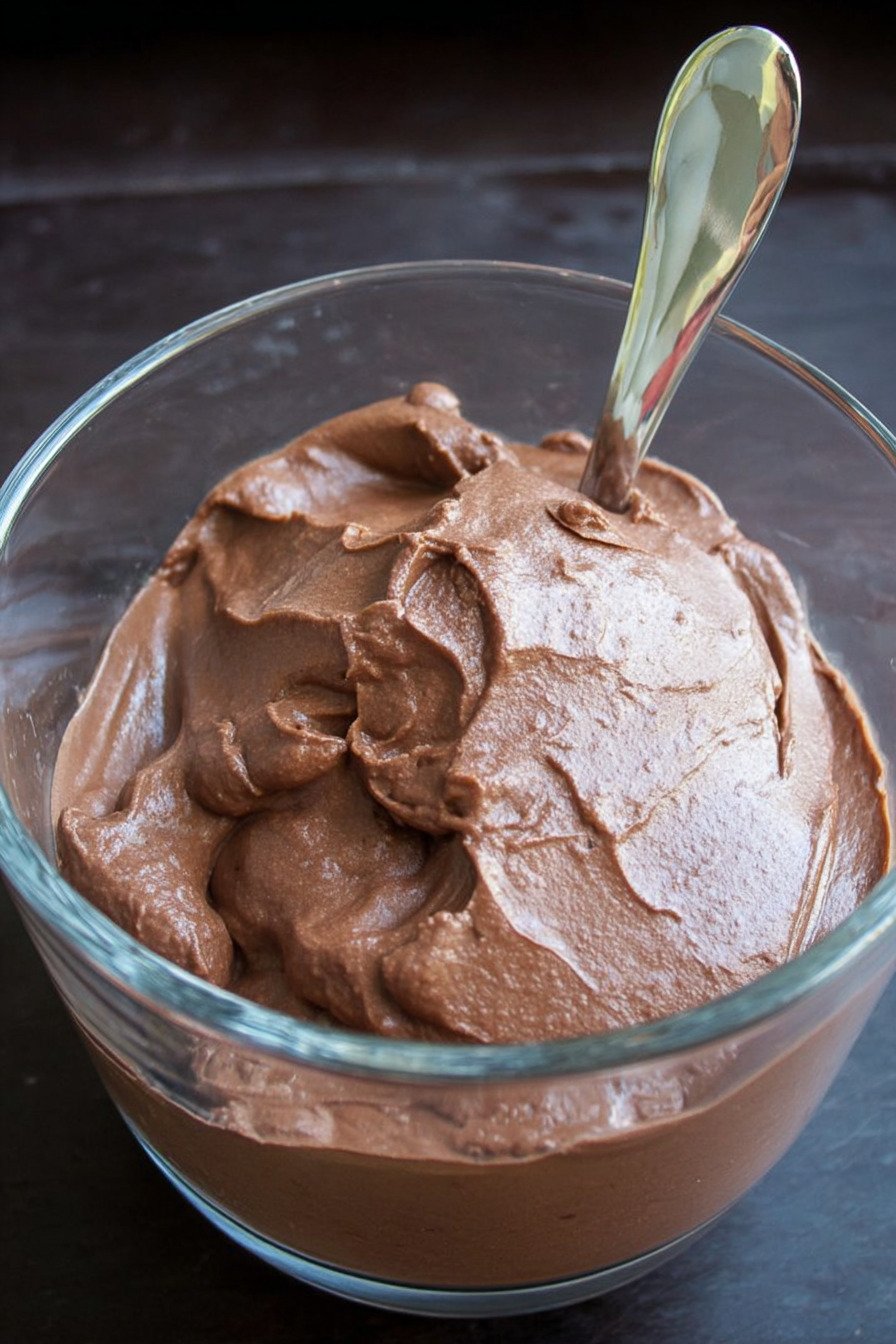
What gets me every single time is how quick this comes together. We’re talking maybe 15 minutes of your actual time, then the fridge does all the heavy lifting. I’ve made this when friends text me they’re dropping by in a few hours, and I look like some kind of dessert wizard when they show up. The texture is what really sets these pudding recipes apart from the boxed stuff. It’s silky without being too heavy, and that deep chocolate flavor hits just right without crossing into bitter territory.
The beauty of this recipe is how forgiving it is. You can use whatever milk you’ve got hanging out in your fridge. Almond milk? Great. Coconut milk for that extra richness? Even better. Regular dairy milk? Works like a charm. I’ve even used oat milk when that’s all I had, and nobody could tell the difference. This flexibility makes it perfect for when you’re working with what you have instead of making a special grocery run.
Real talk though, the best part about making your own pudding is knowing exactly what’s going into it. No weird preservatives or ingredients you can’t pronounce. Just real food that tastes like someone who actually cares made it. My kids request this weekly, and I’m not mad about it because I know they’re getting something homemade instead of processed junk from a box.

3) Ingredients for Creamy Chocolate Pudding
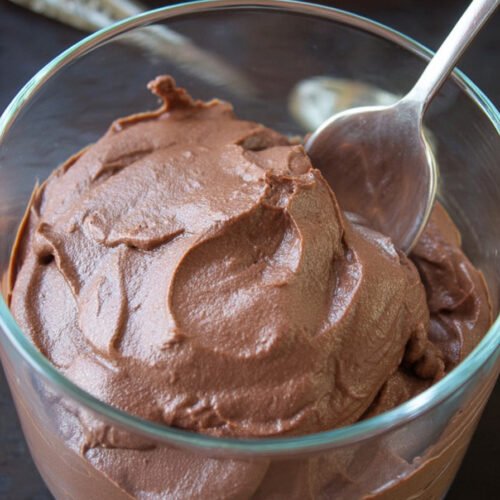
Milk of Choice. This is your base, so pick something you actually like drinking. I bounce between almond milk and regular whole milk depending on my mood. Canned coconut milk turns this into something almost mousse like if you’re feeling fancy. The fat content matters here though. Skim milk works but won’t give you that luxurious mouthfeel. Go for at least 2% if you’re using dairy, or full fat versions of plant based milks. Your taste buds will thank you.
Dutch Cocoa Powder. Don’t skip the “Dutch” part here. Regular cocoa powder just doesn’t hit the same way. Dutch processed cocoa has this deeper, smoother chocolate flavor that makes these pudding recipes taste like you melted down expensive chocolate bars. I keep a container of it in my pantry specifically for this recipe. A quarter cup might not sound like much, but it packs serious chocolate punch. If you can only find regular cocoa, it’ll work in a pinch, but the flavor profile shifts to something a bit sharper.
Sweetener Options. Here’s where you get to play around based on your preferences. Regular granulated sugar dissolves beautifully and gives you that classic pudding sweetness. Pure maple syrup adds this subtle depth that I’m obsessed with. Honey works great if you like things a touch less sweet. For my sugar free desserts crowd, erythritol blends right in without any weird aftertaste. I’ve tested all of these, and they each bring something different to the table. Start with a third of a cup and taste as you go.
Cornstarch Magic. This is what transforms your chocolate milk into actual pudding. Three tablespoons mixed with half a cup of milk creates this slurry that thickens everything up perfectly. Some folks ask about arrowroot powder, and sure, it can work if you use a bit less. But cornstarch is foolproof and cheap. I always keep a box around for thickening sauces and gravies too. Just make sure you whisk it really well so you don’t end up with clumps floating around.
Salt. Yeah, it’s just an eighth of a teaspoon, but don’t even think about skipping it. Salt makes chocolate taste more like chocolate. It’s one of those kitchen secrets that sounds too simple to be true until you try making it without salt and realize something’s missing. That tiny amount balances the sweetness and makes all the other flavors pop. Trust me on this one.
Pure Vanilla Extract. Three quarters of a teaspoon goes in right at the end when the heat’s off. Vanilla and chocolate are best friends in the flavor world. I use the real stuff, not imitation, and you can taste the difference. If you’re feeling adventurous, try adding a few drops of peppermint extract around the holidays. Or maple extract if you want something cozy and different. The vanilla is your base note though.
Optional Chocolate Chips. Look, the pudding is chocolatey enough on its own, but melting in three ounces of actual chocolate takes it to another level. I usually grab whatever chocolate chips I have hanging around. Dark chocolate makes it more grown up. Milk chocolate keeps it sweeter. Sometimes I break up a fancy chocolate bar I got as a gift and toss that in. It melts into the warm pudding and creates this glossy, rich finish that makes people think you’re a professional.

4) How to Make Creamy Chocolate Pudding
Step 1. Grab your saucepan and pour in two cups of milk. Toss in the salt, cocoa powder, and whatever sweetener you picked. Give it a good stir so nothing’s sitting at the bottom. Turn your burner to medium heat and let this mixture warm up slowly. You’re not trying to boil it yet, just getting everything friendly and warm. This is when your kitchen starts smelling amazing and anyone in the house suddenly appears asking what you’re making.
Step 2. While that’s heating up, get a small bowl and combine the remaining half cup of milk with your cornstarch. Whisk this like your life depends on it. Seriously, you want zero lumps. I use a fork if I can’t find my whisk because it works just as well. This cornstarch mixture is what turns regular chocolate milk into thick, spoonable pudding. Make sure it’s completely smooth before you even think about adding it to the pot. Any lumps now mean lumps in your finished pudding, and nobody wants that.
Step 3. Once your pot of milk feels warm when you stick your finger in it, pour in that cornstarch mixture. Keep stirring as you bring everything up to a boil. You’ll see bubbles start breaking the surface. This is go time. The moment it starts boiling, grab your whisk or wooden spoon and stir constantly for two full minutes. Yeah, your arm might get tired. Do it anyway. This constant stirring is what makes the pudding smooth instead of gloppy. The mixture will start thickening up right before your eyes.
Step 4. Lower your heat to a gentle simmer and keep stirring for one more minute. The pudding should coat the back of your spoon now. If you draw a line through it with your finger, it should stay put. That’s how you know it’s ready. Turn off the heat completely and step back. The hot part is done, and you’ve basically just made pudding from scratch. Not so scary, right?
Step 5. Now stir in your vanilla extract. If you’re using those optional chocolate chips or broken up chocolate pieces, add them now while everything’s still hot. Stir gently until they melt completely into the pudding. Watch it transform into this glossy, magazine worthy dessert. The chocolate melts so smoothly and makes the whole thing taste even more decadent. I sometimes stand there and just admire it for a second before moving on.
Step 6. Transfer your pudding into individual serving cups or one big container. Here’s a pro tip I learned the hard way. Leave it uncovered in the fridge for the first hour or so. This prevents that weird skin from forming on top that nobody likes. After an hour, you can cover it with plastic wrap. Let it chill for at least a few hours, but overnight is when it really sets up perfectly and gets that ideal texture.
Step 7. When you’re ready to serve, give it a little stir if it seems too firm. Top with whatever you’re into. Whipped cream is classic. Fresh berries add a nice pop of color and cut through the richness. Sometimes I just eat it straight with a big spoon standing at the counter. No judgment here. You made pudding from scratch, so eat it however makes you happy. These pudding recipes are meant to be enjoyed, not fussed over.
5) Tips for Making Creamy Chocolate Pudding
Whisk Away Lumps. The biggest mistake people make with pudding recipes is not mixing that cornstarch thoroughly enough. When you combine it with the cold milk, really go at it with your whisk. Get into the corners of the bowl. Make sure there’s no white powder sitting at the bottom. I usually whisk for a good 30 seconds even after it looks smooth. Those few extra seconds save you from biting into a grainy lump later. If you do spot lumps forming in your pot, don’t panic. Just strain the pudding through a fine mesh sieve before chilling it.
Temperature Control Matters. When you’re heating the milk mixture, medium heat is your friend. High heat might seem faster, but it can scorch the milk or make your pudding grainy. I learned this the hard way by trying to rush it one day. Keep it at a steady medium temperature and be patient. The pudding will come together beautifully without any burnt bits or weird textures. If your stove runs hot, go a bit lower. You want gentle bubbles when it boils, not a rolling, angry boil that splatters everywhere.
Stir Constantly During Boiling. I know two minutes feels like forever when you’re standing there stirring, but this step makes or breaks the pudding. Set a timer on your phone so you’re not guessing. Constant stirring keeps the bottom from burning and distributes the heat evenly. This is what creates that smooth, creamy texture instead of a lumpy mess. Switch arms if you need to, but don’t stop moving that spoon or whisk. Put on some music or a podcast to make the time pass faster.
Chill It Properly. Here’s something most pudding recipes don’t tell you. That first hour uncovered in the fridge prevents skin formation. I used to cover mine right away and always ended up peeling off a rubbery layer on top. Now I leave it uncovered for about an hour, then press plastic wrap directly onto the surface before covering the container. This double protection means smooth pudding from top to bottom. If you forget and a skin does form, just scoop it off. The pudding underneath is still perfect.
Milk Choice Changes Everything. Different milks create different textures. Whole dairy milk gives you classic, creamy pudding. Canned coconut milk makes it thick and almost mousse like. Almond milk keeps it lighter but still satisfying. I’ve noticed that oat milk can sometimes make it a bit thinner, so you might want to add an extra teaspoon of cornstarch if that’s your choice. Test out a few options and see what you like best. There’s no wrong answer here, just different experiences.
Sweetness Levels. Start with a third of a cup of sweetener, but taste the mixture before it boils. You can always add more but you can’t take it away. I keep a little bowl nearby and dip a spoon in for a quick taste test. Remember that cold desserts taste less sweet than warm ones, so make it slightly sweeter than you think it needs to be. The chocolate flavor intensifies as it chills too, so keep that in mind when you’re adjusting sweetness.
6) Making Creamy Chocolate Pudding Ahead of Time
This is hands down one of my favorite make ahead desserts. Unlike a lot of treats that lose their magic after sitting around, these pudding recipes actually get better with time. The flavors meld together, the texture sets up perfectly, and you look like you have your life together when guests arrive and dessert is already done. I usually make this the night before I need it, which takes all the stress out of entertaining.
If you’re planning ahead, which I highly recommend, make the full batch and portion it out into individual serving cups. This way, people can grab their own from the fridge, and you’re not dishing out dessert when you’d rather be chatting with friends. I use those clear glass cups so you can see the pudding, but any container works. Mason jars are cute and have lids already. Ramekins look fancy if you’re trying to impress someone.
The pudding stays fresh in the fridge for up to five days, though it never lasts that long in my house. Someone always sneaks a cup for a midnight snack or an afternoon pick me up. If anything, it gets thicker as it sits, which some people actually prefer. You can stir in a tiny splash of milk to loosen it up if needed. I don’t usually bother since I like it thick and rich.
Here’s a game changer for meal prep fans. Make a double batch on Sunday and portion it into containers for easy healthy snacks throughout the week. It satisfies sweet cravings without making you feel gross afterward. My coworkers are always jealous when they see me eating homemade chocolate pudding at lunch. They’re stuck with vending machine snacks while I’m living my best life with pudding I made myself.
7) Storing Leftover Creamy Chocolate Pudding
Storage is pretty straightforward with this recipe. Keep any leftover pudding in an airtight container in your fridge. I use the same pot I made it in sometimes if I’m feeling lazy and just pop a lid on it. Glass containers with snap on lids work great because you can see what’s inside without opening them. Plastic containers are fine too, just make sure they seal well so your pudding doesn’t absorb weird fridge smells.
The pudding keeps for about five days in the refrigerator, maybe a week if you’re pushing it. I’ve never had it last longer than that to test it further. The texture might firm up more as it sits, which is totally normal. Just give it a good stir before serving, or add a tablespoon of milk and mix it in to bring back that creamy consistency. Some people actually prefer it firmer, so taste it first before adding liquid.
Can you freeze it? Technically yes, but the texture changes when you thaw it out. It gets a bit grainy and separated. If you do freeze it, plan to blend it smooth again after thawing. I’ve done this in a pinch and it works okay, but fresh from the fridge is definitely better. Frozen pudding is more of a backup plan than something I’d recommend doing regularly.
Pro tip for keeping it fresh longer: press plastic wrap directly onto the surface of the pudding before putting the lid on. This extra layer prevents air exposure and keeps that top layer from drying out or forming a skin. I learned this trick from my grandmother, and it works like magic. The pudding stays perfectly smooth and creamy from the first spoonful to the last.
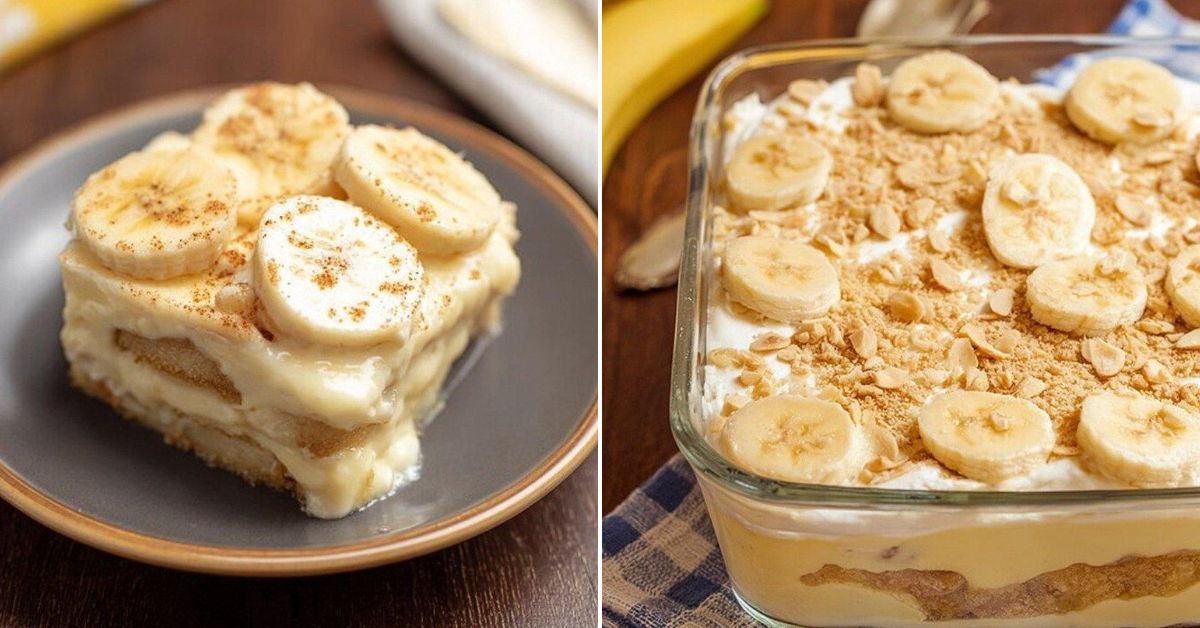
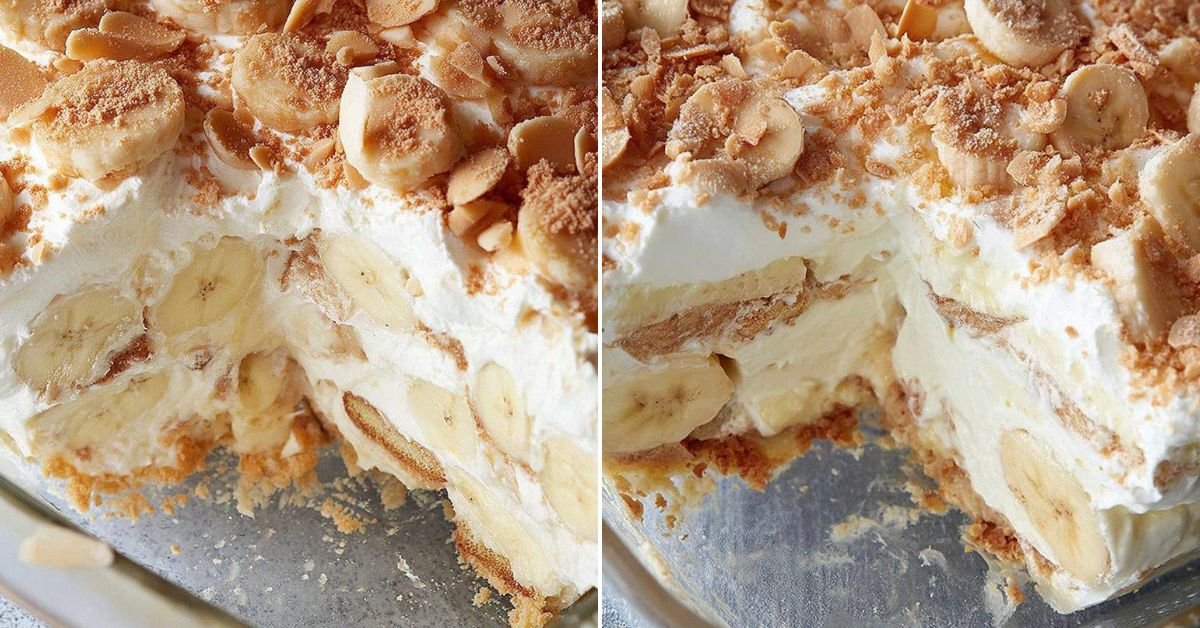
8) Try these Desserts next!


9) Creamy Chocolate Pudding
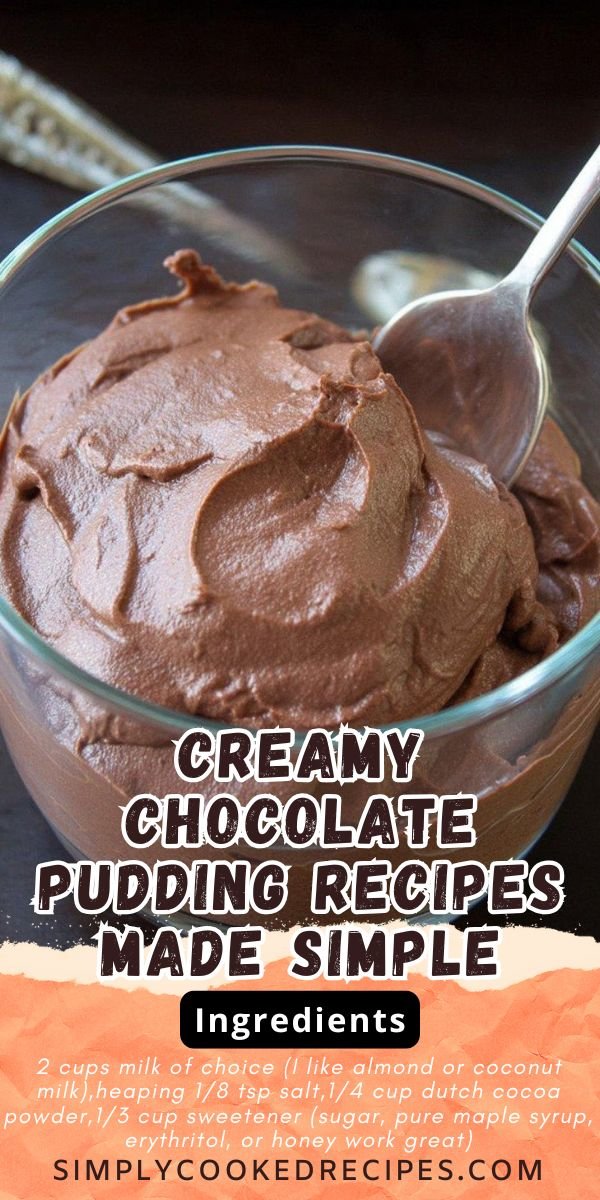
Creamy Chocolate Pudding Recipes Made Simple
Ingredients
- 2 cups milk of choice (I like almond or coconut milk)
- heaping 1/8 tsp salt
- 1/4 cup dutch cocoa powder
- 1/3 cup sweetener (sugar, pure maple syrup, erythritol, or honey work great)
- 1/2 cup milk of choice plus 3 tbsp cornstarch
- optional 3 oz chocolate chips or broken up bar
- 3/4 tsp pure vanilla extract
Instructions
- Grab a medium saucepan and pour in 2 cups of your chosen milk. Toss in the salt, cocoa powder, and sweetener. Turn the heat to medium and let it warm up while you prep the next step. No need to boil just yet.
- In a small bowl, whisk together the remaining 1/2 cup milk with the cornstarch until it’s smooth as silk. You don’t want any lumpy bits hanging around, so really give it a good whisk.
- Once your milk mixture in the saucepan feels warm to the touch (not scalding, just cozy warm), pour in that cornstarch mixture. Keep stirring as you bring everything up to a boil. The moment you see those bubbles breaking the surface, grab your whisk or wooden spoon.
- Stir constantly for about 2 minutes once it’s boiling. Your arm might get a little tired, but this is what makes the pudding thick and gorgeous. Lower the heat and let it simmer gently for one more minute.
- Kill the heat and stir in your vanilla extract. If you’re using those optional chocolate chips or broken up chocolate bar pieces, add them now and stir until they melt into the pudding. It’ll look like a chocolate dream.
- Transfer your pudding into individual serving bowls or one big container. Pop it in the fridge uncovered for the first hour (this prevents that weird skin from forming), then cover and let it chill for at least a few hours. Overnight is even better if you can wait that long.
- When you’re ready to serve, give it a little stir if needed. Top with whipped cream, fresh berries, or eat it straight from the bowl with a big spoon. No judgment here.
10) Nutrition
Serving Size: 1 serving (1/3 of recipe), Calories: 185, Sugar: 18 g, Sodium: 135 mg, Fat: 4 g, Saturated Fat: 2 g, Carbohydrates: 32 g, Fiber: 3 g, Protein: 6 g, Cholesterol: 10 mg


Leave a Comment