
There’s something about the smell of warm apple pie drifting through the house that instantly makes everything feel alright. Maybe it’s nostalgia, or maybe it’s just butter and cinnamon working their magic. Either way, when I bake this apple pie, I know we’re about to have a good day. This recipe has been in my back pocket for years, and it never lets me down. It’s got that flaky golden crust, the kind that shatters when your fork dives in, and a sweet-tart apple filling that’s gooey without being mushy. We’re talking layers of real apple flavor, not some store-bought mystery mix. If you love pie recipes with a little heart and a whole lot of flavor, this is the one to try. Whether you’re using it in a pie maker or just popping it into the oven like the rest of us mortals, it’s an easy pie recipe that feels homemade because—well—it is.

Table of Contents
- 1) Key Takeaways
- 2) Easy Classic Apple Pie Recipe
- 3) Ingredients for Classic Apple Pie
- 4) How to Make Classic Apple Pie
- 5) Tips for Making Classic Apple Pie
- 6) Making Classic Apple Pie Ahead of Time
- 7) Storing Leftover Apple Pie
- 8) Try these Desserts next!
- 9) Classic Apple Pie
- 10) Nutrition
1) Key Takeaways
- This apple pie recipe creates a flaky crust and rich, spiced apple filling that tastes like home.
- It’s made with simple ingredients, most of which you probably already have in your kitchen.
- Perfect for holidays, family gatherings, or just a cozy weekend bake.
- Pairs beautifully with vanilla ice cream or whipped cream.
2) Easy Classic Apple Pie Recipe
When I think of pie filling recipes, my mind always goes back to this classic apple pie. There’s something so comforting about that sweet cinnamon aroma filling the house. I’ve baked many pies in my life, but this one never fails to bring everyone to the table before it’s even cooled.
I remember the first time I made this pie from scratch. I was nervous about the crust, worried it would crumble apart or turn out tough. But then I realized that baking isn’t about perfection—it’s about the experience. It’s about the laughter that happens in the kitchen and that first slice that’s just a little messy but completely worth it. That’s what makes this one of my favorite pie recipes.
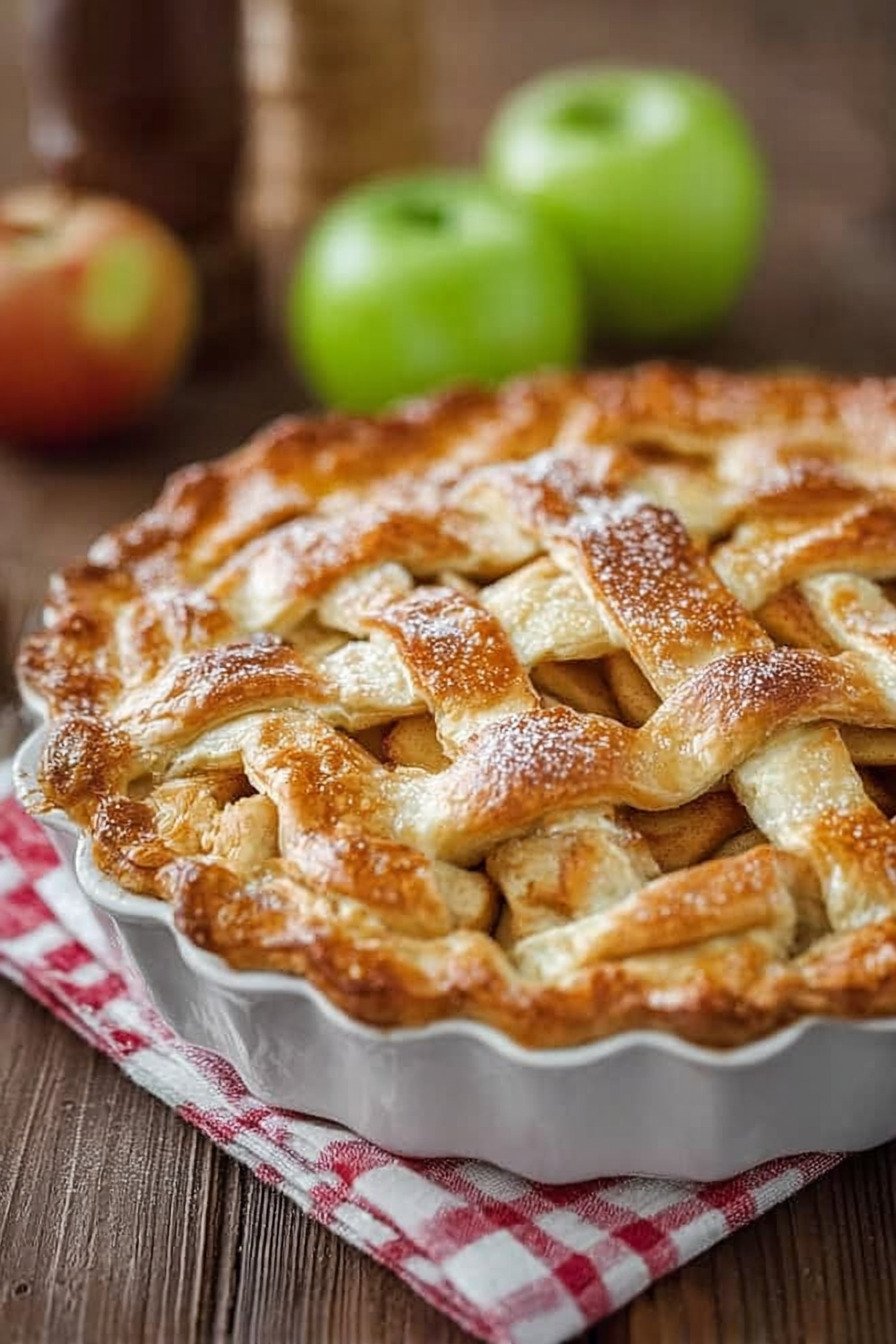
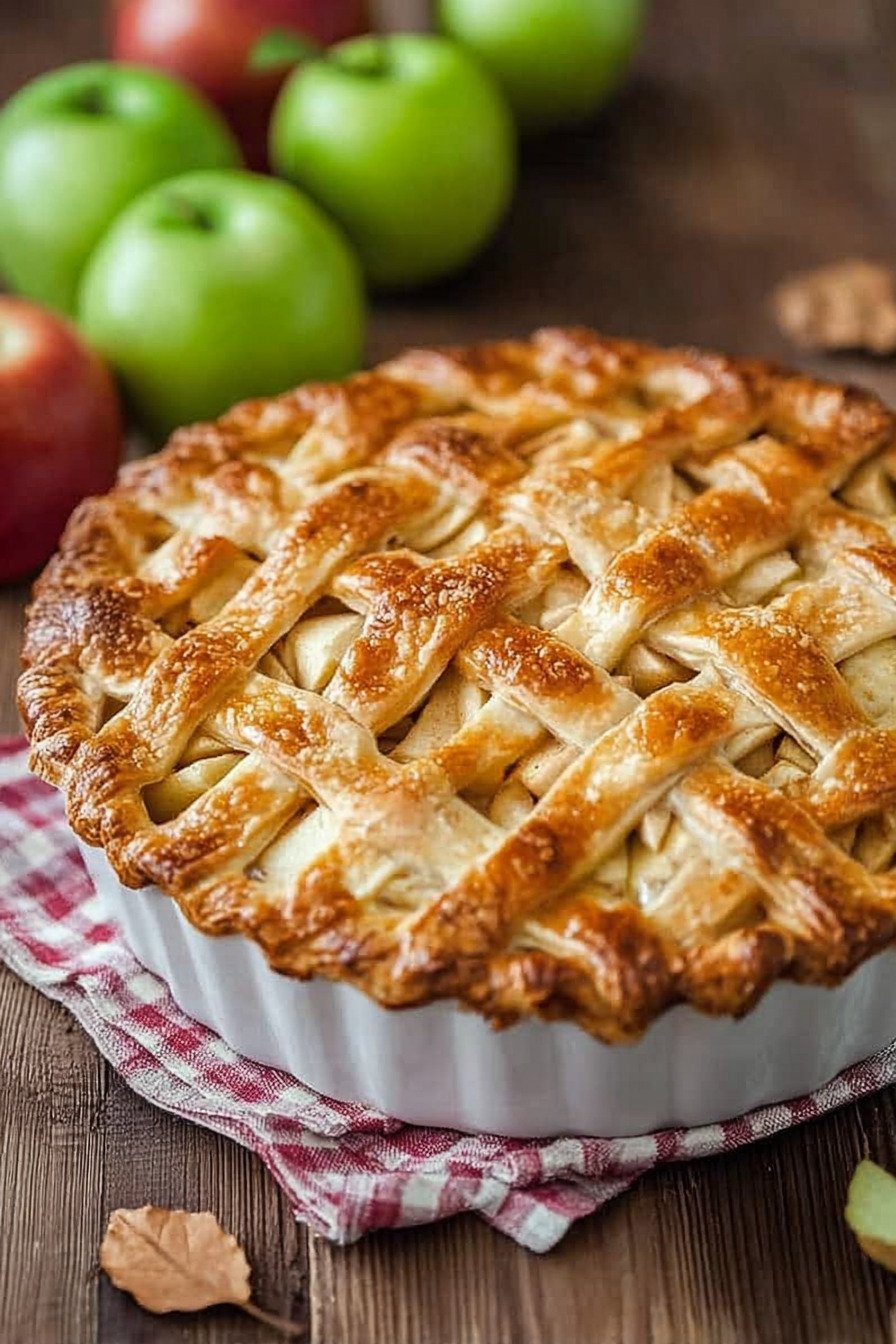
Every bite has that balance of sweet, tart, and buttery. It’s the kind of easy pie recipe that makes you feel proud without breaking a sweat. We’re talking flaky layers, golden color, and filling that gently oozes out when you slice it. Isn’t that the kind of dessert that makes you smile without even thinking about it?
3) Ingredients for Classic Apple Pie
Apples: I like using a mix of Granny Smith and Honeycrisp apples. The combination gives a nice balance between tart and sweet flavors, and it keeps the filling from getting too mushy.
Granulated Sugar: Regular white sugar brings sweetness that blends perfectly with the natural tartness of the apples. Not too sweet, just enough to let the fruit shine.
Brown Sugar: This adds a touch of caramel flavor. It deepens the filling’s taste, making it feel rich and cozy—like a fall evening in dessert form.
All-Purpose Flour: The flour thickens the filling just enough so it’s not runny. You want the filling to hold its shape when sliced, not slide across the plate.
Ground Cinnamon and Nutmeg: The spices make the apple flavor pop. The scent alone feels like home baking memories coming back to life.
Butter: A few little dots of butter melted into the filling create that smooth, glossy texture and give extra depth to the flavor.
Pie Crusts: You can use store-bought crusts if you’re short on time, but homemade ones always have that rustic charm that feels extra special.
4) How to Make Classic Apple Pie
Step 1. Preheat your oven to 425°F. Get the pie crusts ready on the counter so they warm up a bit before rolling them out. Cold crusts crack easily, and we want a smooth, even layer.
Step 2. In a large bowl, toss the apples with sugars, flour, and spices. The goal is to coat every slice evenly so the flavor seeps into each bite once baked.
Step 3. Place the bottom crust in your pie plate, gently pressing it into the edges. Pour in the apple filling, then dot with butter. That butter will melt and mix with the juices while baking.
Step 4. Add the top crust and pinch the edges together. Make small slits on top so steam can escape—think of them as tiny air vents that help the pie bake evenly.
Step 5. Brush the top with a beaten egg for that glossy golden finish. Bake it until the crust turns a warm brown and the filling bubbles up just slightly at the edges.
Step 6. Cool it for at least two hours before cutting. Waiting might be tough, but that’s how you get clean, picture-perfect slices with no filling spill.

5) Tips for Making Classic Apple Pie
If you’ve ever had trouble with pie crusts shrinking or burning, you’re not alone. I’ve had my fair share of pie mishaps, but I’ve learned a few tricks that make all the difference. For one, don’t skip chilling the dough. A cold crust holds its shape better during baking.
Try brushing the bottom crust with a thin layer of egg white before adding the filling. It creates a little barrier that keeps the crust from getting soggy—especially when working with juicy apples. Little things like that turn simple pie filling recipes into bakery-quality desserts.
And if the crust edges start to brown too fast, wrap a bit of foil around them halfway through baking. It’s a small step, but it keeps everything evenly baked and golden all around.
6) Making Classic Apple Pie Ahead of Time
Some days, I like to prep my pie ahead of time so I’m not rushing around before guests arrive. The trick is to prepare the filling and crust separately, then assemble just before baking. The apples hold their shape better and the crust stays crisp.
You can even freeze the unbaked pie. Just wrap it tightly and store it for up to two months. When you’re ready to bake, pop it straight into the oven—no thawing needed. Extend the baking time a bit and you’ll have a fresh, bubbling pie with minimal effort.
This easy pie recipe is great for busy schedules. It lets you enjoy homemade flavor without feeling chained to the kitchen. That’s a win in my book!
7) Storing Leftover Apple Pie
Leftovers? That’s a rare sight in my house, but if it happens, this pie keeps beautifully. Just cover it loosely with foil or plastic wrap and store at room temperature for up to two days. Beyond that, the fridge will keep it fresh for about five.
If you like your pie warm, reheat it in the oven at 350°F for about ten minutes. It tastes just as amazing as the day you baked it, maybe even better. I swear the spices get deeper overnight.
This recipe is one of those pie filling recipes that ages well. Every slice tells a little story of sugar, spice, and the patience it took to let it cool before that first bite.
8) Try these Desserts next!

9) Classic Apple Pie

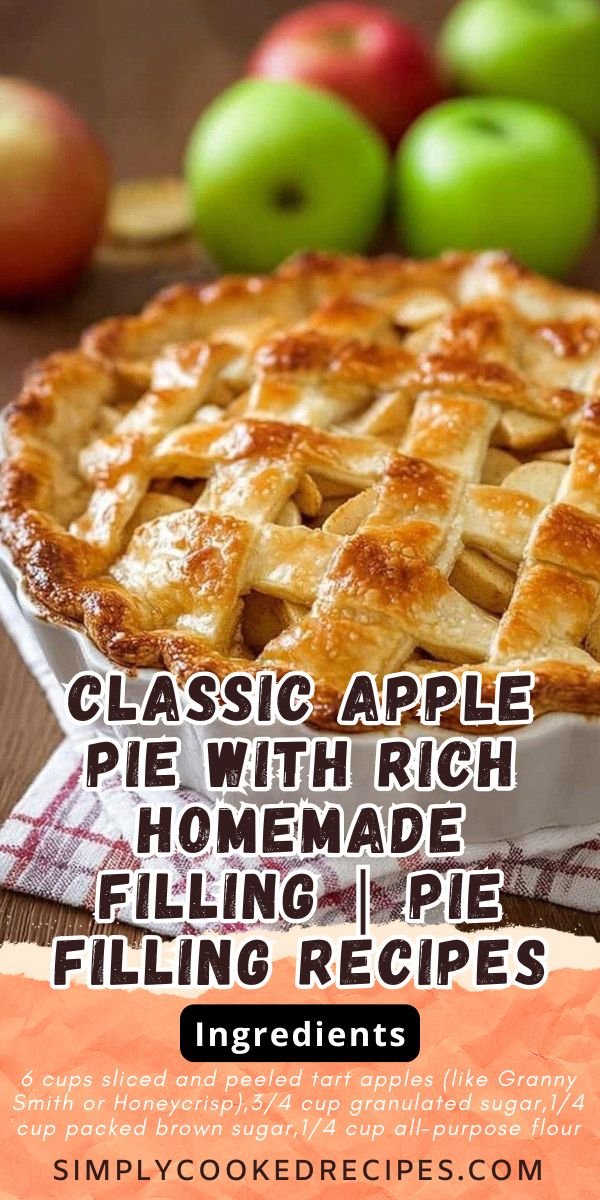
Classic Apple Pie with Rich Homemade Filling | Pie Filling Recipes
Ingredients
- 6 cups sliced and peeled tart apples (like Granny Smith or Honeycrisp)
- 3/4 cup granulated sugar
- 1/4 cup packed brown sugar
- 1/4 cup all-purpose flour
- 1 tsp ground cinnamon
- 1/4 tsp ground nutmeg
- 1/4 tsp salt
- 1 tbsp lemon juice
- 2 tbsp butter
- 1 egg, lightly beaten (for brushing)
- 1 box refrigerated pie crusts (or homemade if you’re feeling ambitious)
Instructions
- Preheat the oven to 425°F (220°C).
- Let the pie crusts come to room temperature for easier handling.
- In a large bowl, combine apples, granulated sugar, brown sugar, flour, cinnamon, nutmeg, salt, and lemon juice. Mix until the apples are well coated.
- Roll out one pie crust and place it into a 9-inch pie plate.
- Spoon the apple mixture into the crust and dot the top with pieces of butter.
- Top with the second pie crust. Seal the edges and cut a few slits in the top to let steam escape.
- Brush the top crust with beaten egg for that golden finish.
- Bake for 45–50 minutes or until the crust is golden brown and the filling is bubbling.
- Let cool on a wire rack for at least 2 hours before serving. Trust me, the filling needs time to settle.
10) Nutrition
Serving Size: 1 slice | Calories: 325 | Sugar: 26 g | Sodium: 210 mg | Fat: 15 g | Saturated Fat: 6 g | Carbohydrates: 45 g | Fiber: 3 g | Protein: 2 g | Cholesterol: 30 mg
Written by Kathy from Simply Cooked Recipes. For more pie filling recipes and homemade dessert ideas, visit the website for inspiration straight from the heart of the kitchen.


Leave a Comment