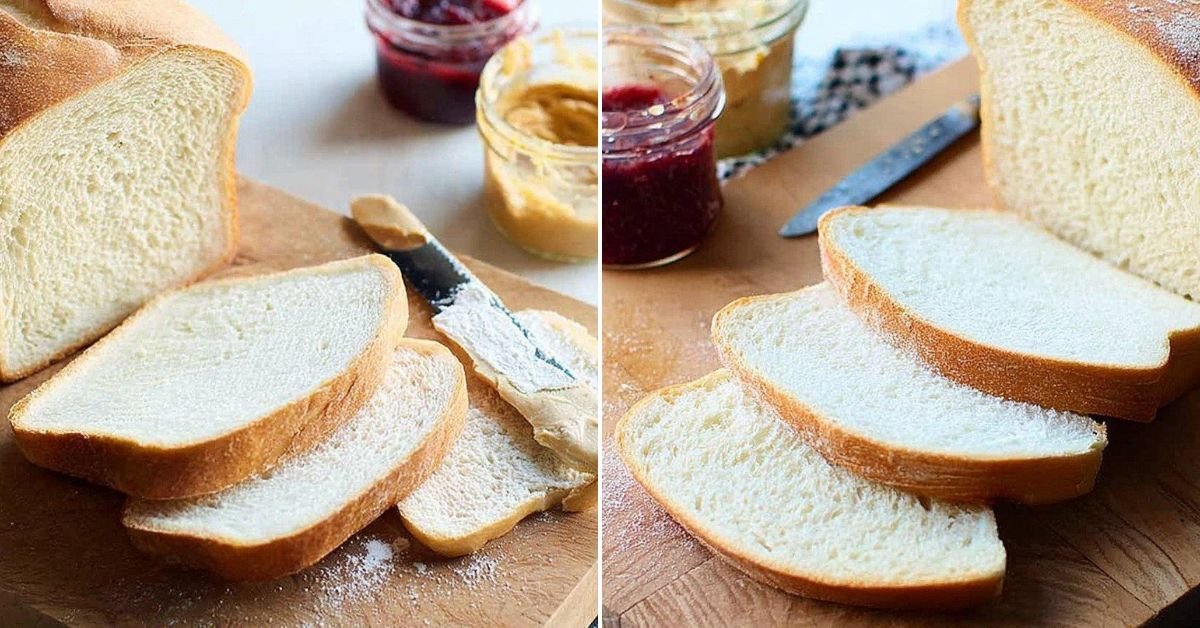
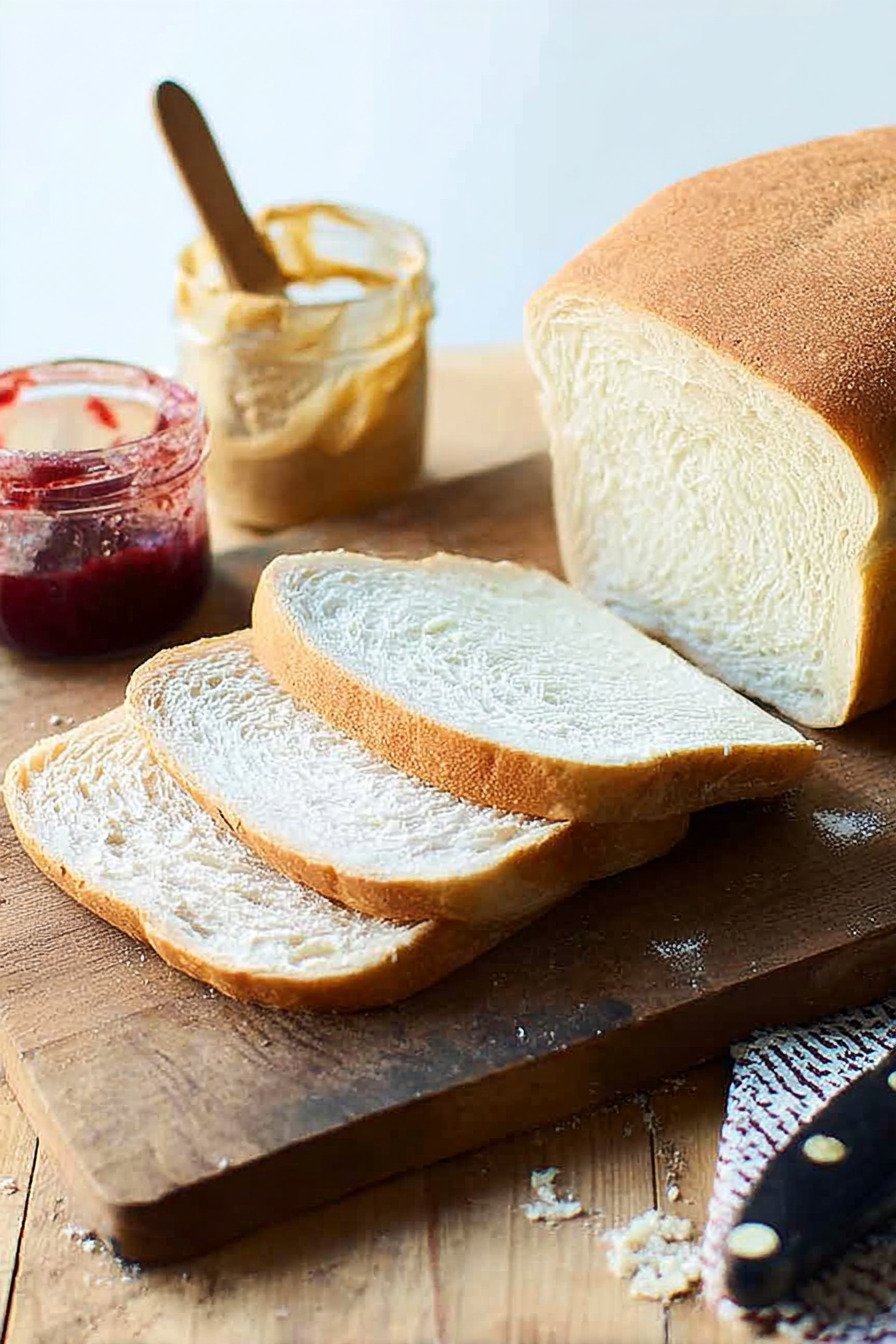
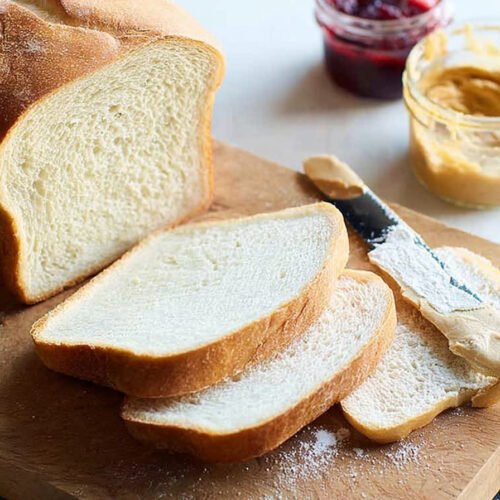
There’s something magical about pulling a golden loaf from your oven, isn’t there? I’ve been baking this sandwich bread recipe for years now, and let me tell you, it never gets old. The smell alone is worth the effort. This isn’t your typical store-bought loaf with mystery ingredients. This is real bread with a creamy white center, a golden crust that makes the perfect crunch, and that soft texture you dream about. When I first started making homemade bread, I thought it’d be complicated. Turns out, this recipe is super forgiving. You mix, you knead, you wait (patience, I know), and then magic happens. The dough rises beautifully, even on cold winter mornings when my kitchen feels like an icebox. And when you slice into it? Pure perfection. Whether you’re making sandwiches for the kids, toast for breakfast, or French toast on Sunday morning, this bread just works. I’ve tried fancy sourdough recipes and complicated wheat blends, but honestly, this simple sandwich bread recipe beats them all. It stays fresh for days wrapped up on the counter, which means fewer trips to the store. Plus, there’s something really satisfying about saying, ‘Yeah, I made that,’ when someone compliments your sandwich. Give it a try, you won’t regret it.
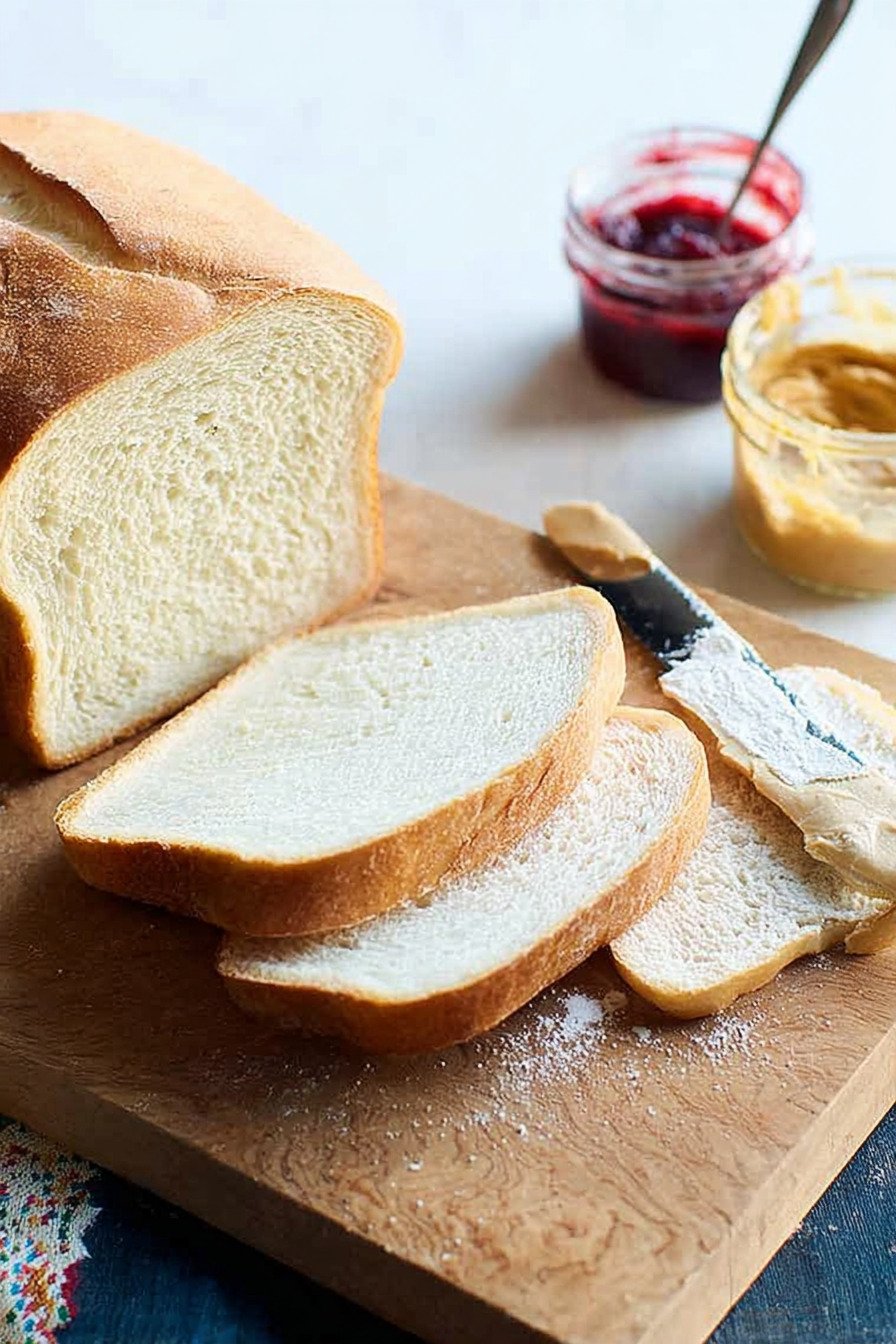
Table of Contents
- 1) Key Takeaways
- 2) Easy Our Favorite Sandwich Bread Recipe
- 3) Ingredients for Our Favorite Sandwich Bread
- 4) How to Make Our Favorite Sandwich Bread
- 5) Tips for Making Our Favorite Sandwich Bread
- 6) Making Our Favorite Sandwich Bread Ahead of Time
- 7) Storing Leftover Our Favorite Sandwich Bread
- 8) Try these Bread recipes next!
- 9) Our Favorite Sandwich Bread
- 10) Nutrition
1) Key Takeaways
- What makes the best sandwich bread recipe so soft and fluffy?
- Can you make sandwich bread without a bread machine?
- How long does homemade sandwich bread stay fresh?
- What’s the secret to getting that golden crust on sandwich bread?
- Can you freeze homemade sandwich bread for later?
2) Easy Our Favorite Sandwich Bread Recipe
Listen, I’ve tried more bread recipes than I can count on both hands. Some turned out dense as a brick. Others? Well, let’s just say they could’ve doubled as hockey pucks. But this sandwich bread recipe? It’s the one I keep coming back to, year after year. There’s nothing fancy about it, and that’s exactly why it works.
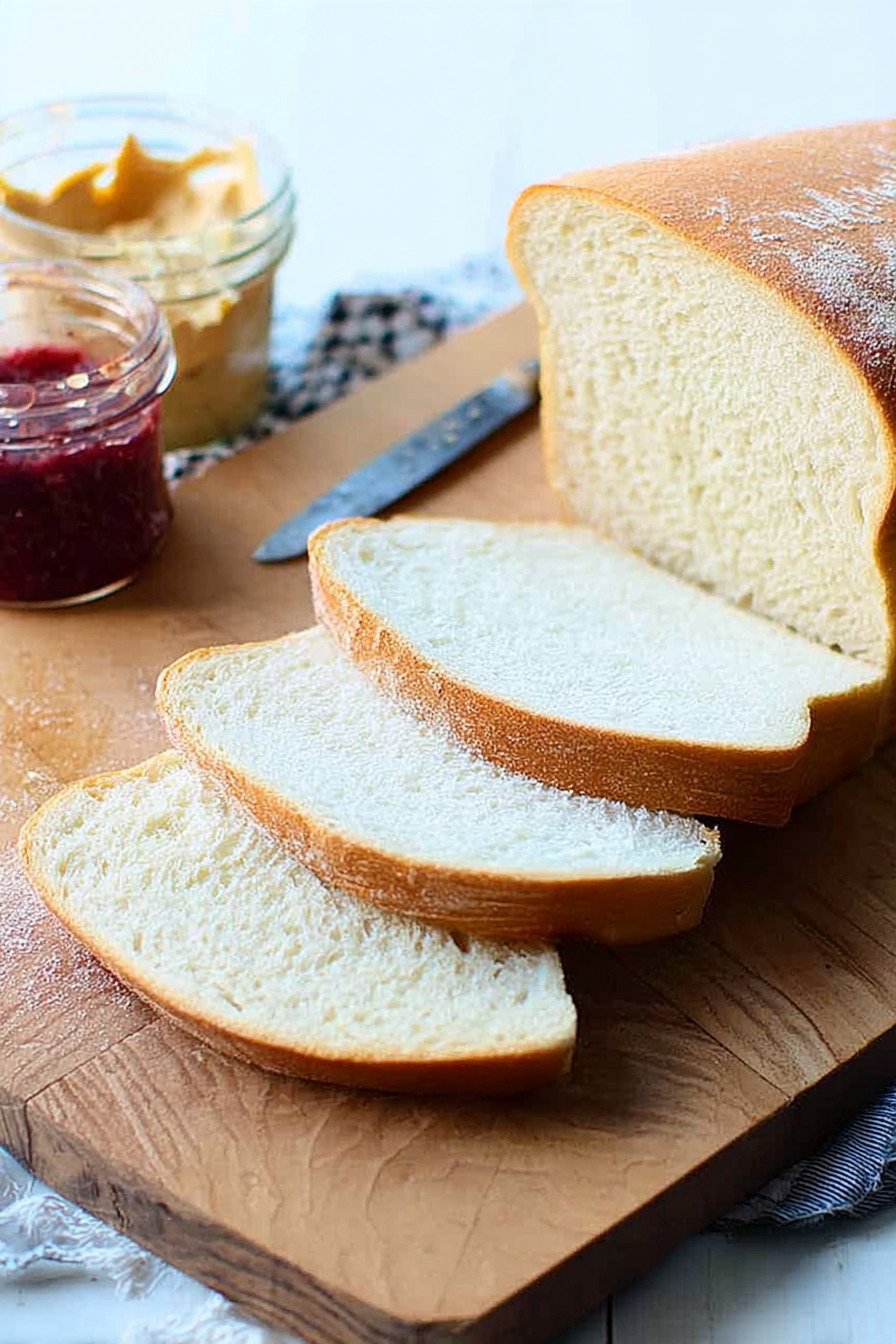
You know what I love most about baking this loaf? The smell. When it’s in the oven, my whole house smells like a bakery. My neighbors have literally knocked on my door asking what I’m making. It’s that good. And when you pull it out, all golden and gorgeous, you feel like a baking champion even if you’ve never made bread before in your life.
This isn’t some complicated sandwich bread recipe sourdough that requires you to babysit a starter for weeks. Nope. It’s straightforward, forgiving, and honestly perfect for beginners. You mix some basic ingredients, knead the dough (or let your mixer do the work), let it rise, and bake. That’s it. No weird ingredients you can’t pronounce. No special equipment except a loaf pan.
The texture of this bread is what really sets it apart. It’s soft enough to make the perfect sandwich for the kids’ lunches, but sturdy enough that it won’t fall apart when you spread peanut butter on it. Toast it up and slather it with butter? Heaven. Use it for French toast on a lazy Sunday morning? Even better. I’ve made this white sandwich bread recipe more times than I can remember, and it never disappoints.
What really surprised me when I started baking my own bread was how much money I saved. Store-bought loaves add up quick, you know? And half the time they’re stale before you finish them. With this homemade version, you control everything. No preservatives, no high-fructose corn syrup, just real ingredients you can actually read. My kids can taste the difference too. They actually prefer this over anything from the store.
Now, I’m not gonna lie and say it’s instant. The rising time means you need a couple hours from start to finish. But here’s the thing, most of that time you’re not doing anything. The dough is just sitting there, doing its thing. You can watch TV, do laundry, or scroll through your phone. The actual hands-on time? Maybe 20 minutes total. And trust me, it’s worth every single minute when you bite into that first warm slice.
People always ask me if they can use a bread machine sandwich bread recipe instead of doing it by hand. Sure, you can! The dough cycle on most machines works great for mixing and the first rise. But I personally love kneading by hand. There’s something therapeutic about it. Plus, you get to feel when the dough is just right. That smooth, elastic texture means you’ve nailed it.
This best sandwich bread recipe works in any kitchen, any season. Winter? Summer? Doesn’t matter. I’ve made it when my kitchen was freezing cold and when it was sweltering hot. Just give the dough a bit more time to rise if it’s chilly, or watch it carefully if it’s warm. Yeast is pretty forgiving as long as you don’t kill it with water that’s too hot.
3) Ingredients for Our Favorite Sandwich Bread
Milk
Whole milk works best here, but I’ve used 2% in a pinch and it turned out fine. The milk adds richness and helps create that soft crumb we’re after. You heat it up until it’s just simmering, then pour it over the butter. This step melts the butter and cools the milk down to the perfect lukewarm temperature for the yeast. Don’t skip this! Cold milk won’t activate the yeast properly, and hot milk will kill it. Lukewarm is your sweet spot.
Butter
Two tablespoons might not seem like much, but butter is what gives this bread its tender texture and slight richness. I use unsalted butter so I can control the salt level in the recipe. Sometimes I’ve thrown in salted butter when that’s all I had, and it still worked. Just maybe cut back a tiny bit on the added salt. The butter melts when you pour the hot milk over it, which makes everything easier to mix.
Yeast
I prefer instant yeast because you can just toss it right in with the flour. No waiting around for it to proof. But active dry yeast works great too. If you’re using active dry, dissolve it in the warm milk mixture and wait about five minutes until it gets foamy. That foam tells you the yeast is alive and ready to work. Dead yeast means flat bread, so this step matters. I always check the expiration date on my yeast packet before I start.
Sugar
Just two tablespoons of sugar feeds the yeast and gives the crust that beautiful golden color. It’s not enough to make the bread taste sweet, I promise. Some people worry about adding sugar to bread, but this amount is perfect. It helps the yeast do its job and creates that slightly caramelized crust on the outside. You can use white sugar or even a light brown sugar if that’s what you’ve got.
Salt
Salt is non-negotiable in bread. It controls the yeast, strengthens the gluten, and most importantly, adds flavor. Bread without salt tastes flat and boring. Trust me, I accidentally left it out once and we could definitely tell. I use regular table salt, but kosher salt works too. If you’re using kosher salt, you might need a bit more since the crystals are larger.
All-Purpose Flour
Good old all-purpose flour is the backbone of this recipe. I’ve tried it with bread flour before, thinking it would be better, and you know what? The all-purpose version is actually softer and more tender. Bread flour has more protein, which makes chewier bread. Great for baguettes, not as great for sandwich bread. Weighing your flour is best, but if you’re measuring by volume, spoon it into the cup and level it off. Don’t pack it down or scoop directly from the bag. That adds way too much flour and your bread will turn out dry.
If you want to add some whole grain goodness, you can swap out up to half the flour for wheat sandwich bread recipe style. Just know you’ll need to add a splash more milk to keep things from getting too dense. I usually stick with straight all-purpose when I want that classic soft white bread texture my kids love. You can always experiment once you’ve made the basic version a few times and know what to expect.
4) How to Make Our Favorite Sandwich Bread
Step 1
Pour your milk into a small saucepan and heat it over medium heat until you see tiny bubbles forming around the edges. You want it hot but not boiling. Take it off the heat and pour it over the butter in your mixing bowl. Let this sit for a few minutes while you gather your other ingredients. When you stick your finger in, it should feel warm but comfortable, not hot. That’s when you add the yeast and sugar. Give it a quick stir and watch the magic happen.
Step 2
Once your yeast mixture looks a bit foamy (this takes maybe five minutes if you’re using active dry yeast, or you can skip the wait with instant), grab your flour. If you have a kitchen scale, now’s the time to use it. Weigh out 360 grams of flour. No scale? No problem. Fluff up your flour in the container, then spoon it into your measuring cup. Use a knife to level it off. Don’t pack it down. Add the salt to your flour and give it a quick mix with your fingers.
Step 3
Dump your flour mixture into the wet ingredients and start stirring with a wooden spoon or a sturdy spatula. At first it’ll look like a shaggy mess, and that’s totally normal. Keep stirring until everything comes together and the dough starts pulling away from the sides of the bowl. Your arm might get a bit tired, but stick with it. This is where the gluten starts developing, which is what gives bread its structure. If you have a stand mixer with a dough hook, let it do this work for you on low speed for about two minutes.
Step 4
Time to get your hands dirty! Lightly oil your work surface (I use about a teaspoon of vegetable oil and spread it around with my hand). Turn the dough out onto your surface. Oil your hands too so the dough doesn’t stick. Now knead. Push the dough away from you with the heel of your hand, fold it back over itself, turn it a quarter turn, and repeat. You’ll do this for about six to eight minutes. At first the dough will be a bit sticky and rough. But as you keep going, it’ll transform into this smooth, silky ball that’s really satisfying to work with. If it’s sticking too much, sprinkle on a tiny bit more flour. But don’t add too much or your bread will be dry.
Step 5
Grab a clean bowl and give it a light coating of oil. Place your dough ball in there and turn it once so the top is lightly oiled too. This keeps it from forming a dry skin. Cover the bowl with a clean kitchen towel or some plastic wrap. Now comes the hardest part, waiting. Set your bowl somewhere warm (I put mine on top of the fridge) and let it rise for about an hour. You’re looking for puffy dough. It doesn’t have to double exactly, but it should definitely be bigger and when you poke it gently, the indent should stay.
Step 6
Once your dough has risen, punch it down (yes, literally give it a gentle punch to deflate it). Turn it out onto your lightly oiled surface again. Pat it into a rough rectangle about eight inches wide. Now roll it up from one short end to the other, like you’re making a sleeping bag. Pinch the seam closed. Place it seam-side down in your greased loaf pan. I use an 8 1/2 by 4 1/2 inch pan, which is pretty standard. Cover it loosely with oiled plastic wrap and let it rise again. This second rise takes about 60 minutes. You’ll know it’s ready when the dough is nicely domed above the rim of the pan, about an inch higher.
Step 7
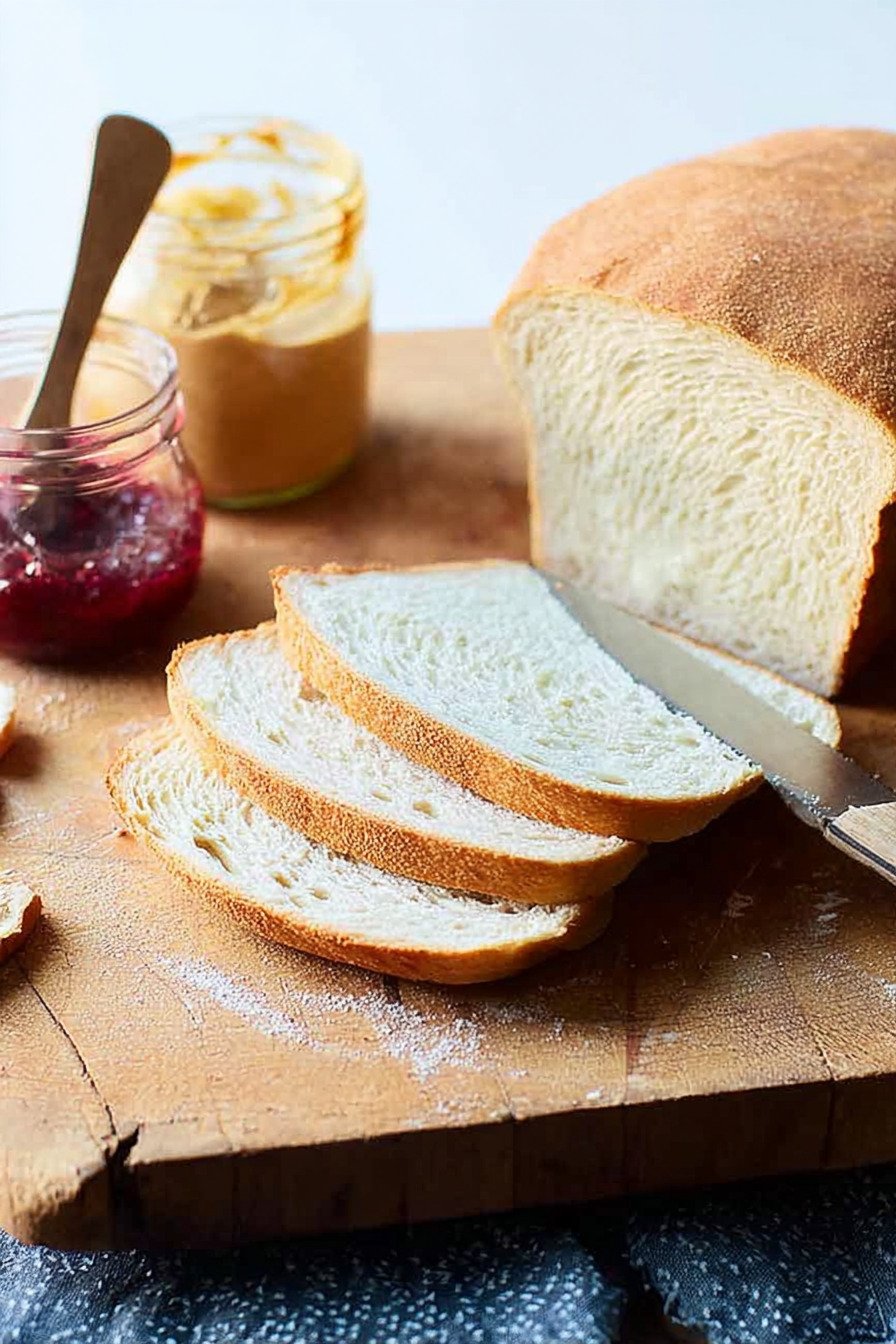
About 15 minutes before your bread finishes rising, turn on your oven to 350°F. Let it preheat fully. When your bread is ready, carefully remove the plastic wrap (it might want to stick a bit) and slide the pan into your oven. Set a timer for 30 minutes. The bread is done when the top is golden brown and when you tap the bottom of the loaf, it sounds hollow. If you want to be really sure, stick an instant-read thermometer into the center. It should read 190°F. Take the bread out of the pan right away and let it cool on a wire rack. I know it’s tempting to slice into it immediately, but try to wait at least 20 minutes. Hot bread is harder to slice and the texture is still setting up.
5) Tips for Making Our Favorite Sandwich Bread
Water temperature is everything with yeast. Too hot and you kill it. Too cold and nothing happens. I learned this the hard way when I first started baking. I thought hotter was better and ended up with dough that never rose. Now I test the milk mixture with my finger before adding the yeast. It should feel like a warm bath, not hot tub hot. If you want to be exact, grab a thermometer. You’re aiming for around 105°F to 115°F.
Kneading matters more than you think. When I first made bread, I’d knead for maybe two minutes and call it good. The bread turned out okay, but not great. Proper kneading develops the gluten network that traps all those air bubbles from the yeast. That’s what makes bread fluffy instead of dense. You’ll know you’ve kneaded enough when the dough is smooth, elastic, and when you poke it, it bounces back. A good test is the windowpane test. Tear off a small piece of dough and stretch it gently between your fingers. If it stretches thin enough to see light through without tearing, you’re done.
Rising time isn’t set in stone. The one-hour guideline is just that, a guideline. If your kitchen is cold, the dough might need longer. Warm kitchen? It might be ready faster. I’ve had dough take 90 minutes in the winter and 45 minutes in the summer. Just watch the dough, not the clock. The finger poke test is your friend here. Gently press your finger about half an inch into the dough. If the indent stays and doesn’t spring back, it’s ready. If it bounces right back, give it more time.
Don’t be afraid to adjust the flour amount slightly. Every flour brand absorbs liquid a bit differently. Humidity affects things too. If your dough feels sticky after kneading for a few minutes, add a tablespoon of flour at a time until it feels right. It should be soft and slightly tacky, but not sticking to your hands or the counter. On the flip side, if it feels stiff and dry, add a teaspoon of milk at a time. Getting the dough consistency right makes a huge difference in the final bread.
That second rise in the pan is just as important as the first one. I used to rush this step when I was impatient to get the bread in the oven. The result? Dense bread with a smaller loaf size. Give it the full hour (or longer if needed) to really puff up. When it’s properly risen, you’ll get that beautiful high-domed top and fluffy interior. I like to check it about 15 minutes before the hour is up. If it looks ready early, great. If not, I give it more time.
Let your bread cool completely before storing it. I know, I know, warm bread is amazing. But if you wrap it up while it’s still hot, all that steam gets trapped and makes the crust soggy. Plus the interior continues to set as it cools, so cutting into it too soon gives you gummy slices. I usually let mine cool for at least an hour on a wire rack. The wire rack is key because it lets air circulate around the whole loaf. If you just set it on the counter, the bottom gets soggy from condensation.
Want to mix it up? This recipe is super versatile. I’ve added herbs like rosemary and thyme. I’ve swirled in cinnamon sugar. I’ve even mixed in dried cranberries and orange zest for a holiday version. The basic recipe is your canvas. Once you’ve made it a few times and understand how the dough should look and feel, you can start experimenting. Just don’t go too crazy with add-ins. Too much stuff can weigh down the dough and you’ll end up with a dense loaf.
6) Making Our Favorite Sandwich Bread Ahead of Time
One of my favorite things about this recipe? You can totally prep parts of it ahead of time. I do this all the time when I know I’ve got a busy week coming up. Sunday afternoon, I’ll mix and knead the dough, then stick it in the fridge instead of letting it rise at room temperature. The cold rise takes longer (anywhere from 8 to 24 hours), but the flavor actually gets better. Something about the slow fermentation makes the bread taste more complex.
When I’m ready to bake, I take the dough out of the fridge and let it come to room temperature for about 30 minutes. Then I shape it, put it in the pan, and let it do that second rise. The whole process fits perfectly into a weeknight evening. Come home from work, shape the dough, let it rise while you make dinner, then pop it in the oven. Fresh bread with dinner and you didn’t have to start from scratch that day.
You can freeze the dough too. I’ve done this when I knew I’d be traveling and wanted fresh bread when I got back. After the first rise, punch down the dough, shape it into a ball, wrap it really well in plastic wrap and then aluminum foil, and freeze it. It’ll keep for up to three months. To use it, transfer it to the fridge the night before you want to bake. Let it thaw overnight, then bring it to room temperature, shape it, let it rise in the pan, and bake as normal.
Another trick I learned from my grandmother is to do a super slow rise in the fridge overnight. Make the dough in the evening, let it rise at room temperature for about 30 minutes, then punch it down, shape it into the loaf, and put the whole pan (covered with plastic wrap) in the fridge overnight. In the morning, take it out and let it finish rising on the counter for about an hour while your oven preheats. Then bake. This method gives you hot, fresh bread for breakfast without having to wake up at dawn to make it.
If you’re really planning ahead, you can bake the bread completely, let it cool, then freeze the whole loaf. Wrap it tightly in plastic wrap, then again in foil. It’ll stay good in the freezer for about three months. To use it, just thaw it on the counter for a few hours. If you want it to taste freshly baked, wrap the thawed loaf in foil and warm it in a 300°F oven for about 15 minutes. The crust crisps back up and the inside gets soft and tender again. Honestly, you can barely tell it was frozen.
I’ve found that making multiple loaves at once is a huge time saver. The effort is basically the same whether you’re making one loaf or three. I’ll double or triple the recipe, bake all the loaves, let them cool completely, then freeze the extras. Now I’ve got homemade bread on hand whenever I need it. No emergency grocery store runs for a last-minute sandwich. Just pull out a loaf, thaw it, and you’re set.
7) Storing Leftover Our Favorite Sandwich Bread
Storage might seem simple, but there’s actually a right way and a wrong way to do it. Room temperature is best for the first few days. Once the bread is completely cool, I slice it (if I haven’t already) and put it in a plastic bag. Squeeze out as much air as you can before sealing it up. This keeps the bread soft and fresh. I can usually get four or five days out of a loaf this way before it starts to get stale.
Whatever you do, don’t put your bread in the fridge. I know it seems like the fridge would keep things fresh longer, but with bread it actually does the opposite. The cold temperature makes the starches crystallize faster, which means your bread gets stale quicker. The only exception is if you live somewhere super humid and your bread is growing mold on the counter. Then the fridge is okay, but know that the texture will suffer.
For longer storage, the freezer is your best friend. I slice the bread before freezing it so I can pull out just what I need. Wrap the whole loaf (or individual slices) tightly in plastic wrap, then put it in a freezer bag. Label it with the date so you know how long it’s been in there. Frozen bread stays good for about three months. To use frozen slices, just pop them straight into the toaster. No need to thaw first. They toast up perfectly and taste just as good as fresh.
If you’re storing the whole loaf at room temperature and notice it’s starting to get a bit stale after a few days, don’t toss it! Stale bread makes incredible French toast. Or cut it into cubes, toss with olive oil and seasonings, and bake it into croutons. I’ve also blitzed stale bread in the food processor to make breadcrumbs. Homemade breadcrumbs are so much better than store-bought, and you’re not wasting any of your hard work.
The crust tends to get softer after a day or two in a plastic bag, which some people don’t like. If you want to keep the crust crispy, store the bread in a paper bag instead. The downside is the inside will dry out faster. You really can’t have both crispy crust and soft interior for multiple days. Personally, I prefer the all-around softness for sandwiches, so I stick with plastic bags. But if I’m planning to toast every slice anyway, paper bags work great.
One last storage tip: never store bread in direct sunlight or near heat sources. I learned this when I left a loaf near the stove once and came back to find it had gotten warm and started to mold way faster than normal. Keep it in a cool, dark place like a bread box or a kitchen cabinet. Simple, but it makes a difference in how long your bread stays good. Taking care of your homemade bread means you get to enjoy it longer, and that’s the whole point of baking it yourself in the first place.
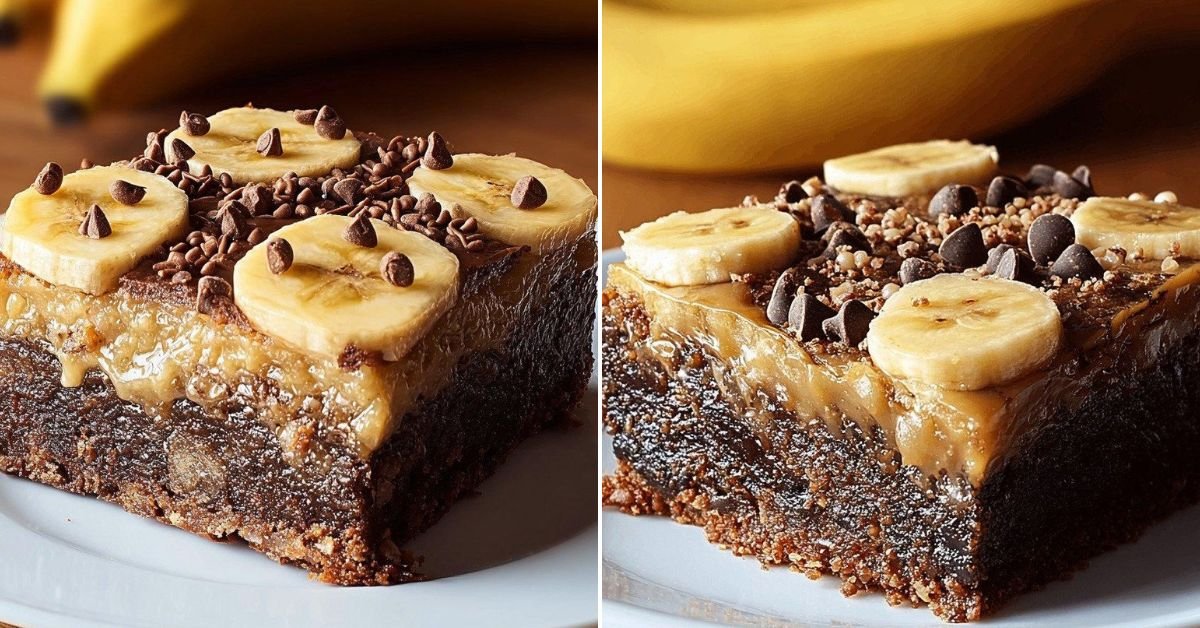
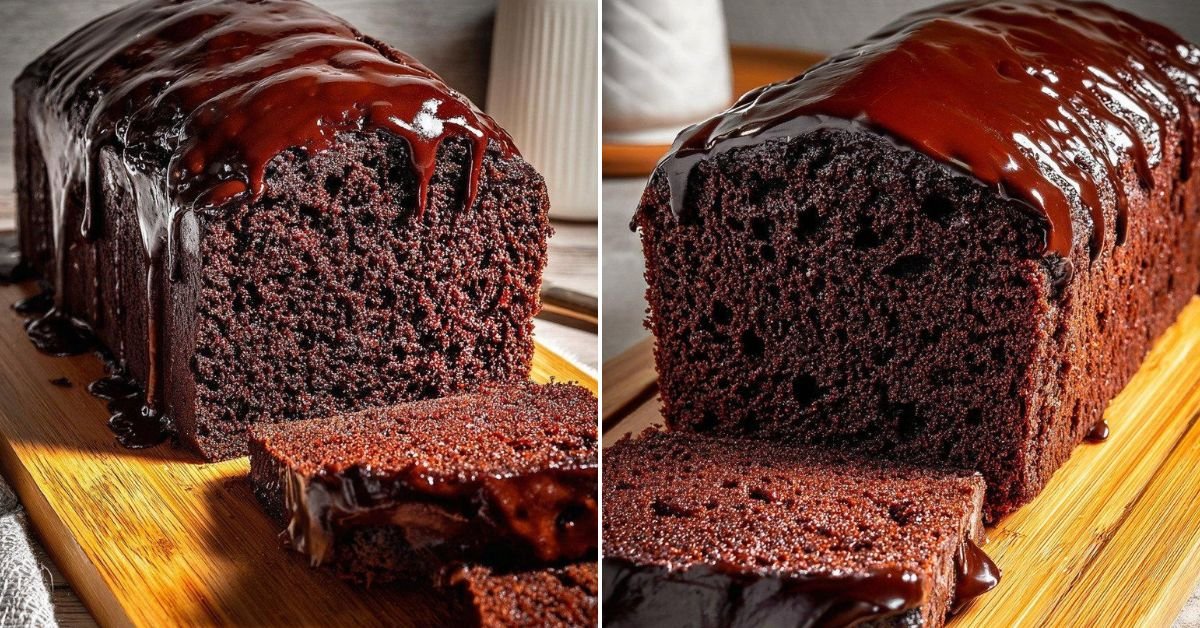
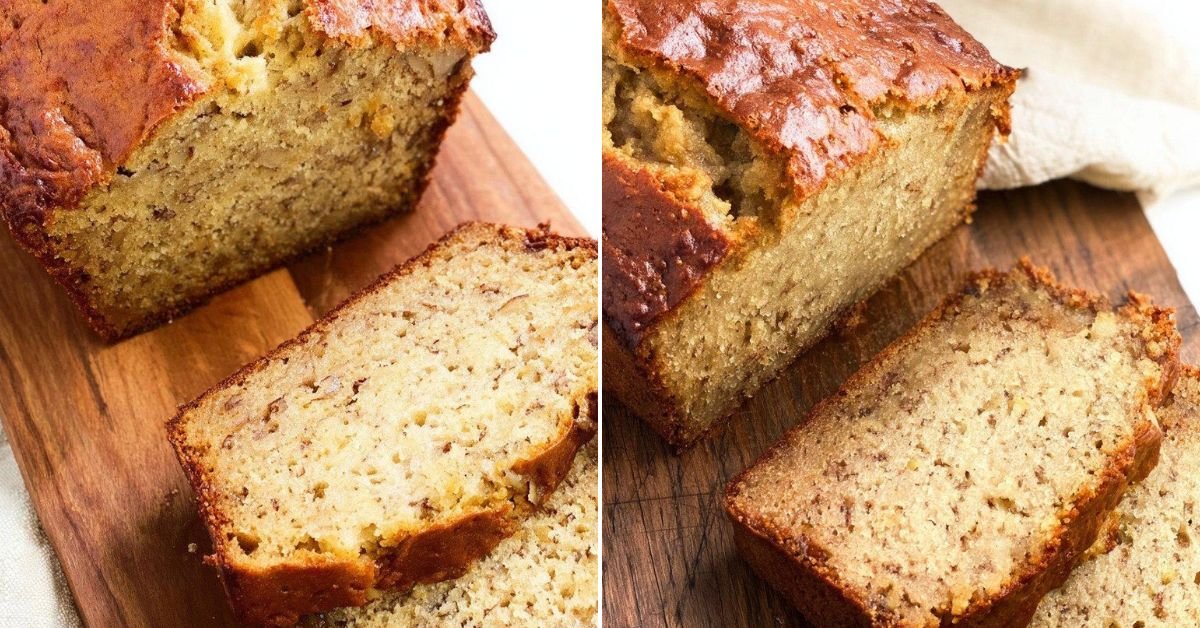
8) Try these Bread recipes next!

9) Our Favorite Sandwich Bread
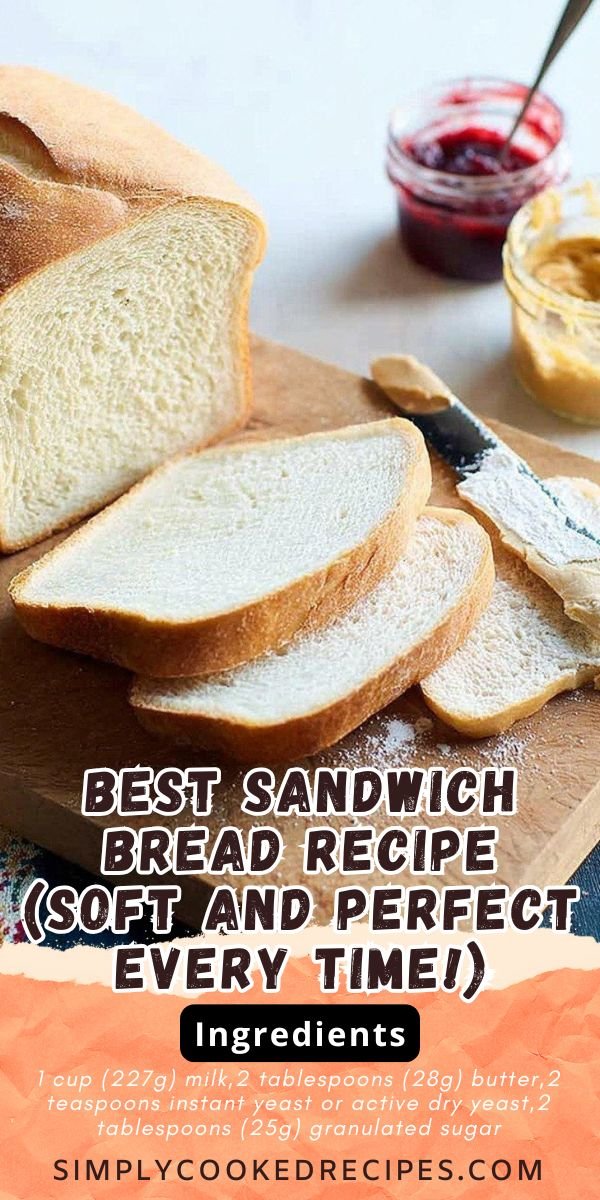
Best Sandwich Bread Recipe (Soft and Perfect Every Time!)
Ingredients
- 1 cup (227g) milk
- 2 tablespoons (28g) butter
- 2 teaspoons instant yeast or active dry yeast
- 2 tablespoons (25g) granulated sugar
- 1 1/4 teaspoons (8g) table salt
- 3 cups (360g) all-purpose flour
Instructions
- Heat the milk until it simmers gently, then pour it over the butter in a large mixing bowl. Let everything cool down to lukewarm (you should be able to stick your finger in without burning yourself). Add the yeast and sugar.
- Weigh your flour if you can, or measure it by spooning it gently into your cup and leveling it off. Trust me, this makes a difference.
- Once the yeast softens and looks a bit bubbly, add the salt and flour. Stir everything together until the dough starts pulling away from the sides of the bowl.
- Transfer your dough to a lightly greased surface (I use a bit of oil on my hands too), and knead for about 6 to 8 minutes. You’re looking for smooth and supple, not sticky. If it feels too wet, sprinkle in a tiny bit more flour. Too dry? Add a splash of milk.
- Pop the dough into a lightly greased bowl, cover it with a towel, and let it rise for about an hour. It should get puffy (doubled isn’t always necessary, don’t stress about it).
- Turn the dough out onto your work surface again (oil it lightly), and shape it into an 8-inch log. Place it in a greased 8 1/2 by 4 1/2 inch loaf pan, cover loosely with greased plastic wrap, and let it rise again for about 60 minutes. When you poke it gently, the indent should spring back slowly.
- About 15 minutes before the rising time is up, preheat your oven to 350°F.
- Bake for 30 to 35 minutes until the top is light golden brown. Want to check if it’s done? Take it out of the pan and tap the bottom (it should sound hollow), or use a digital thermometer (look for 190°F in the center).
- Remove the bread from the oven and let it cool on a rack before you get impatient and slice into it (I know, it’s hard to wait).
- Store your bread in a plastic bag on the counter for several days, or freeze it for later. It makes amazing toast even weeks later.
10) Nutrition
Serving Size: 1 slice, Calories: 142, Sugar: 2.1 g, Sodium: 248 mg, Fat: 2.4 g, Saturated Fat: 1.4 g, Carbohydrates: 25.8 g, Fiber: 0.9 g, Protein: 4.2 g, Cholesterol: 6 mg


Leave a Comment